Usually I find informations by myself on the internet but that one I thought I could share it here with you guys… Since I pass a lot of time here to read absolutely every posts.
So here is my first new topic.
I’ve tried to start to replace firmware on a MagicHome I’ve just received for an Tasmota and to hook up an FTDI is pretty difficult on they tiny soldering pads…
I was successful but… I wanted to pry a little one of the hooked wire and… the complete pad came of !!! Nightmare !
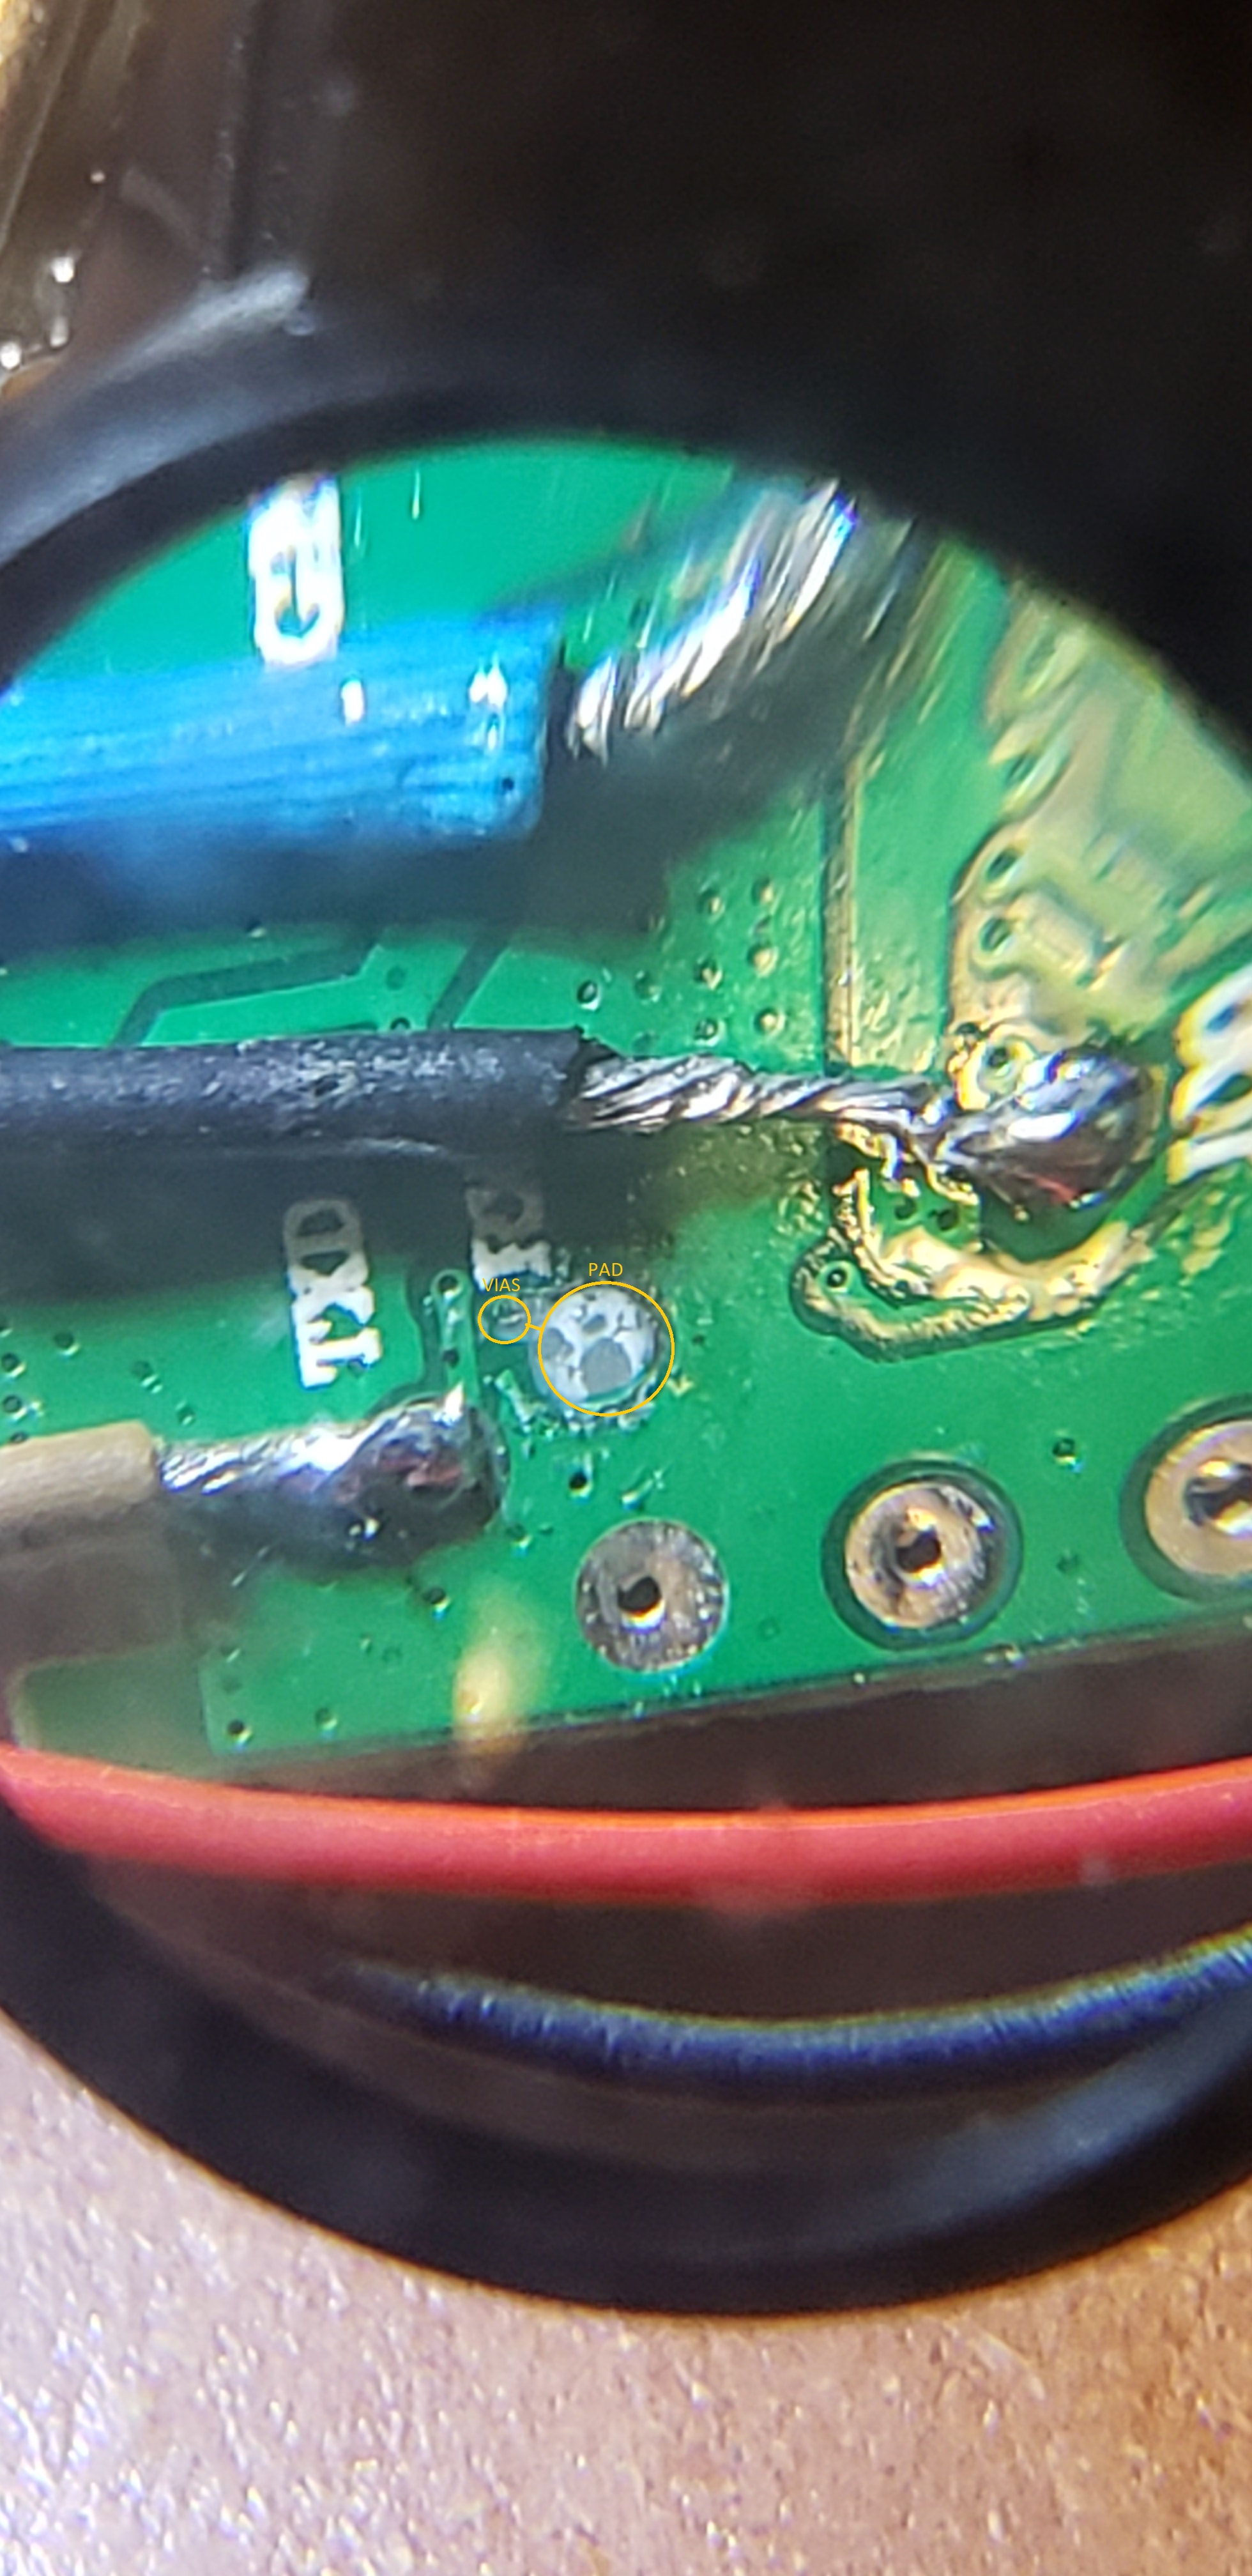
Here some picture:
Here the pad is removed and still on the wire
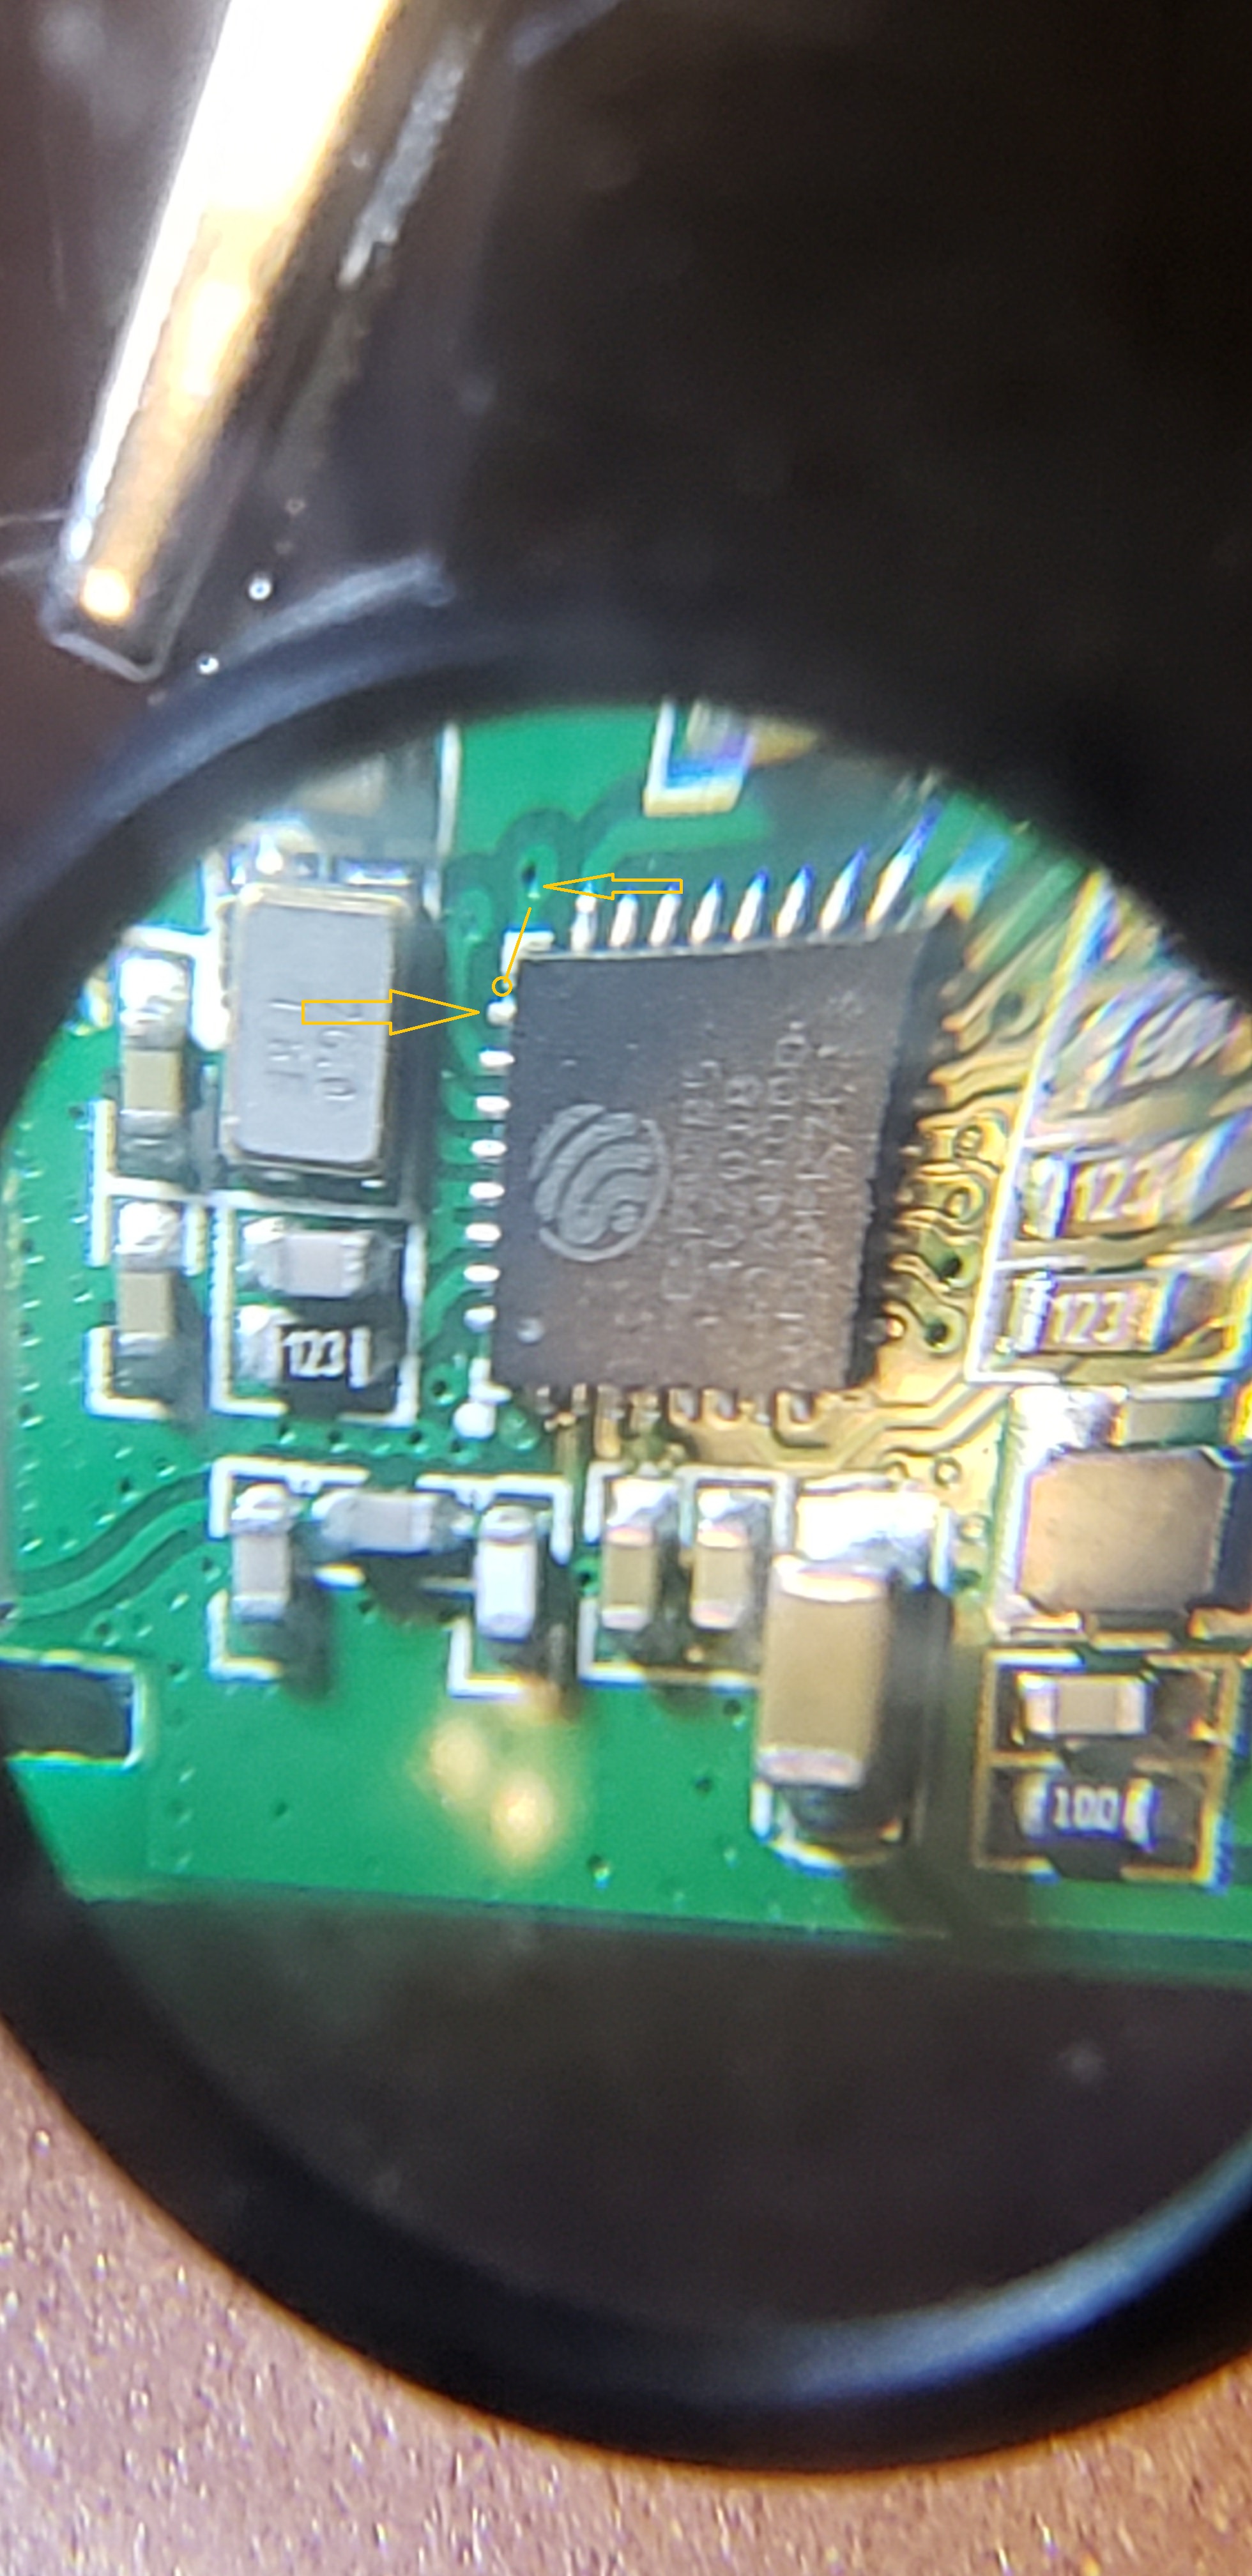
And here is the route on the other side that suppose to go at pin one (I think)
I am currently waiting for and precise soldering iron found cheap on Aliexpress but I am sort of jealous of John’s camera microscope. One day maybe… smd start to take place in my passion and I’ve just receive a bunch of resistance… that will be a new hardroute experience and skill!
What you think guys?
How you’d fix that?
You want to learn how to do good microsoldering, watch a few Louis Rossman videos. He does tons of it and shows how to do it and not bridge everything together. You will need decent magnification to do so though. It is ALL repairable but depends on your dedication. You will need a small wedge iron tip for best results and.if you plan to do lots of SMD work, you should get a hot air rework station. MARK Ethan rework stations are an affordable beginners setup. I got mine on Amazon and it works slick. Part of the deal with doing solder work on micro component boards is to not try and solder too large a gauge of wire to the pads. You will cook them before the wire gets hot enough to solder.
There is a good video microscope that was showcased on the EEVBlog YouTube channel… microscope under $500.
Awesome!
I think I’ll follow exactly the route you gave me!
I’m really interested in smd’s and I’ll follow your example.
I’ve indeed buy a cheap beveled soldering iron and is on is way… I’ll give here update right after my first try.
Tank you @Guru_Of_Nothing !
Whoua! exactly what I was doing! searching is videos… Awesome guy this channel!
But do you remember if he had a lift pad challenge in one of his video?
There are quite a few of them actually. To repair something like that, you don’t actually repair the pad because that is generally impossible. You have to either bare the trace close to the pad, where the trace is stable, and solder to it or find where the trace goes and solder to that place instead. It is not ideal but it is the easiest way to correct the mistake.
1 Like
Haven’t heard if you had any luck with your repair or not. Any luck? If so, what did you end up doing?
I’ve finally hold my FTDI connection pogo-pin on the tinny leg of the microcontroller while my arduino IDE send Tasmota firmware…
Then for future updates I’ll do it by OTA… because this little tiny esp8266 device is now stick under my cabinet with extra strength double sided sticker…
I’m so happy now that I’m not rely on Chinese server for my under cabinet lights and + It’s super fast and Tasmota offer ALOT of control (Blinking on House notifications!!!)
Tasmota Rule!!! 
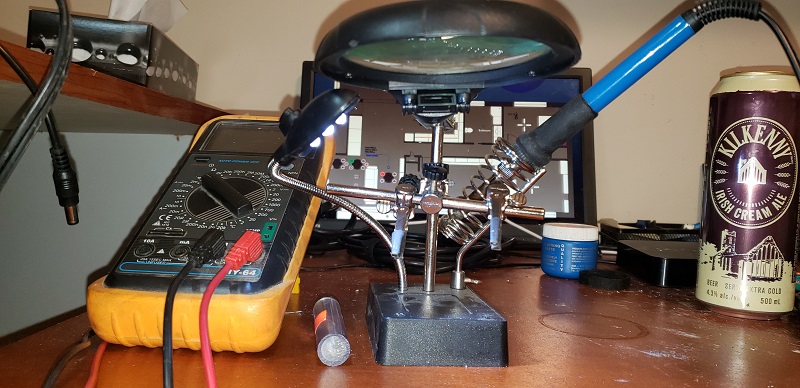
PS: I have the worst soldering station ever… for the moment…
1 Like
As with most things, it’s not HOW you get it done it’s THAT you got it done! Good job!
I have seen worse soldering stations. I have had worse actually. LOL. I recently bought a QuadHands soldering ‘assistant’. I got mine from Amazon. Its a metal plate that has numerous flexible arms with really strong clips that hold to the base with magnets. That thing is a beast and it is the best holder I have ever seen or used. The price was very affordable and you can get it in a number of plate sizes and arm lengths and configurations. Mine has 5 arms, three different lengths and a decently large plate size. I am using an old drafting desk top as a bench, so it is an epoxy coated metal kind of deal. The magnets stick to it pretty well so I can expand off my QuadHands plate if i want to… and sometimes do just for convenience.
The plate weights a good 2 or 3 pounds and one single magnet arm holds enough to pick it off the bench.
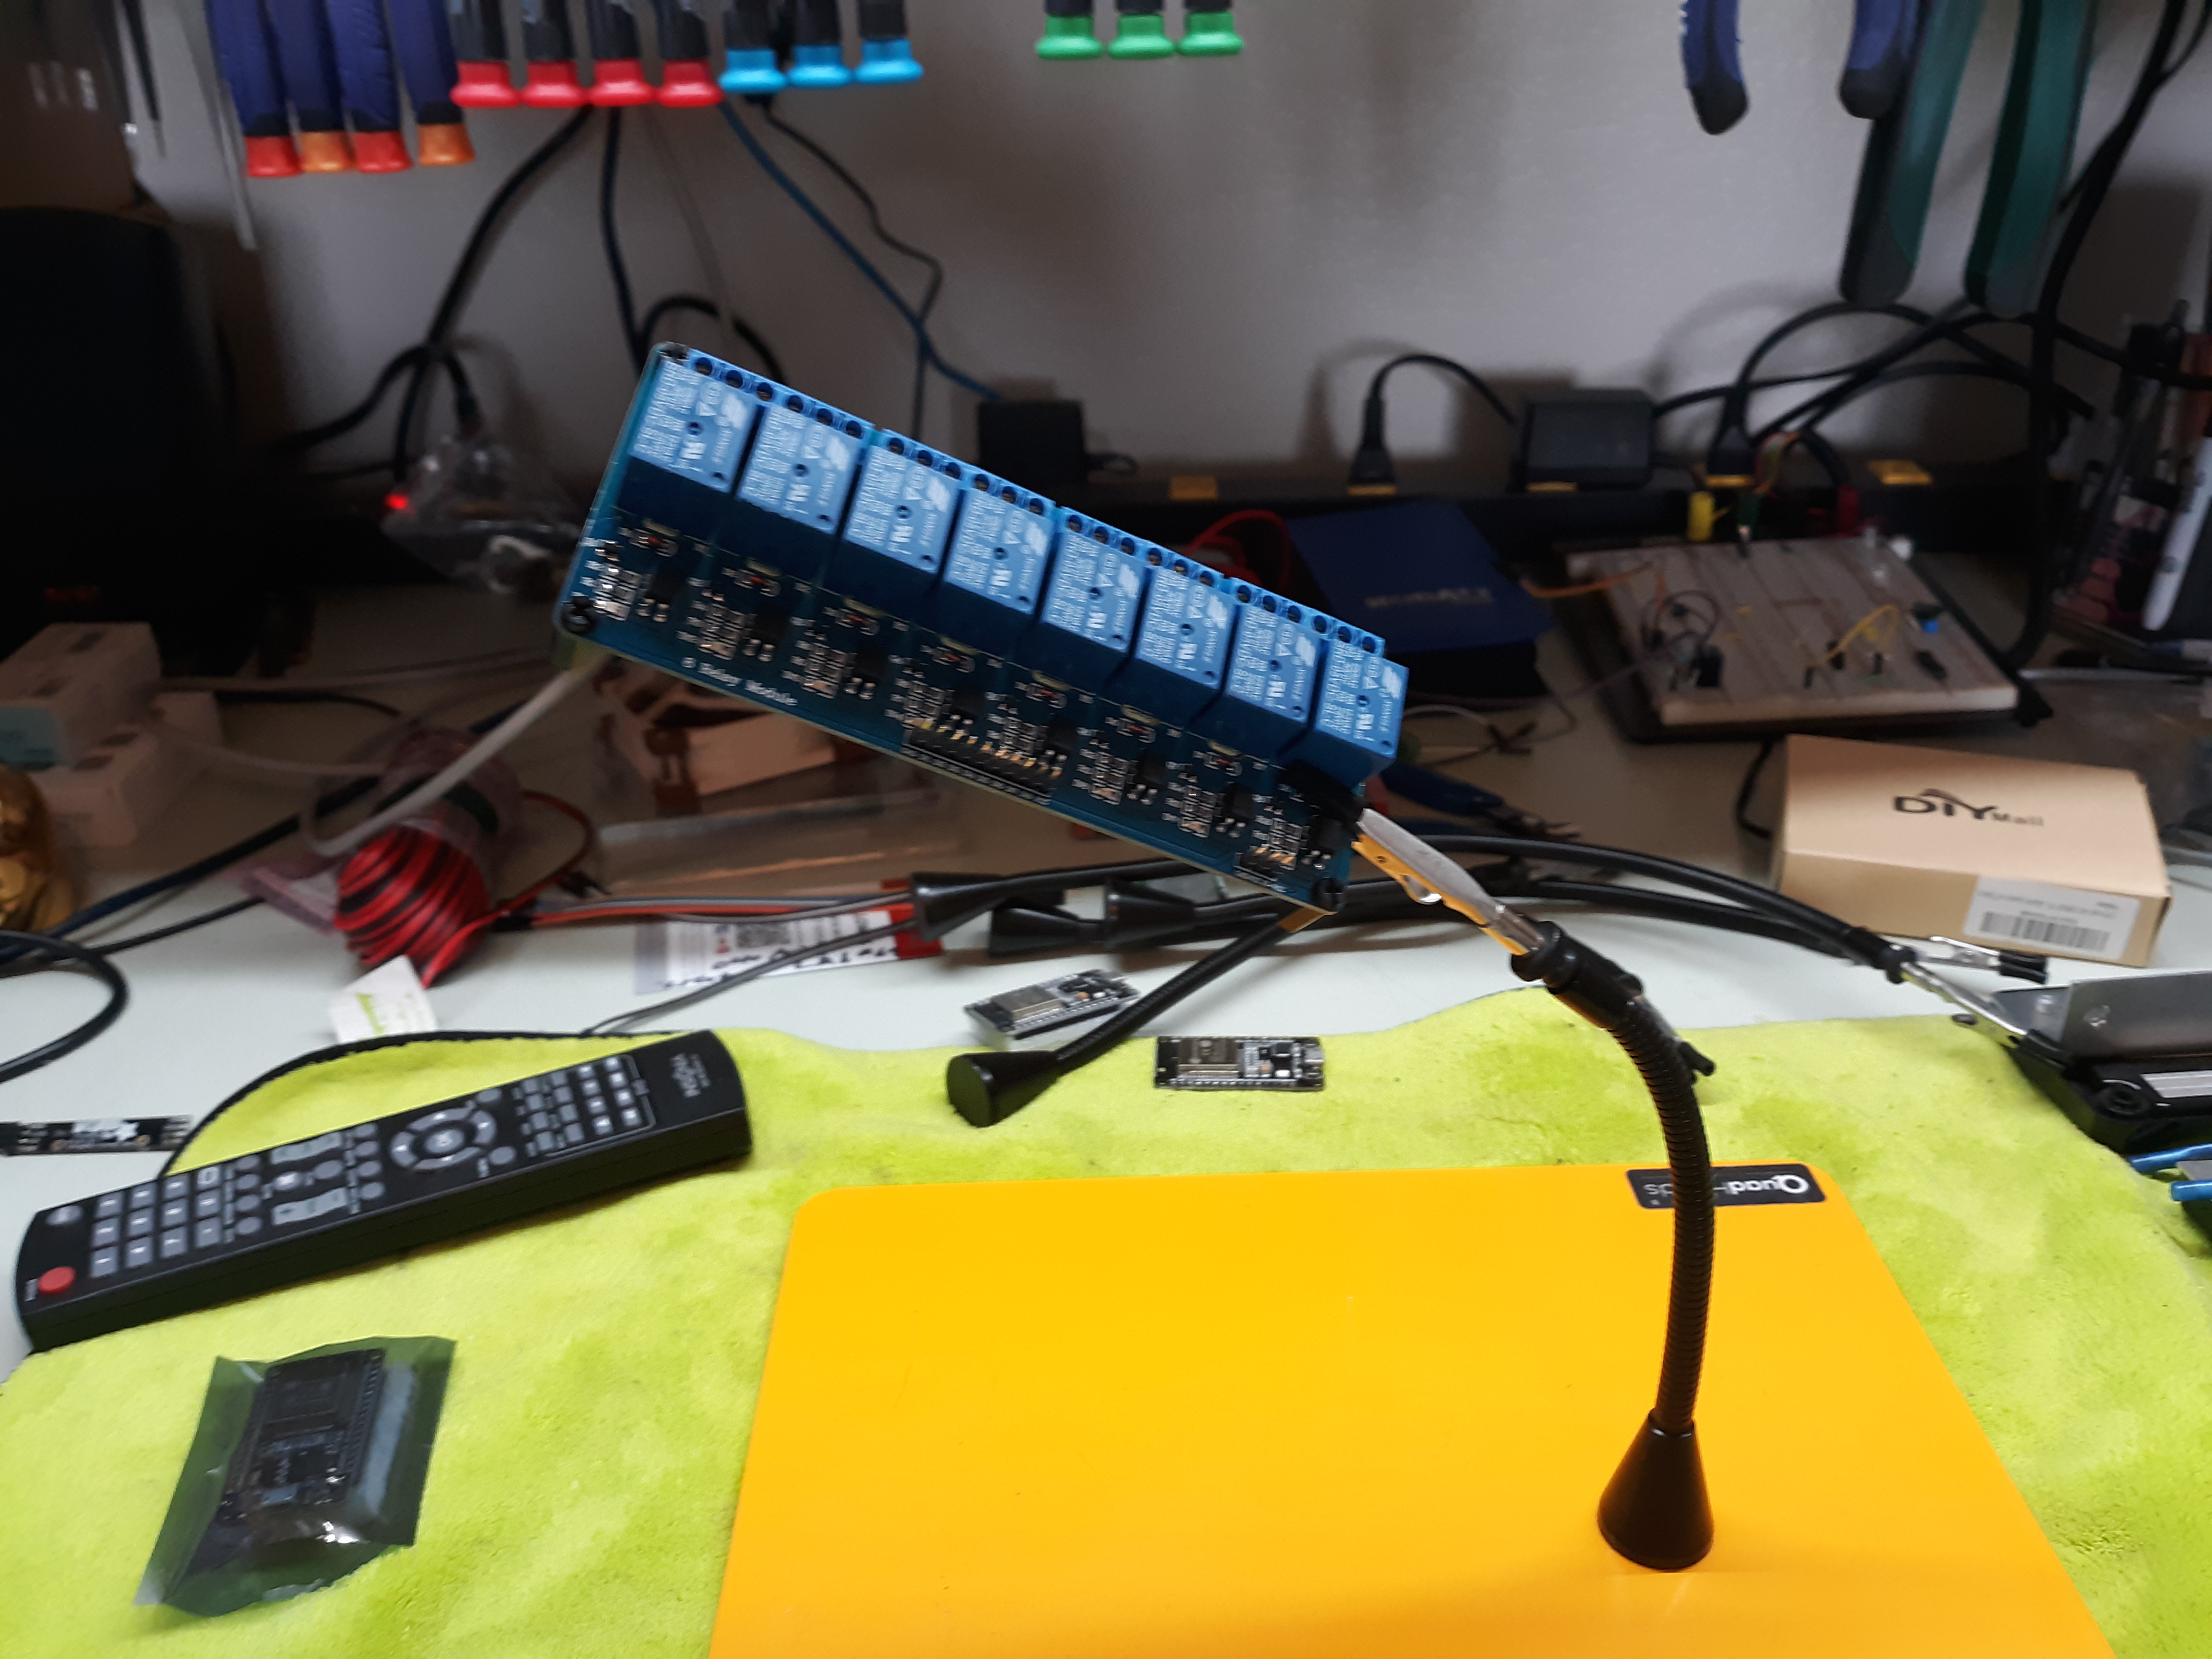
The clips on the end have a nice soft rubber shrink tube on them that makes grabbing boards safe and insulated from scratching or shorting traces. They also rotate and can be locked in any position with a finger nut. The plate I got is large enough to hold quite large boards:
And the arms are really strong and supportive. The relay board isn’t super heavy but it is large comparatively and I have NEVER had an assistant that could effectively hold a board this size dependably
I know… sounds like an infomercial

But I love this thing! Has made bench work so much more enjoyable
1 Like
Woah! pretty versatile !!!
I think I’ll go that way for a upgrade… I’m feeling sooooo stuck inside my cheap arm and clips
- my clip ALWAYs getting loose and do not rotate!! haha!
And I think I’ll find somewhere a good lens that can get far away from the board…
I need ROOOOM haha!
Tank you @Guru_Of_Nothing for your nice Share!!!
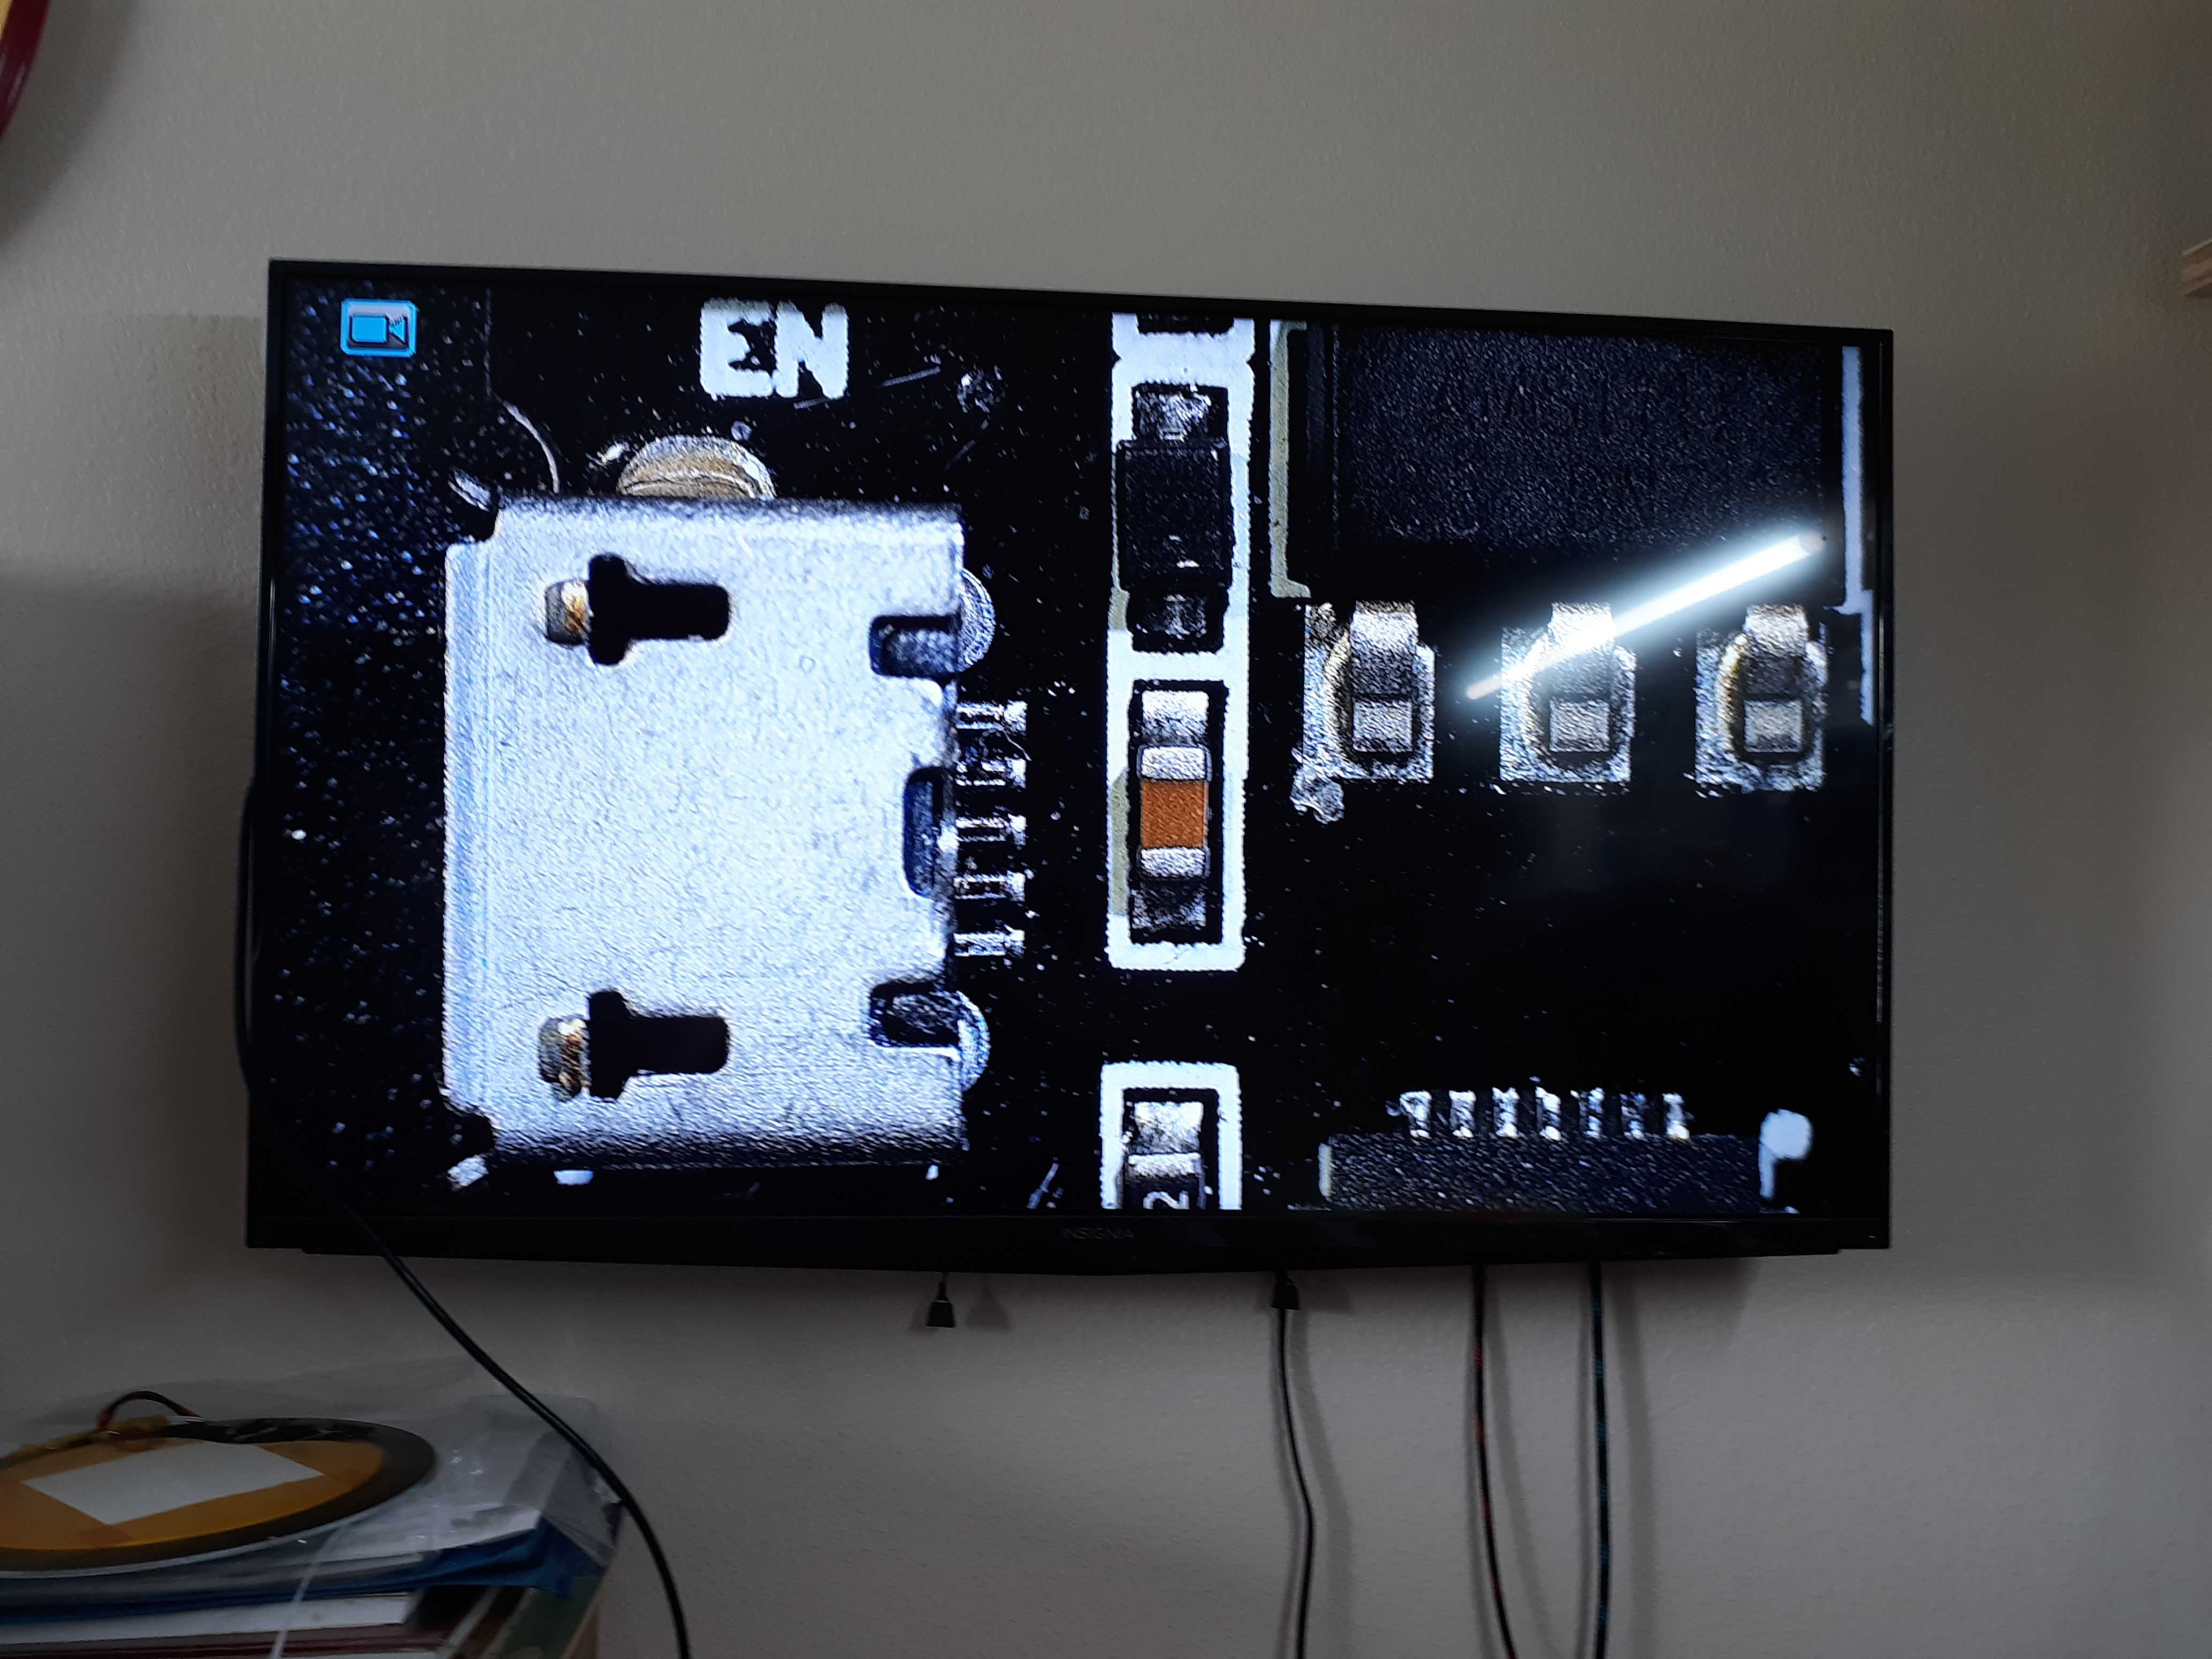
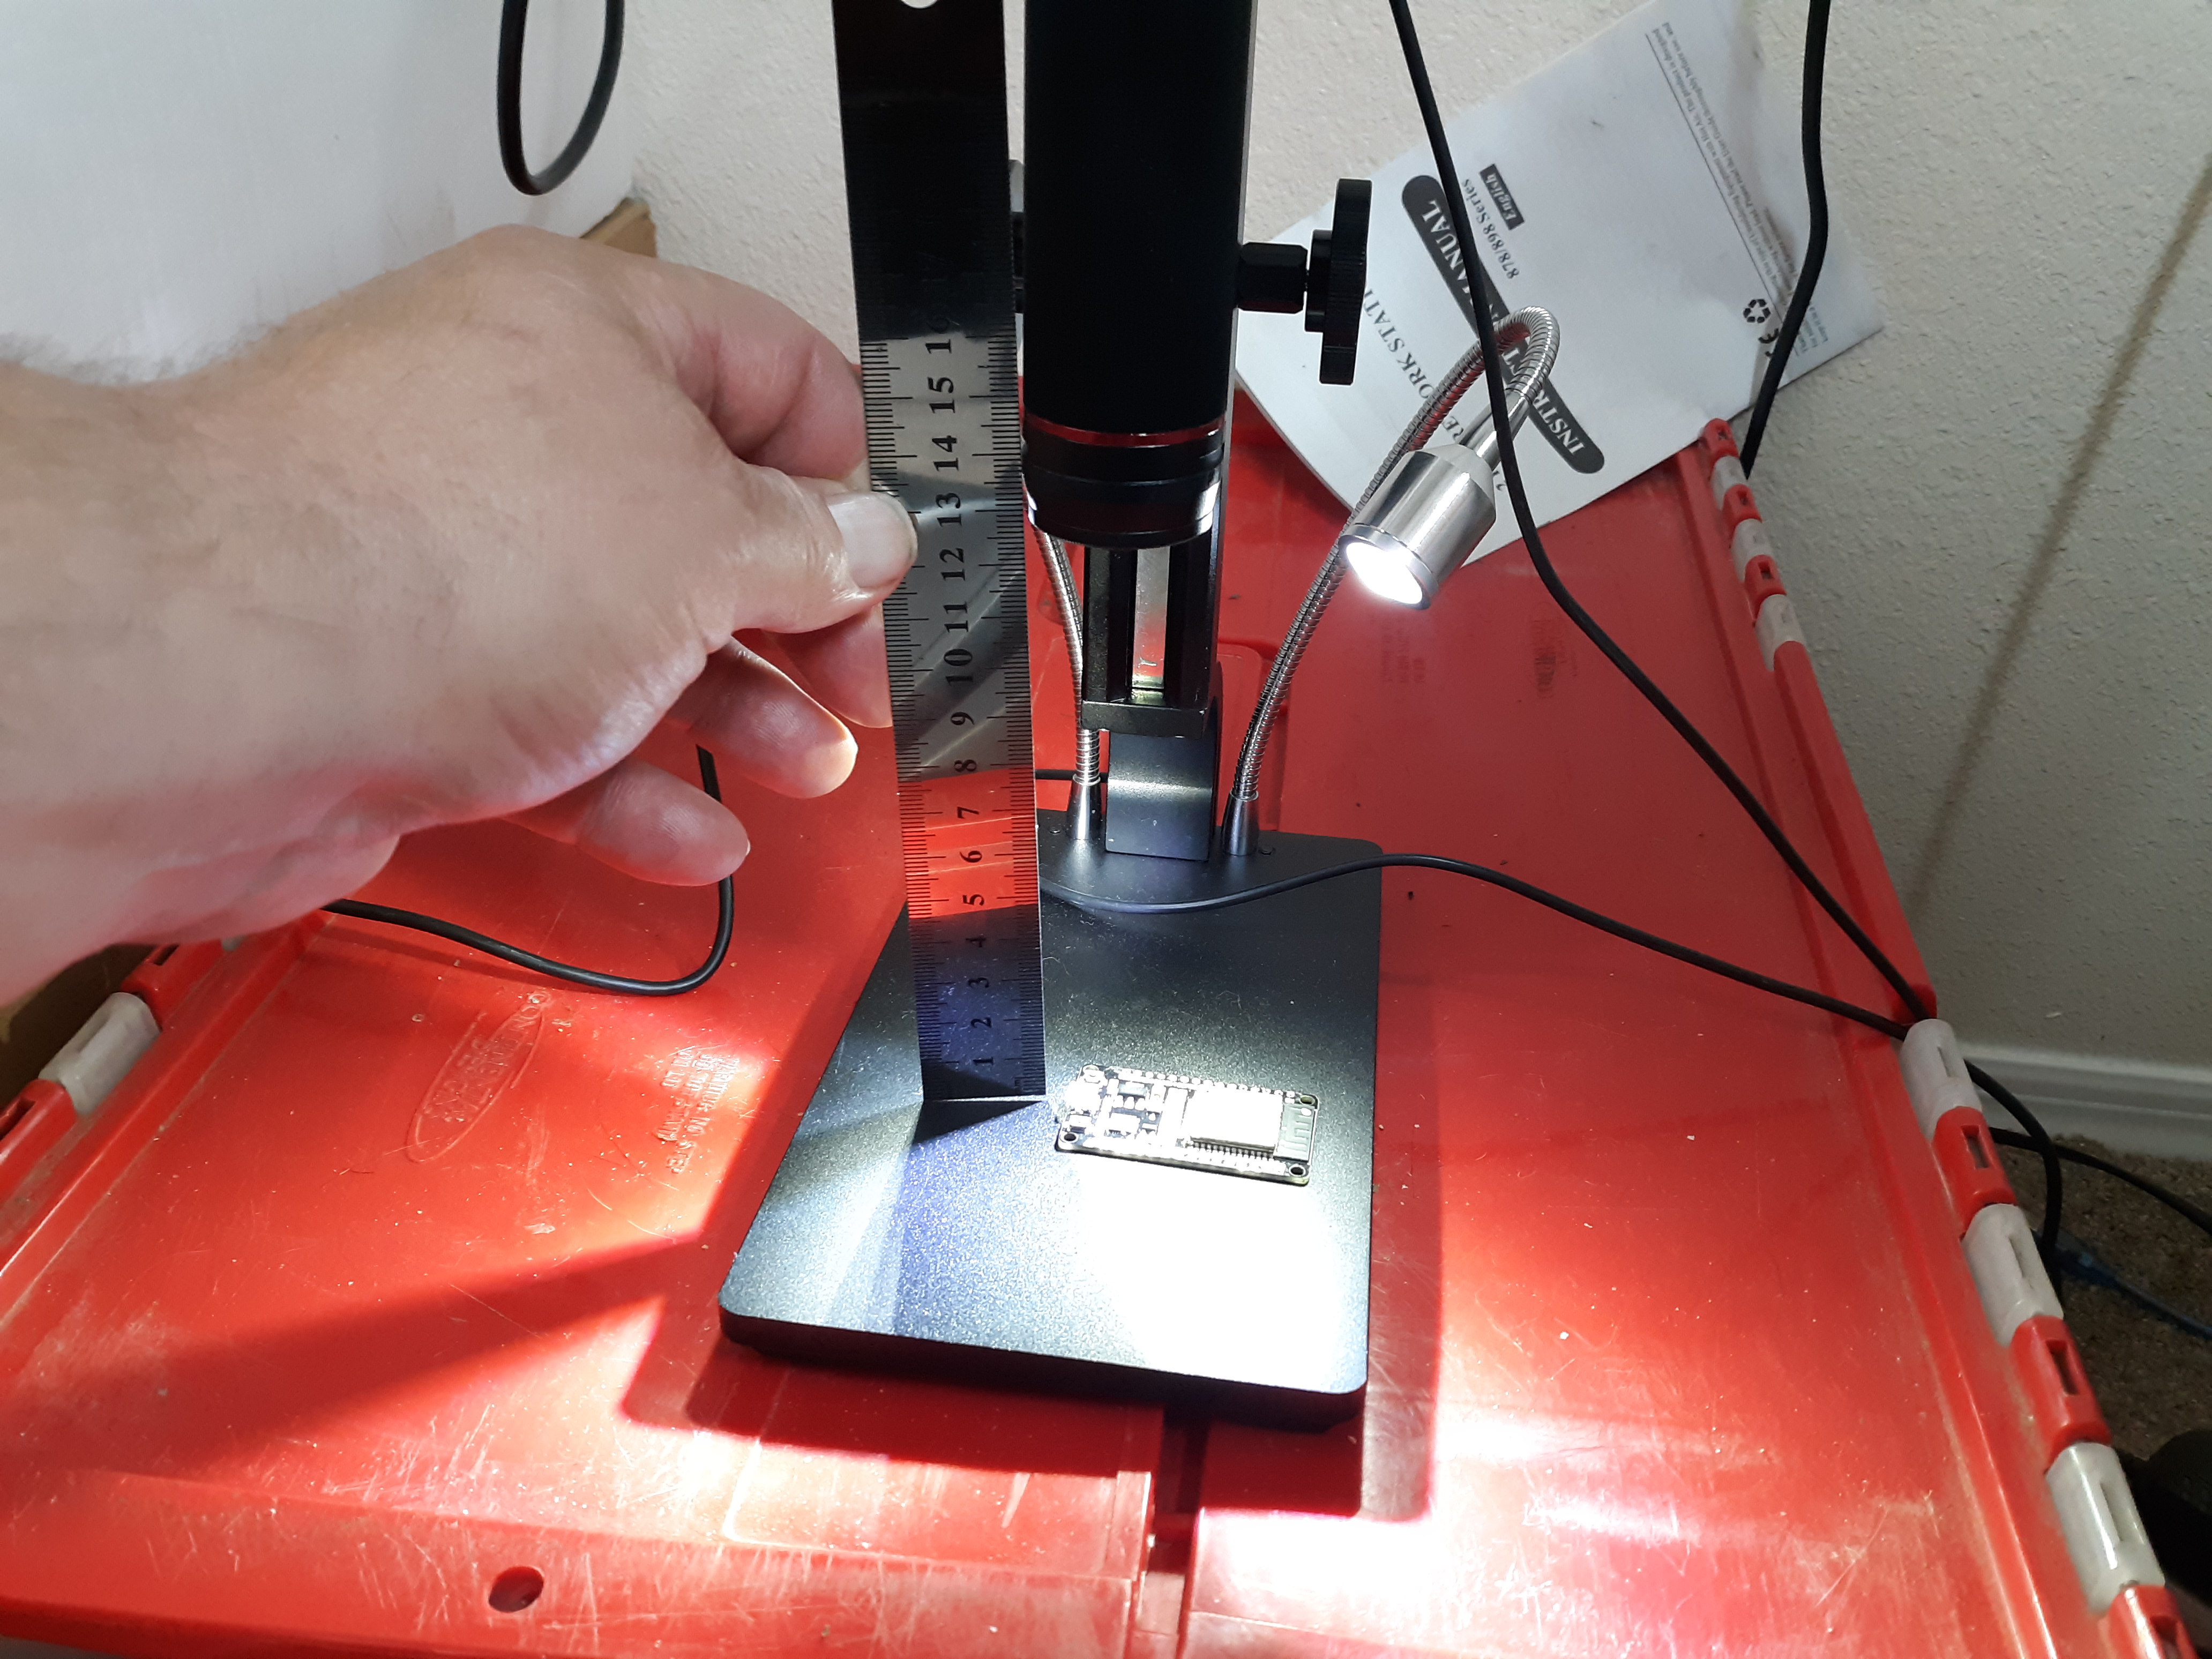
Can’t keep stuff like the QuadHands secret! LOL. I know it seems a bit cheesy but a good way to do magnification is with jewelers visor or even the newer loupe glasses that have LED lighting and the loupes can be flipped up out of the way. I had one of those magnification lights on a moveable arm that worked ok but you get solder smoke that sticks to the lens and it just has to be too close to your project. At least the visor allows you to see with magnification and not have to have it your face. I use 2x magnification reading glasses and it does a good job. Oh yeah! BTW, I sent the link for the microscope… that USED TO BE under $500 and the word obviously got out and it is now as expensive as the one it was a knock off to. I didn’t end up buying it but got THIS ONE on Amazon and it works really well! Only $239 US. I have a 42" TV on the wall here at the bench for coding and video editing and I hooked the scope to it.
That is the USB connector on an ESP32 board with stupid tiny resistors. The camera is 13MM away from the board and allows for LOTS of room to work. The little screen on the setup works well for it’s size and because it is a 600x zoom, it makes the tiny screen work out ok. For the price… why the heck not?
2 Likes
That looks like a handy piece of gear …
1 Like