I know that for some, their “lab” or place where they do their electronics fiddling (or if you are a professional like Jon, it’s professional fiddling:-) is just… a place. It’s a location you store your kit and get some work done. For the OCD folks like me, it’s a place of pride, of sorts. I wanted to start this thread to connect with others that have carved out a place to call their own and let out their inner organizer. For some reason, I can’t explain why, the chaos contained in a home lab (and HAM shacks for the radio guys) is intriguing and satisfying. So show us your lab! Whether it’s a tackle box that goes on the kitchen table when the better half isn’t looking or a full blown space designed with angry pixie wrangling in mind.
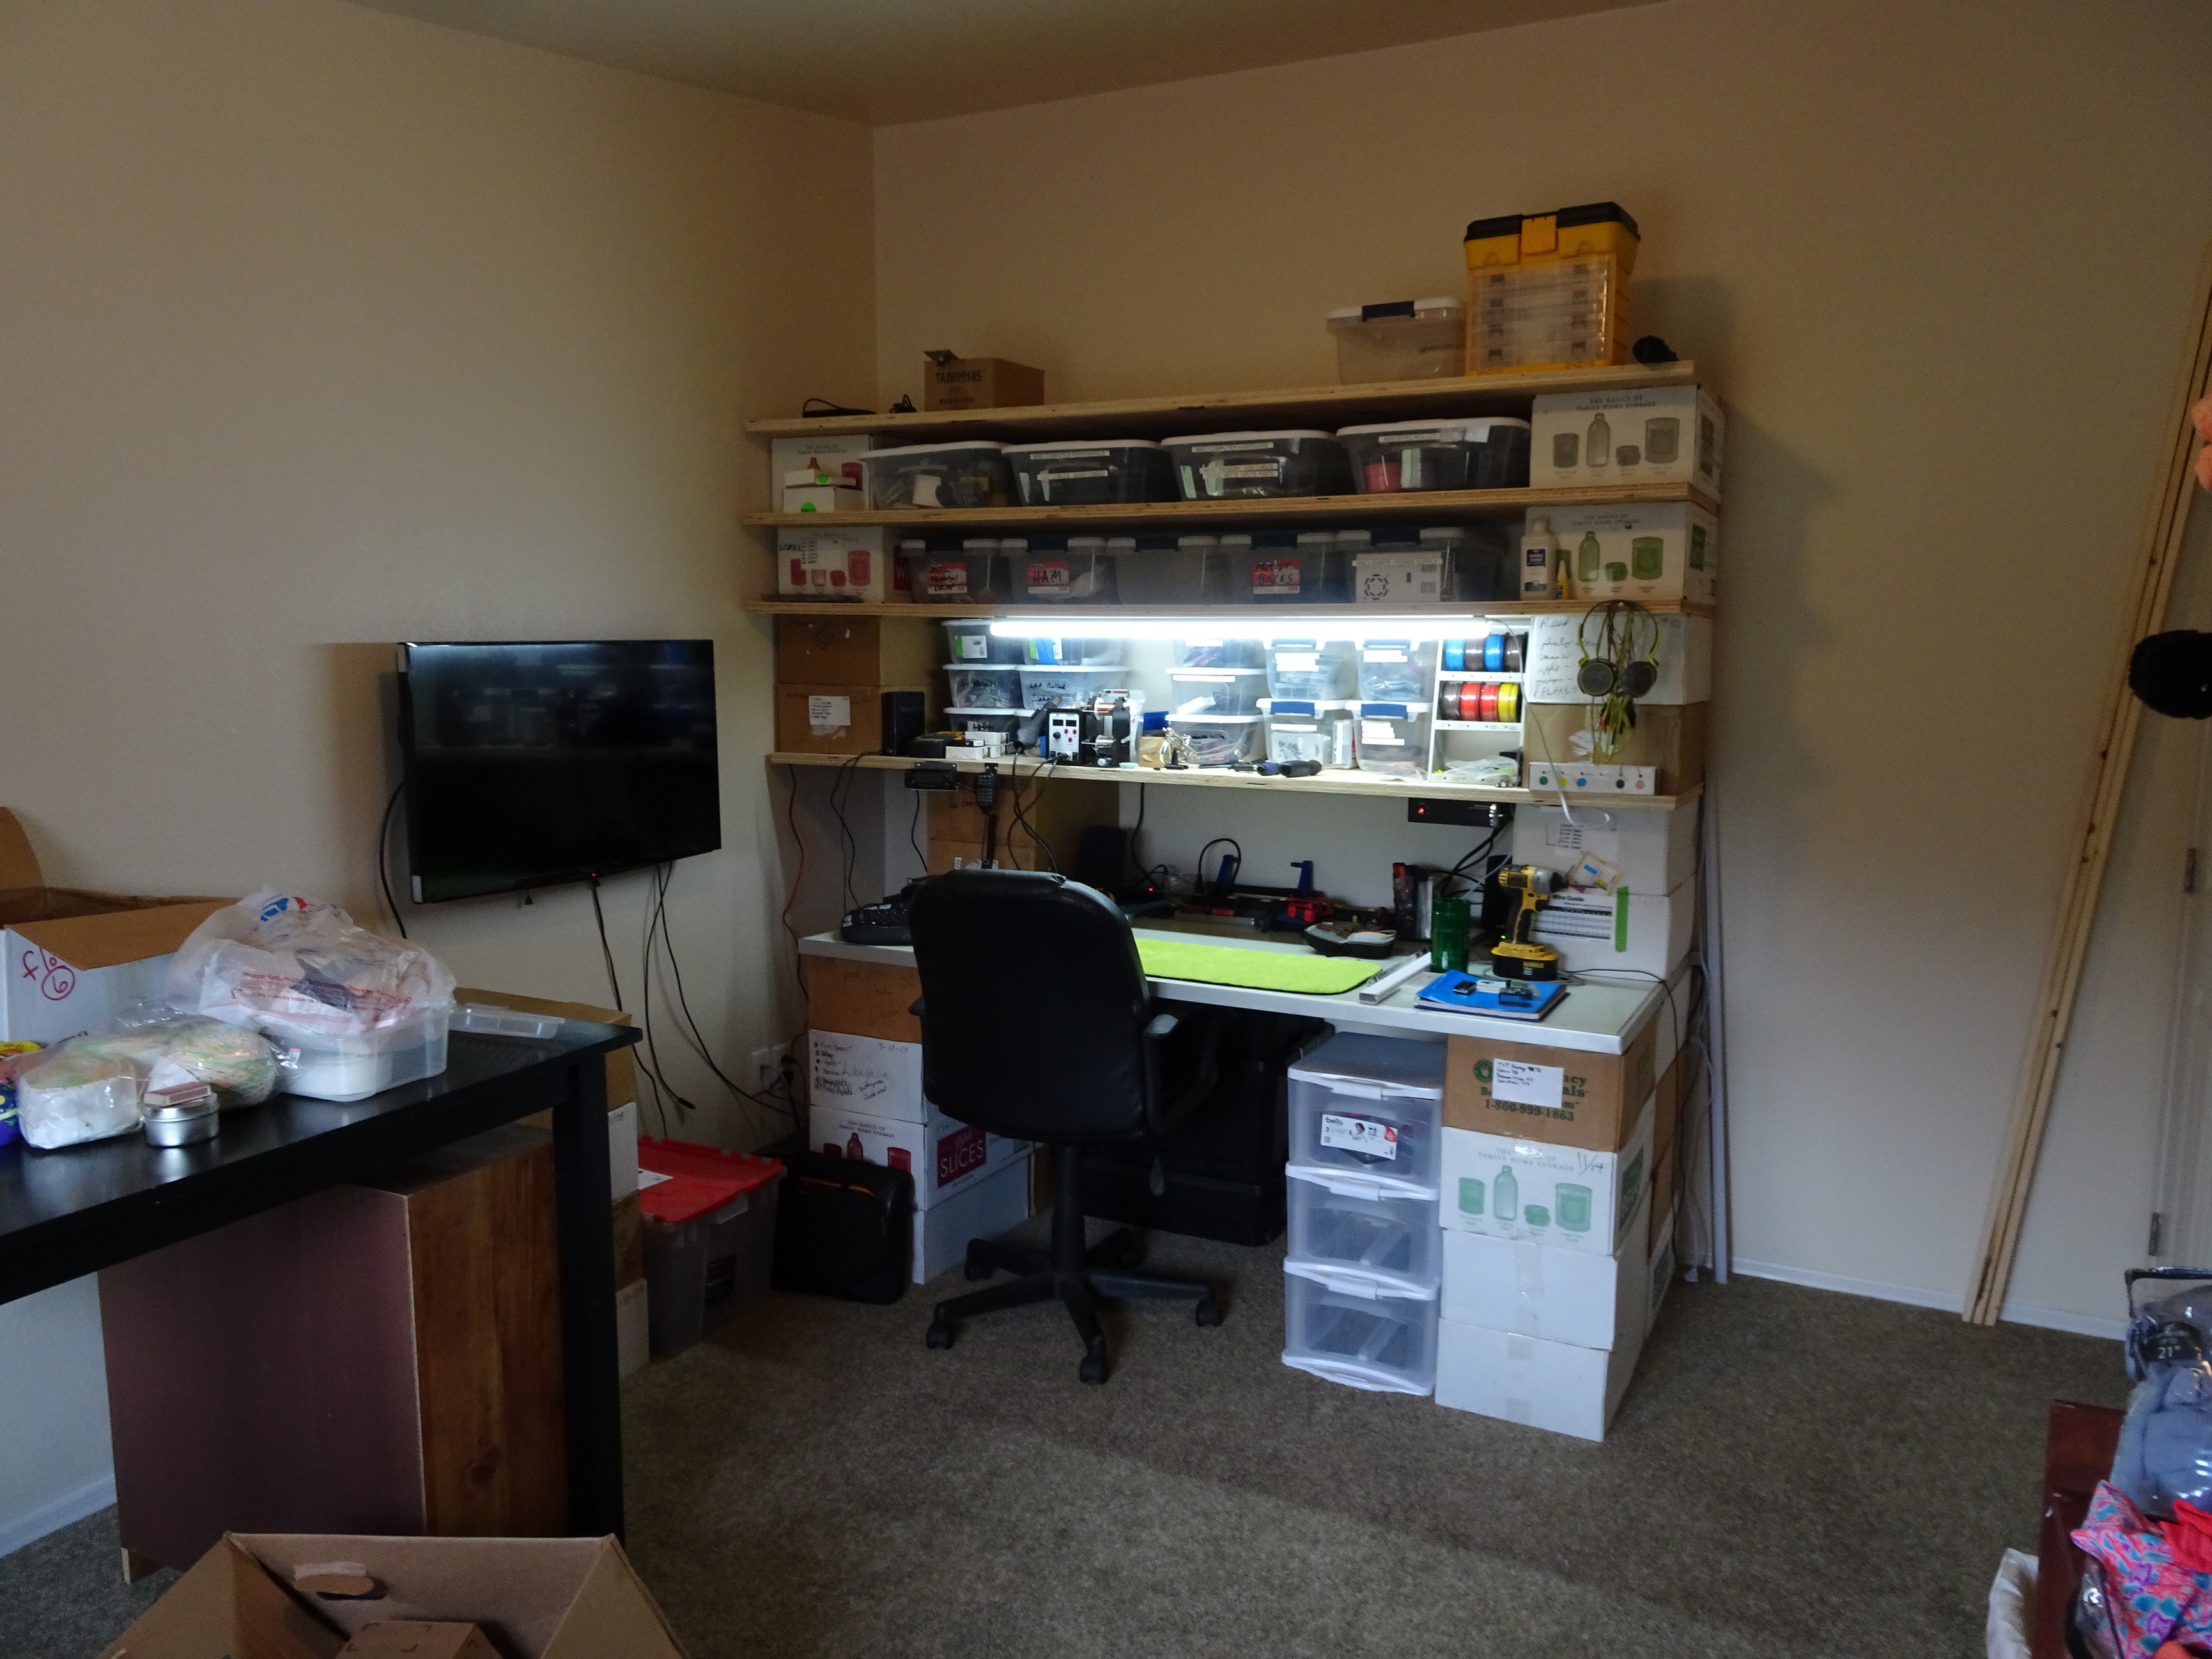
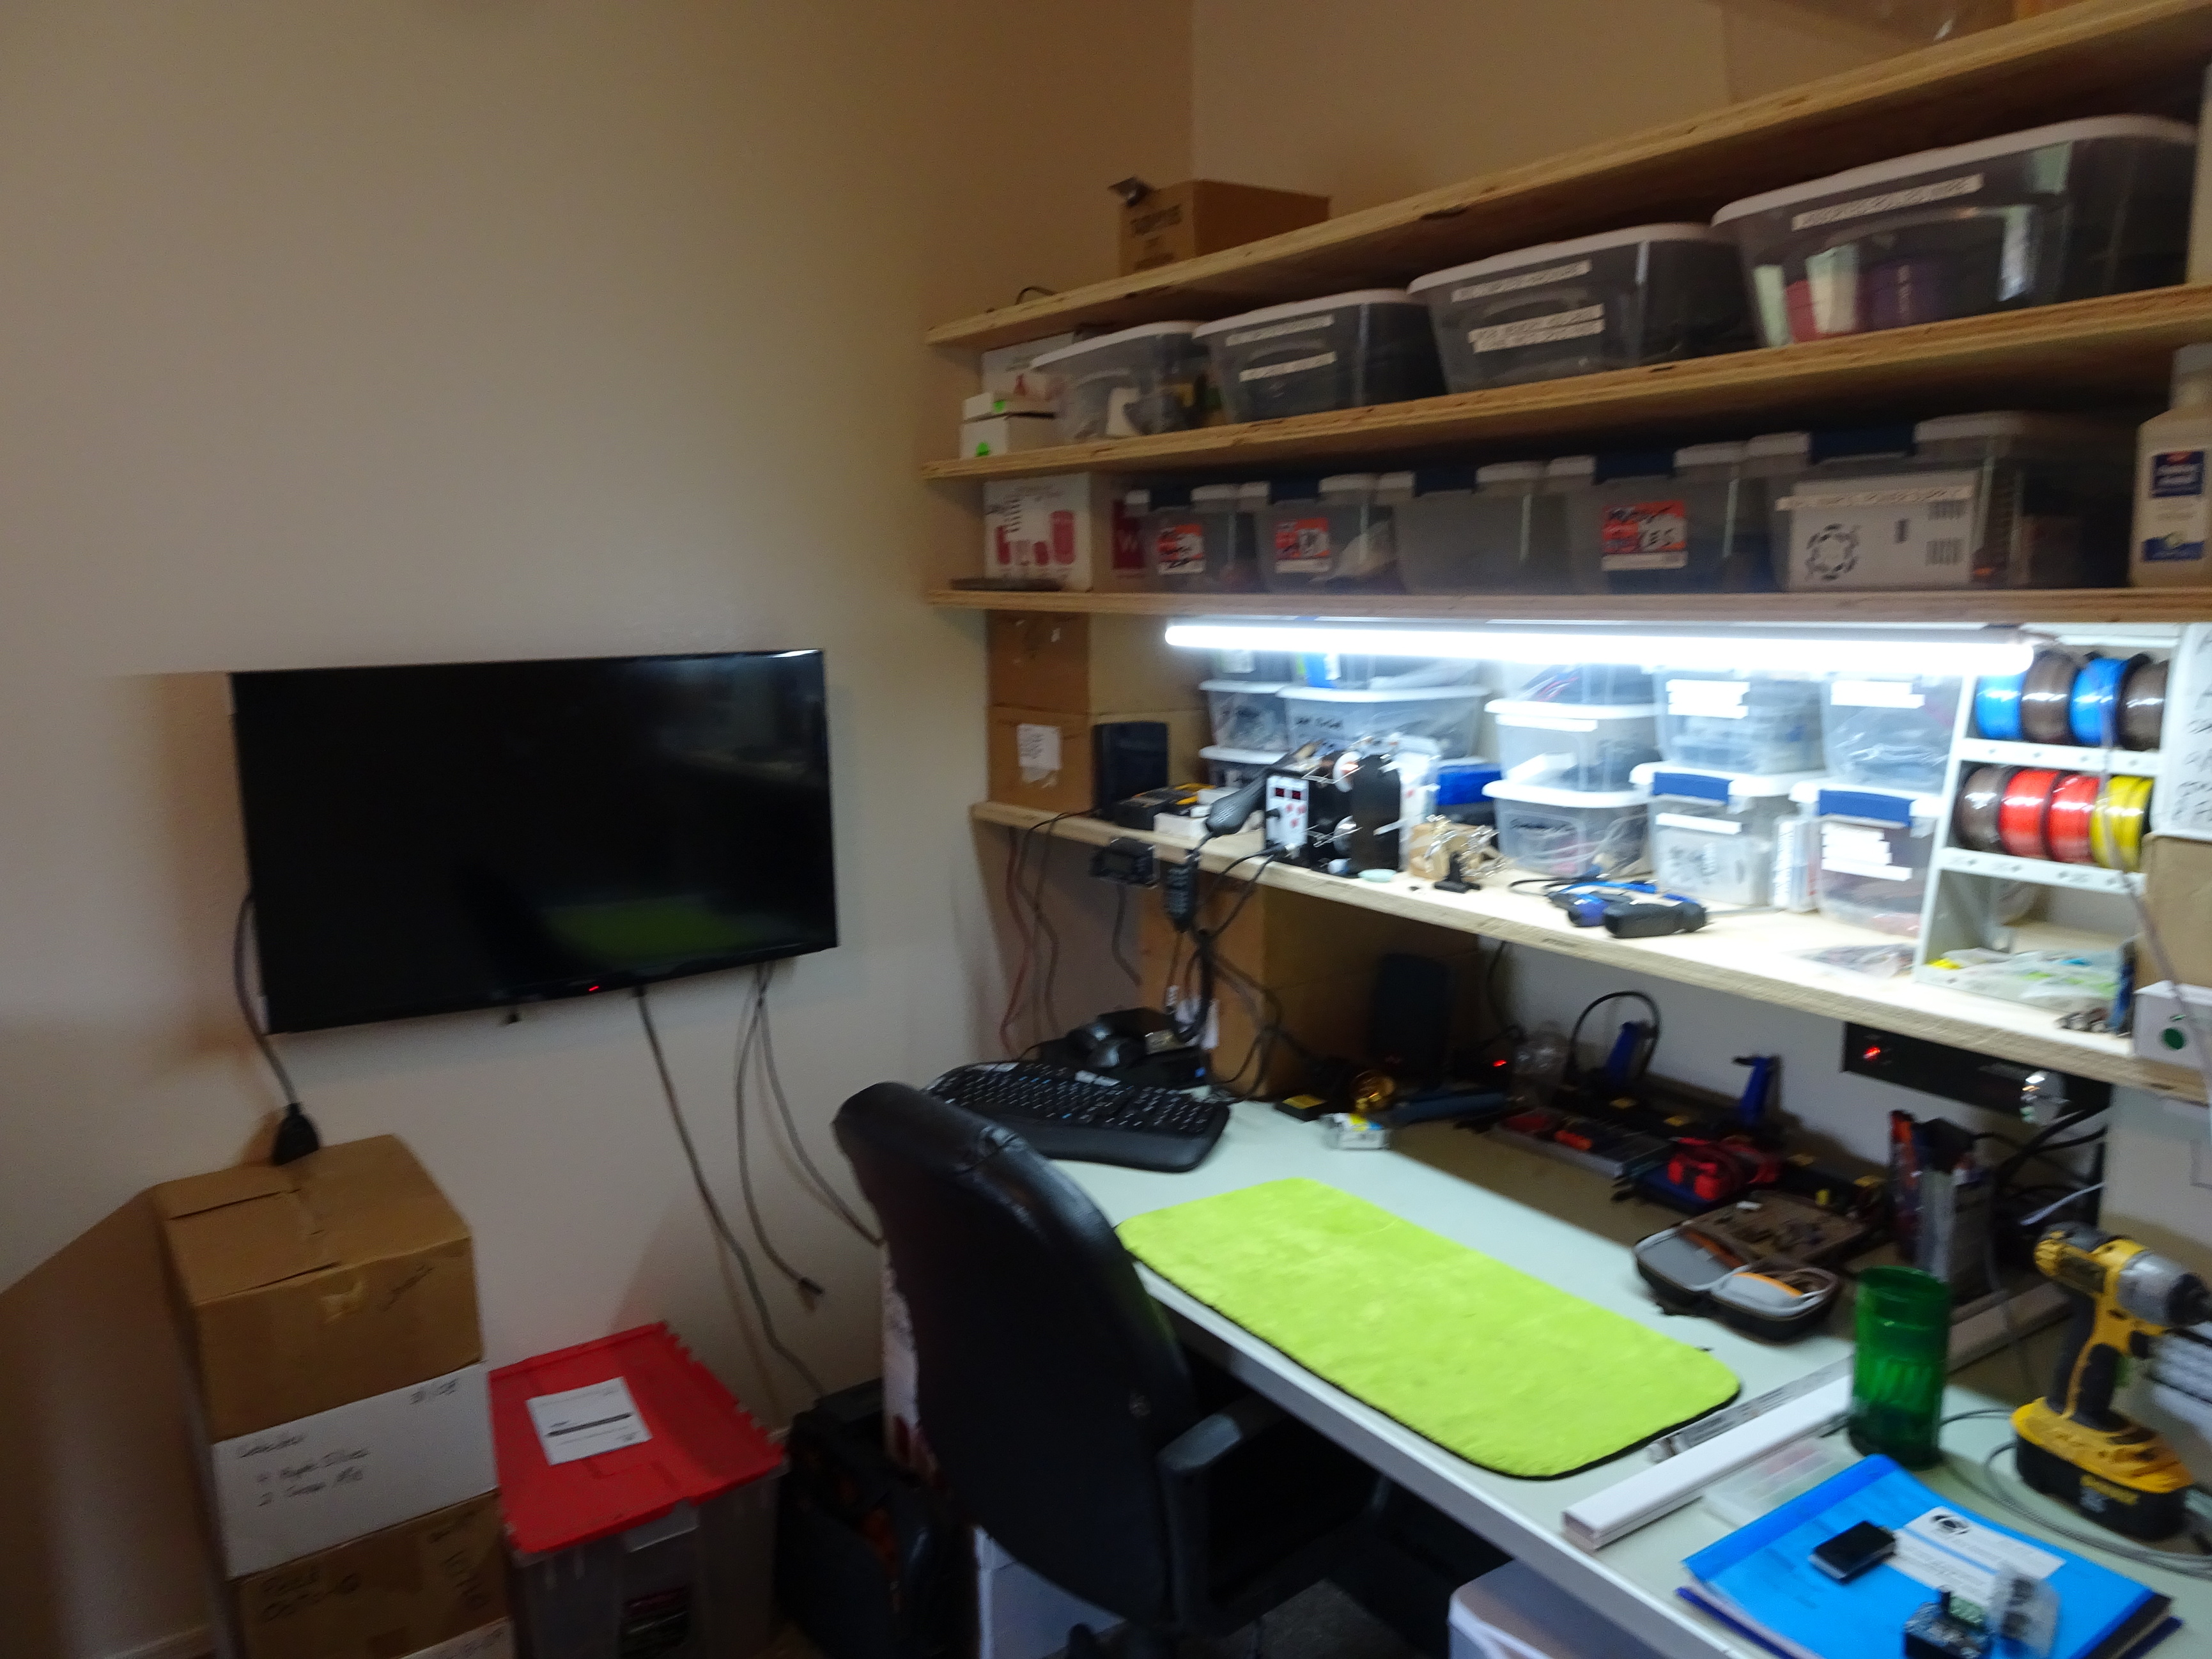
Mine started on the dining room table and was pretty quickly evicted to a small bench in a shed next to the house. It then moved to a collection of cardboard boxes I couldn’t find in a container I couldn’t get into and has finally come out of the darkness. It’s now a way more organized mess built out of an old drafting table top, a couple sheets of 5/4 (30MM) tongue and groove subfloor plywood cut into 2’ x 8’ strips and a bunch of cardboard boxes filled with #10 tin cans (non-perishable, long term storage food items) for structure. It’s in a corner of my wife’s craft room which is not the exact place I wanted to be set up but until I get my garage/shipping container man cave built in a few years, this will have to do. It has some LED lighting on it and needs more under the lowest shelf to light the tool storage and work bench area under the shelf. The TV on the wall is going to have a short return bench under it so I can put a camera microscope there and view it on the 40" tv. It’s also my video editing area. Going to buy one of the video scopes that Dave over at EEVBlog has suggested from AliExpress.
WIth a little more tweaking I will be able to fulfill my dream to take my YouTube channel into the “right to repair” realm. Getting the lab back together in a larger space is a big part of that. I know right to repair is a global issue, not just a United States one.
This is a great topic idea! I’m looking forward to seeing a bunch of different labs. Yours looks very organised, and I like the way you’ve structured the shelves with clearance underneath. Adding another LED strip under the bottom shelf might help with the bench area: I’ve found that getting enough light onto the bench has been one of the biggest challenges. I’ve tried using multiple desk lamps but they just get in the way, so I’ve settled for LED strips under the shelves plus very bright and distributed room lighting.
@DavidRK I need to dig up the pictures of what my bench looked like at the last place I was at. It was a lot like yours. I had so much crap lying around I could hardly work on anything. I was shooting videos of the lighting work I was doing on my motorcycle and it was a mess! I decided that when I set this lab up here that I was going to at least keep the majority of my stuff in bins. I had the boxes hanging around so decided since I wasn’t going to be getting into them any month soon, that they could be used as furniture. a couple sheets of plywood later and there ya go. I will toss the old bench pics in tomorrow if I get a chance. You won’t be embarrassed anymore:-)
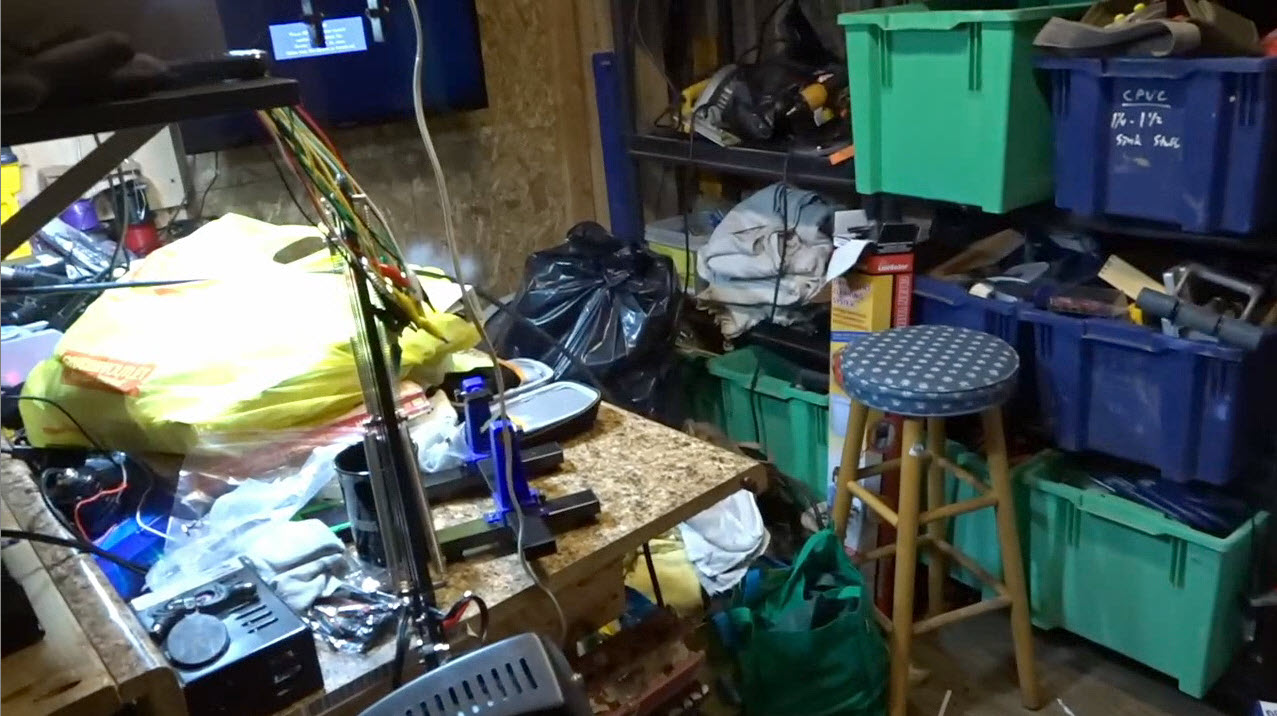
Edit: I found a picture of my lab in the shed a couple months before we moved. 10 pounds of crap in a 5 pound bag…
Yip sometimes great things can be accomplished in a mess.
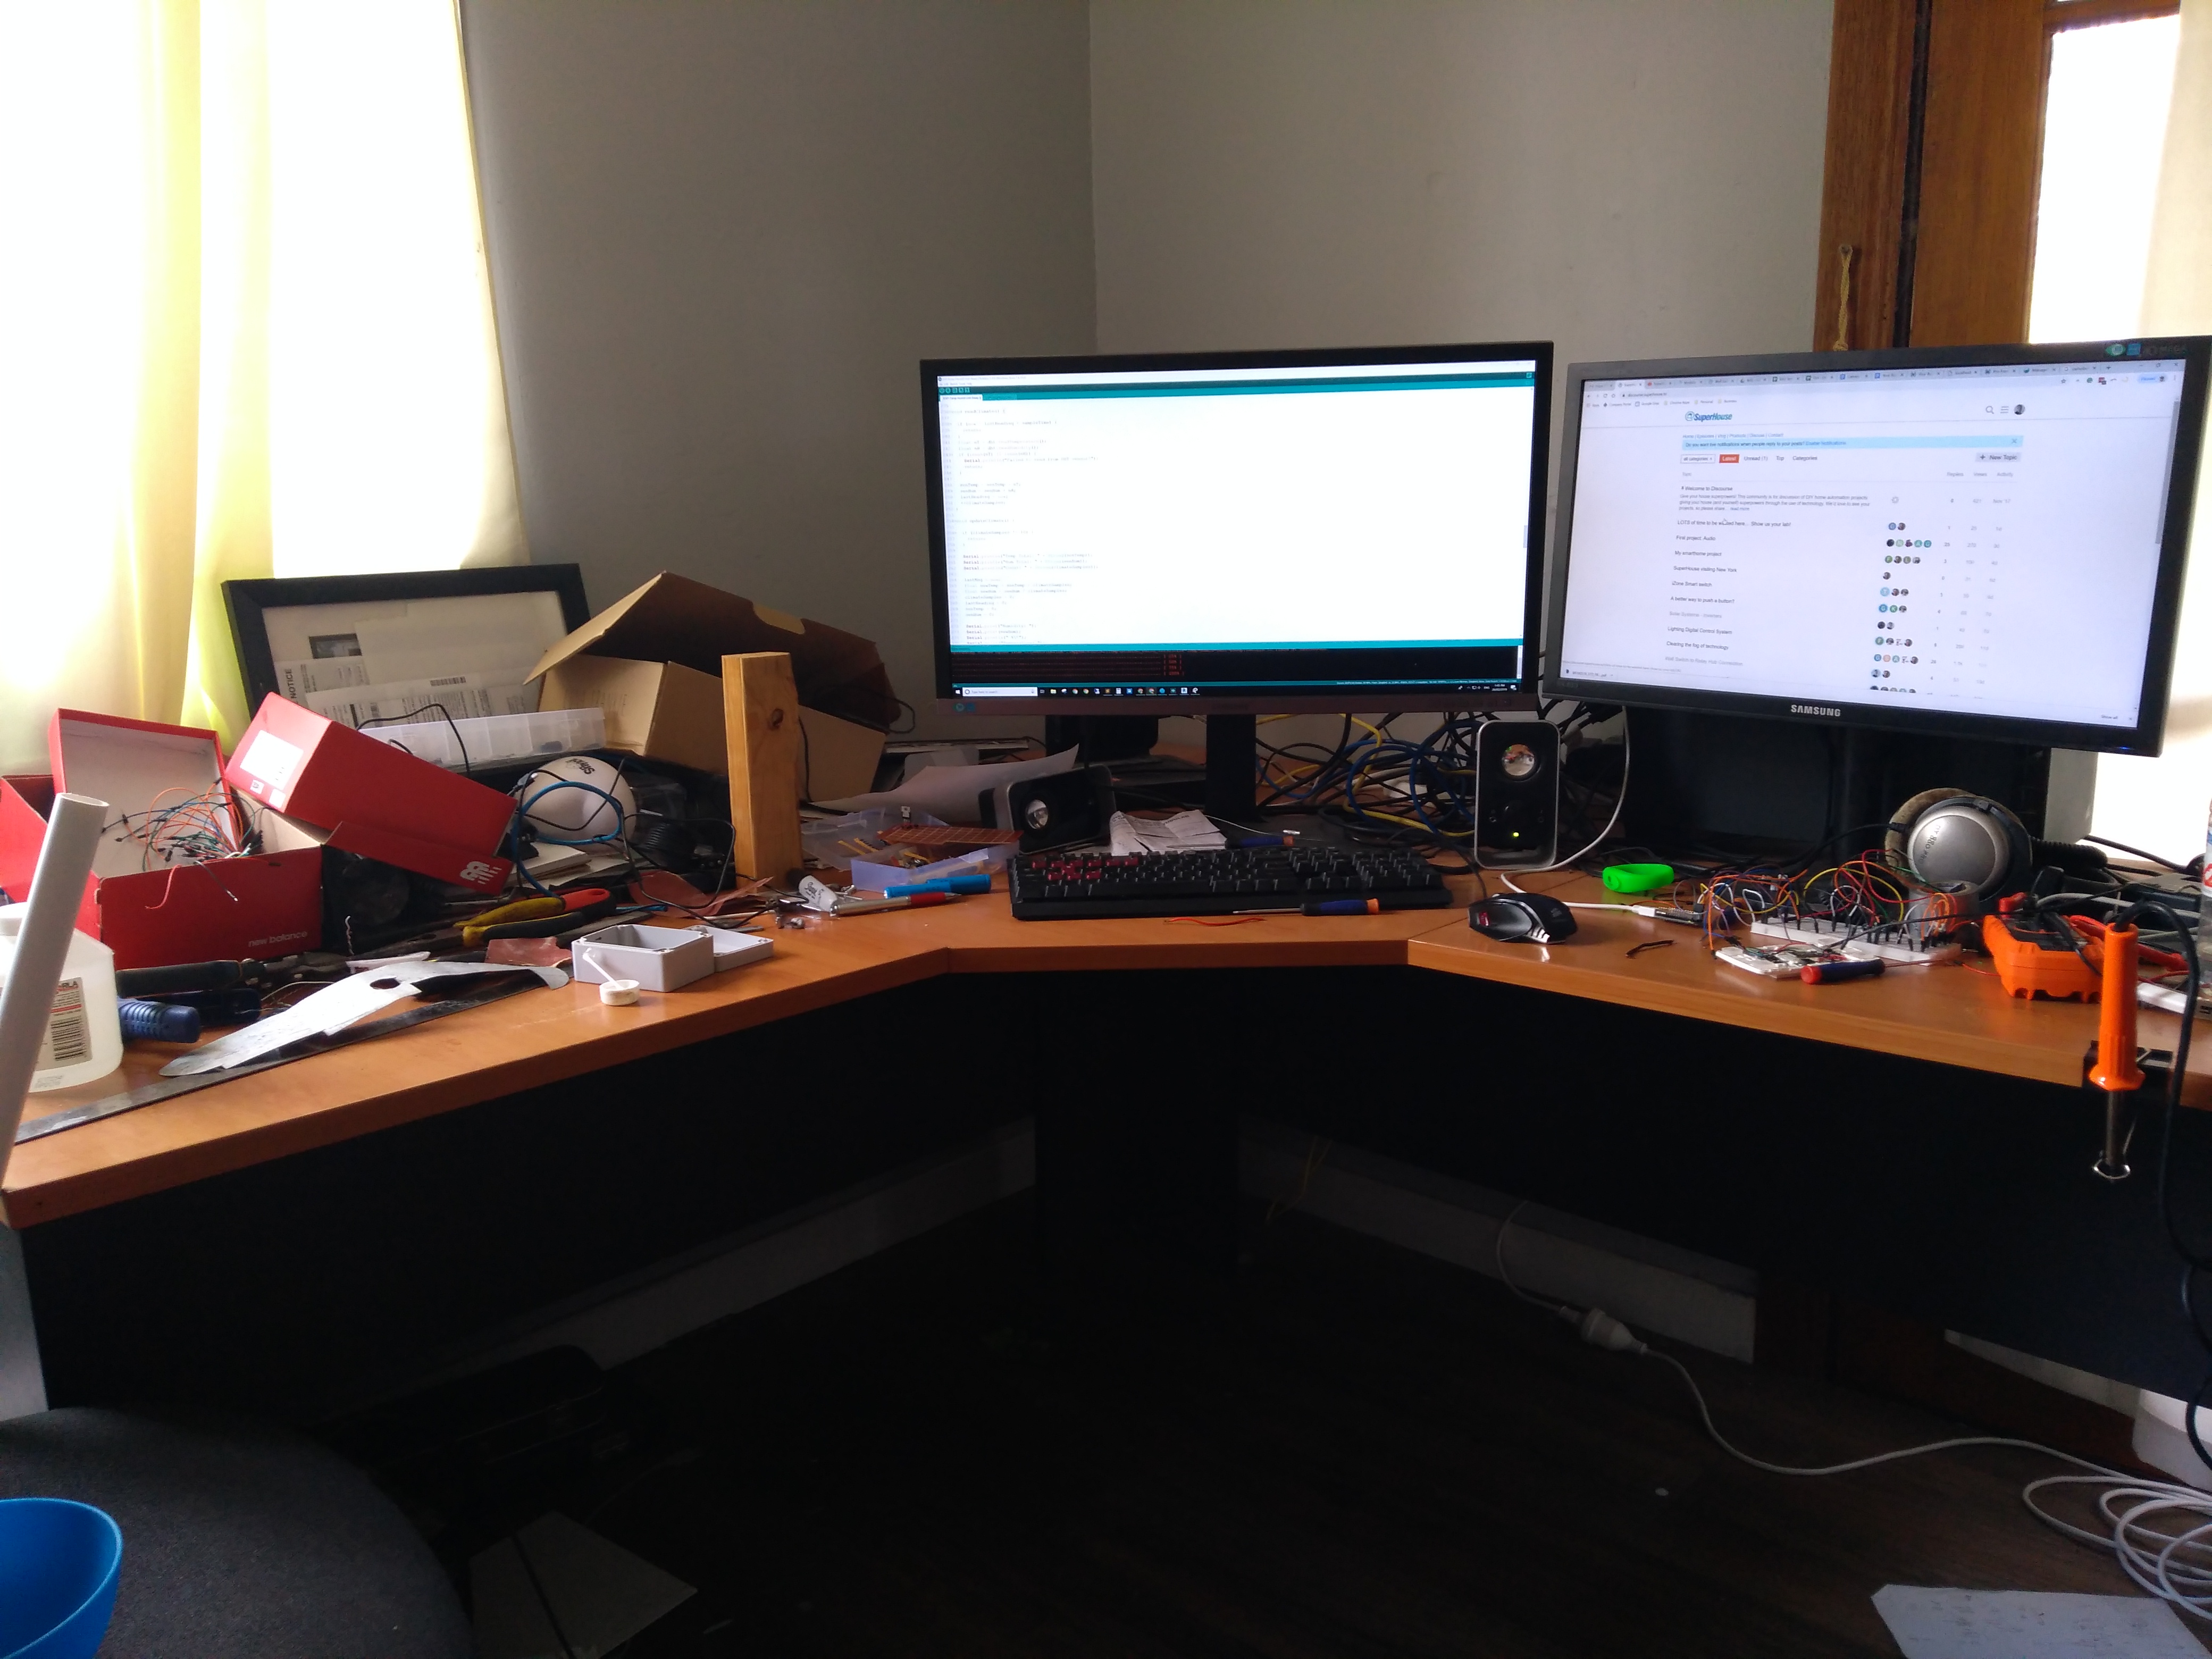
I am planning to tidy up and organise soon as I have a ton of new projects on the cards and my wife also has her desk in the office and is not a fan of my component spread lol
Edit: However, we’re a 5-person family renting a relatively small house so I don’t have much room. This office is also where I do my day-job so it’s focus is on code. I plan to put a lot more effort once we’re in the new house we’re building to have an area to tinker with hardware.
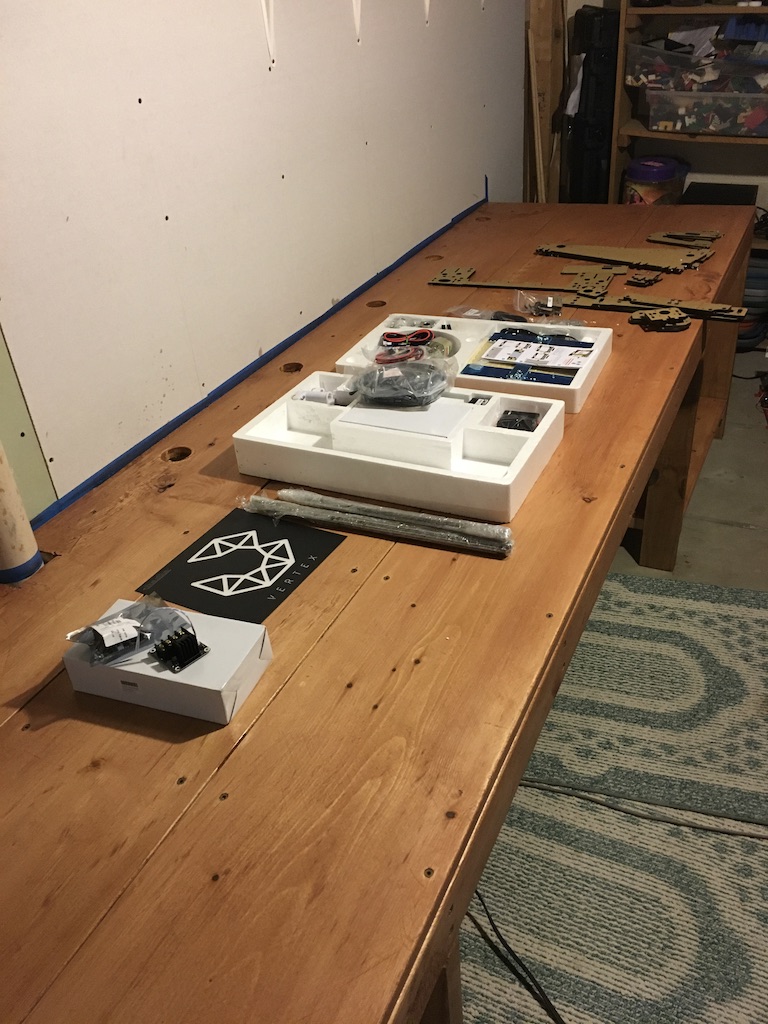
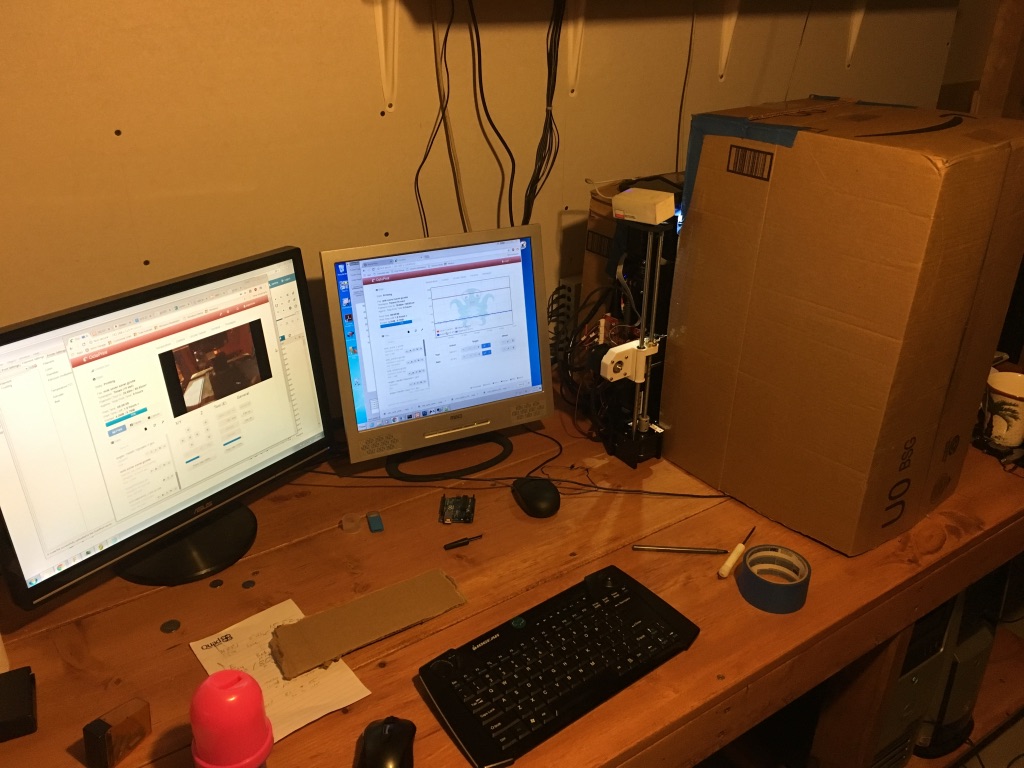
So I’ll start by saying that I’m EXTREMELY lucky to be in the place that I’m at here. My wife and I bought a foreclosed house that had mold damage for well under market value and fixed it up. My dad came down about a year ago and helped me build this ROCK SOLID desk - and you can see the 3D printer (the Anet A8 / cheapest best printer on the market) being assembled. The bench top is three planks of 1x12 boards at about 10 or 12 feet long - HUGE desk!
The eagle-eyed viewers can also spot the crates full of legos in the background
I don’t think I have any pictures of the “before” but it was literally a table from a lab at college that was thrown in the dumpster and had a missing foot (which I never really fixed and the desk rocked).
This is on the unfinished side of the basement - so I have a few area rugs on the floor to keep the toes warm.
I hung one 4x8 sheet of drywall in the middle of the studs so I had access above and below to drop wires. I also pre-drilled holes before hanging the drywall going side to side about 2" tucked from where the drywall covered. This means that I can run wires laterally hidden behind the drywall laterally near the top and bottom. You can also see holes cut every 16" along the surface for dropping wires through.
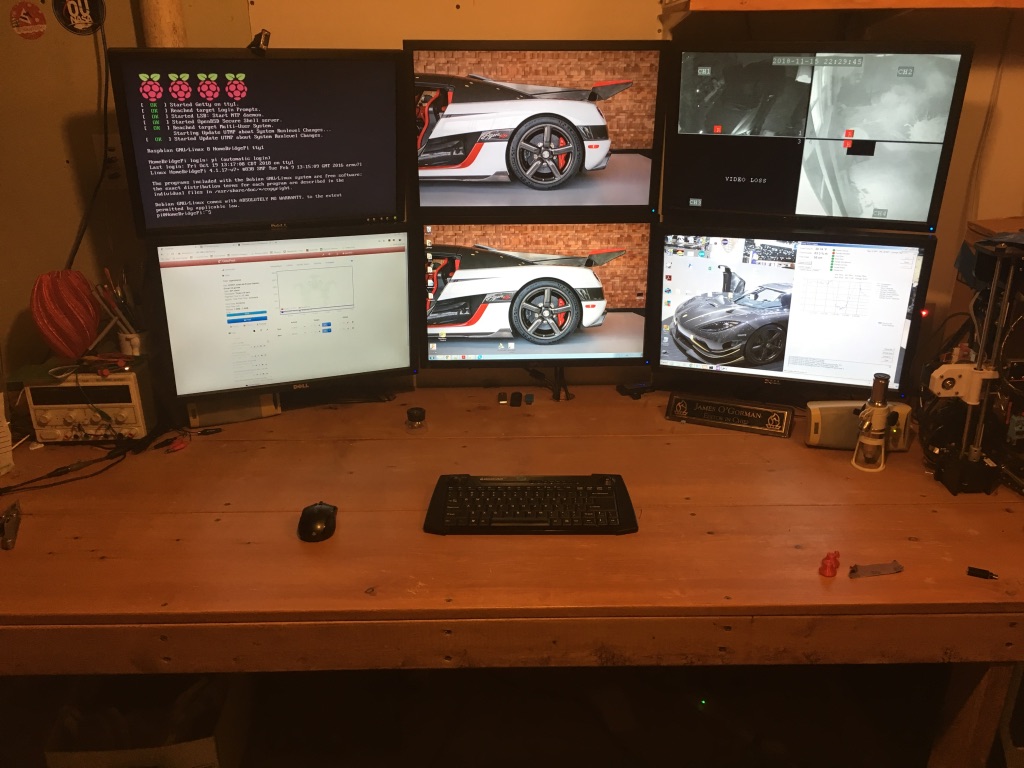
But about six months ago, a friend called me as his company (my former employer) was bought out and moving, and were getting rid of a bunch of computer screens. Literally two skids of monitors. I requested he salvage six if he could manage it. So I 3D printed some custom mounts and now I have this
And on another note - the lighting in my basement is HORRIBLE and on my to-do list… It is very yellow and I use some additional floor lamps to provide more lighting.
The bench has a wide area in the middle where two people can comfortably sit next to each other and work, then I have shelves on the left and right end. I placed the shelf 6" off the floor and my computers sit on them. The idea being that I could get a minor flood of <6" of water and the computer would still be dry.
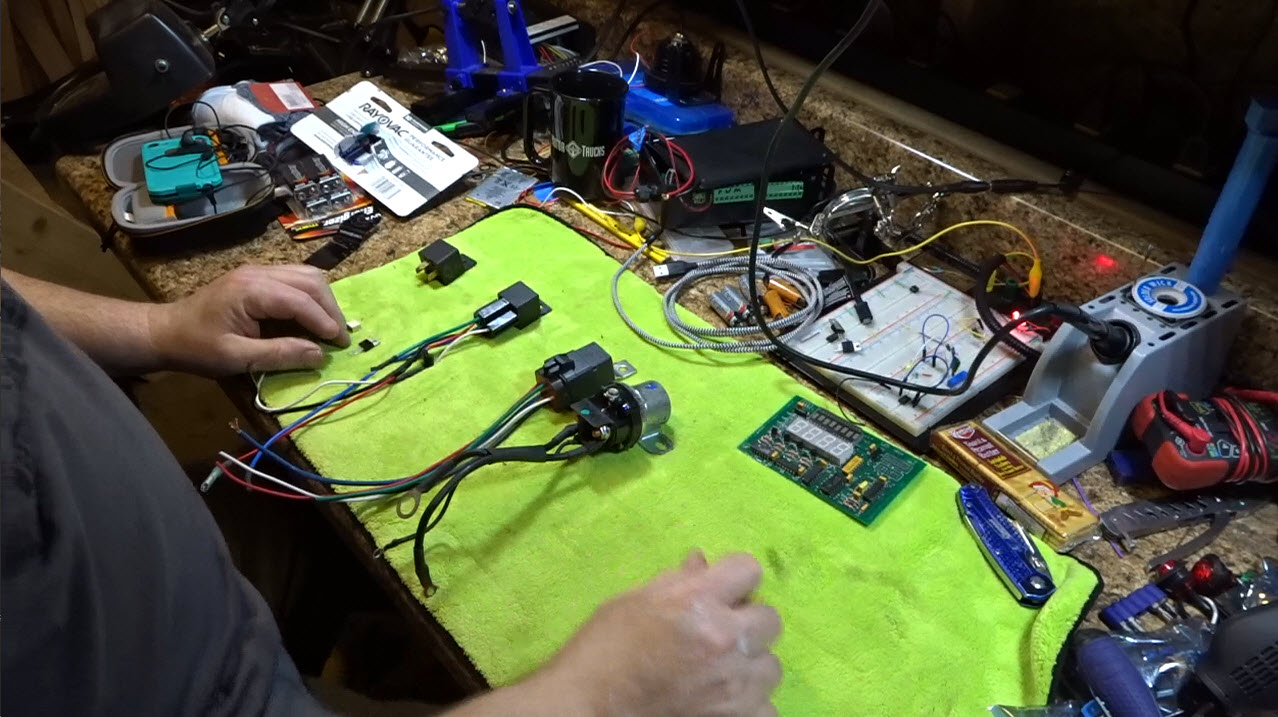
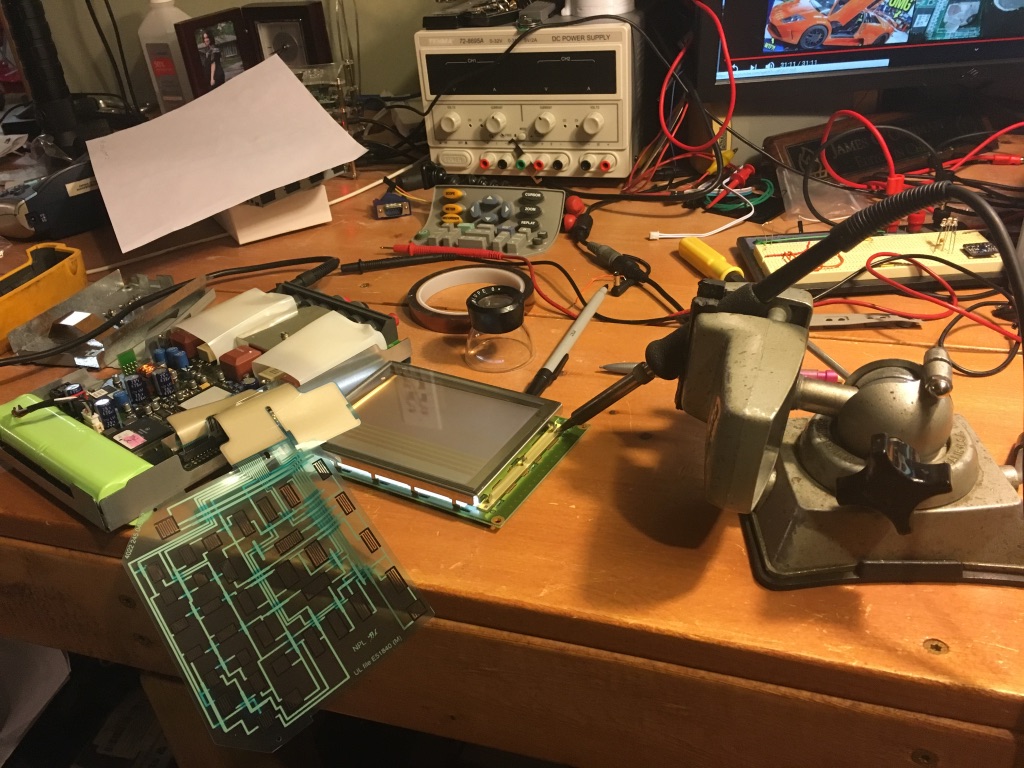
And If we’re all honest here, most the time there is less than 1 square foot of open space on the bench… This is what it looked like last week when I repaired a Fluke
190 Scopemeter for work:
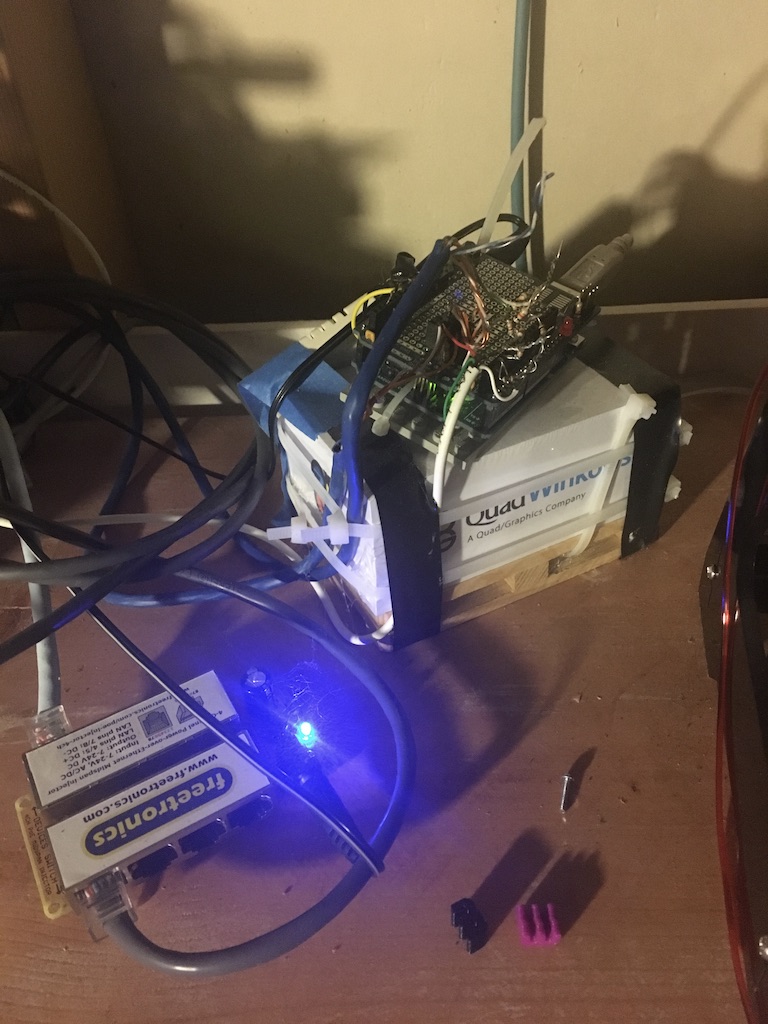
I picked up a panel for mounting the automation hardware and it can “clearly” be seen in the bottom right of this picture.
And here is the shelf holding the main data collection Arduino for hardwired sensors (still needs to be cleaned up obviously, but has been running for about 5 years like this)
I hope you don’t mind, I’ve just started creating categories so that threads can be grouped together, and I’ve put this thread into the new “Labs / Workshops / Tools” category.
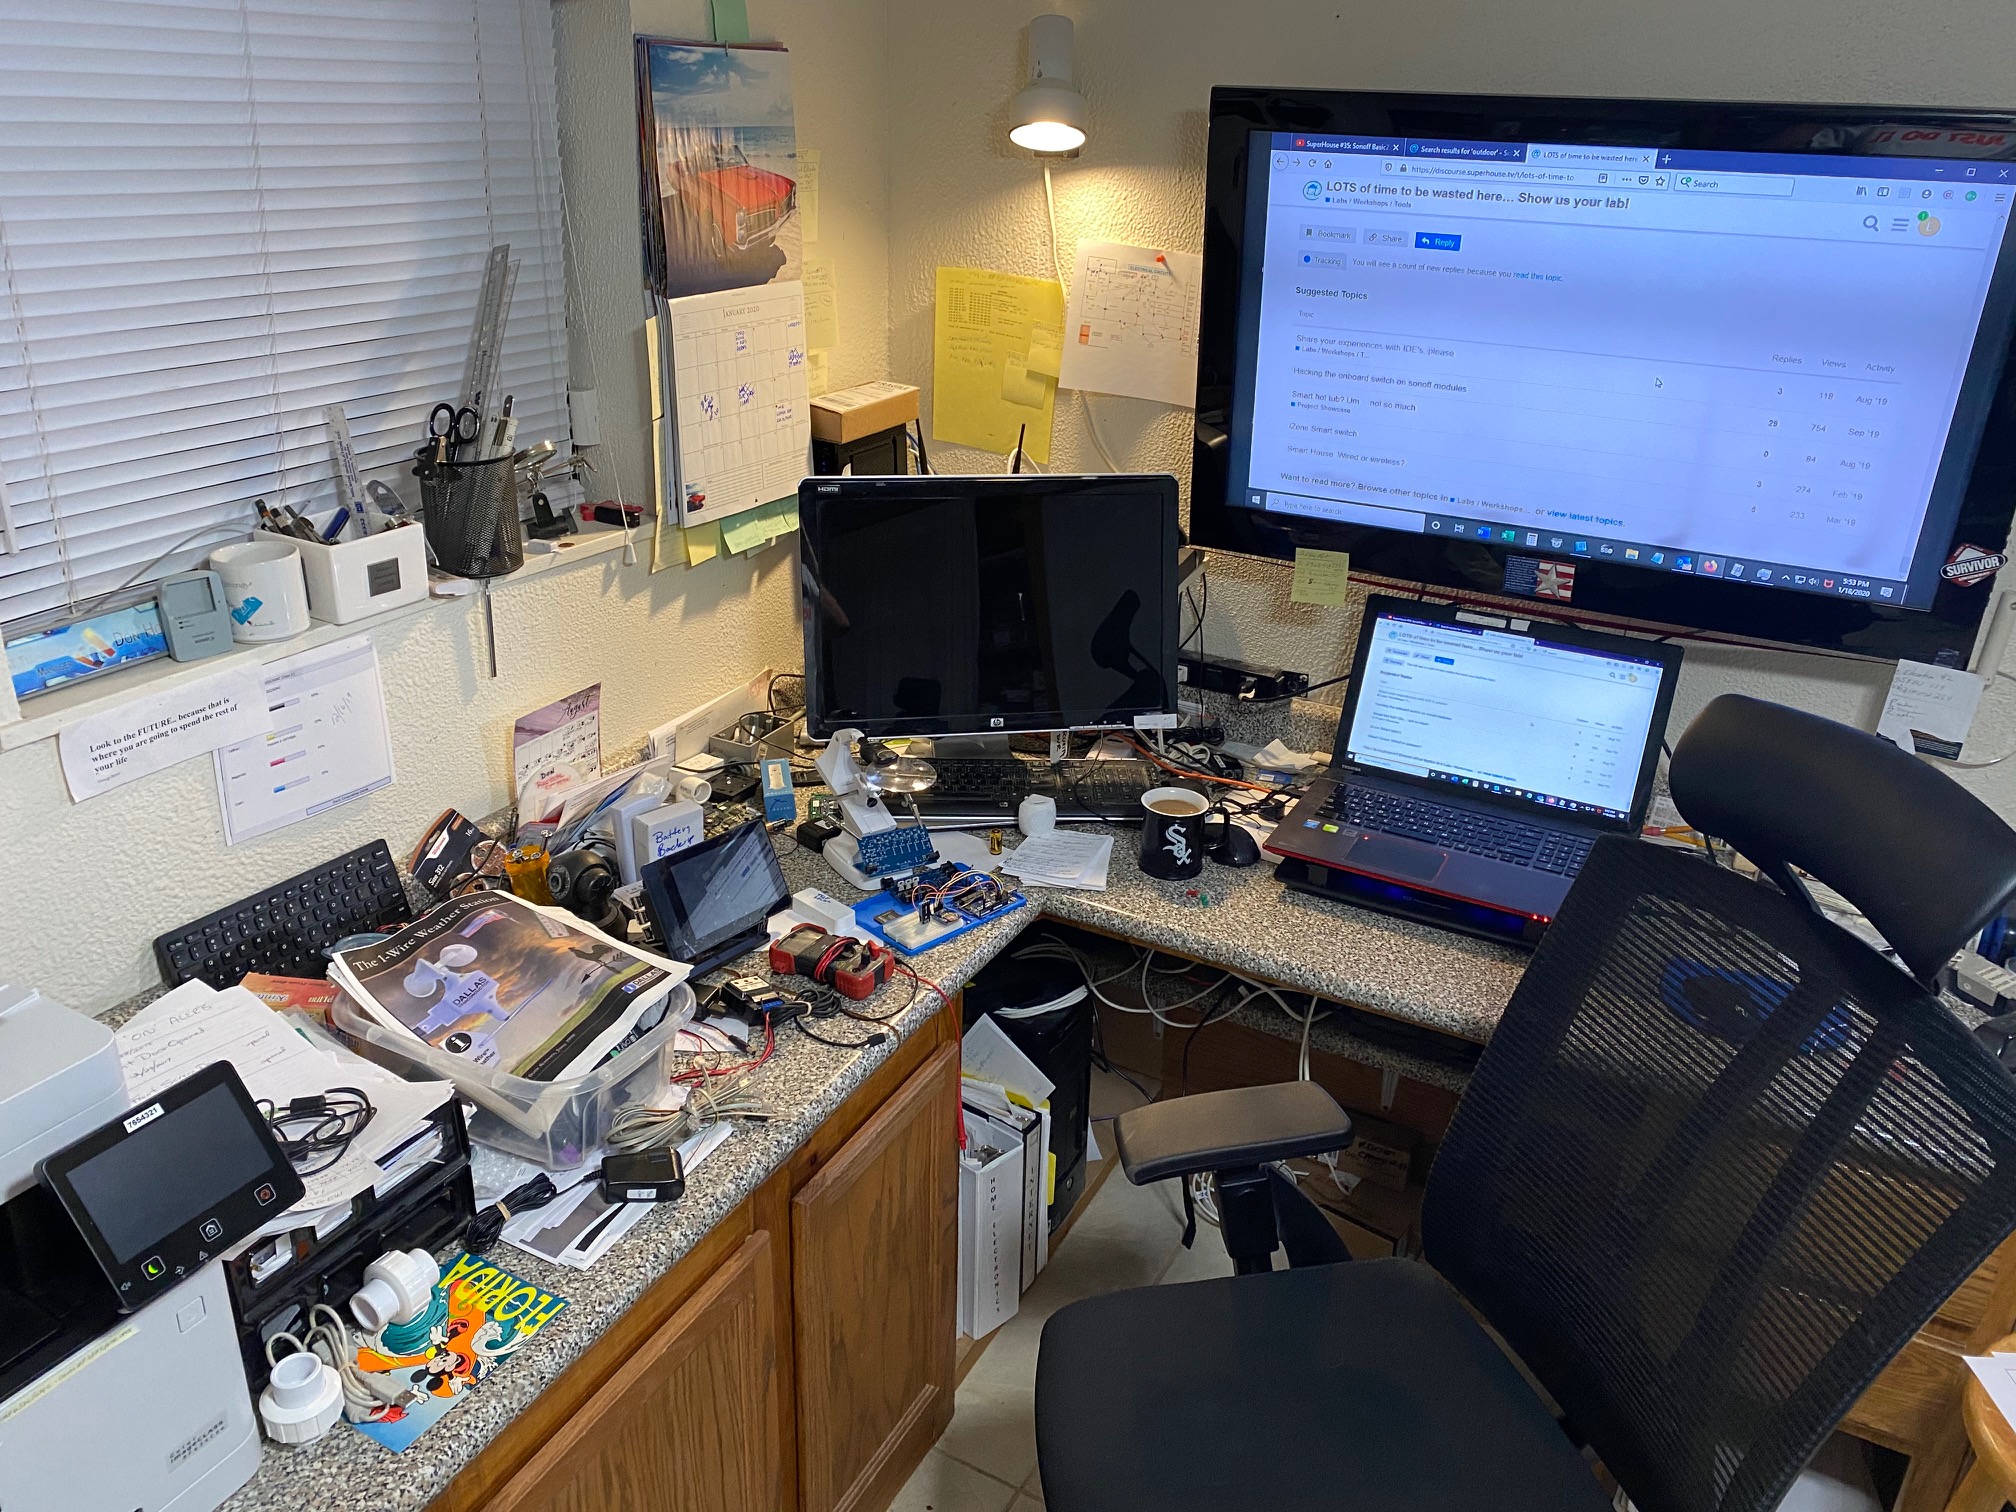
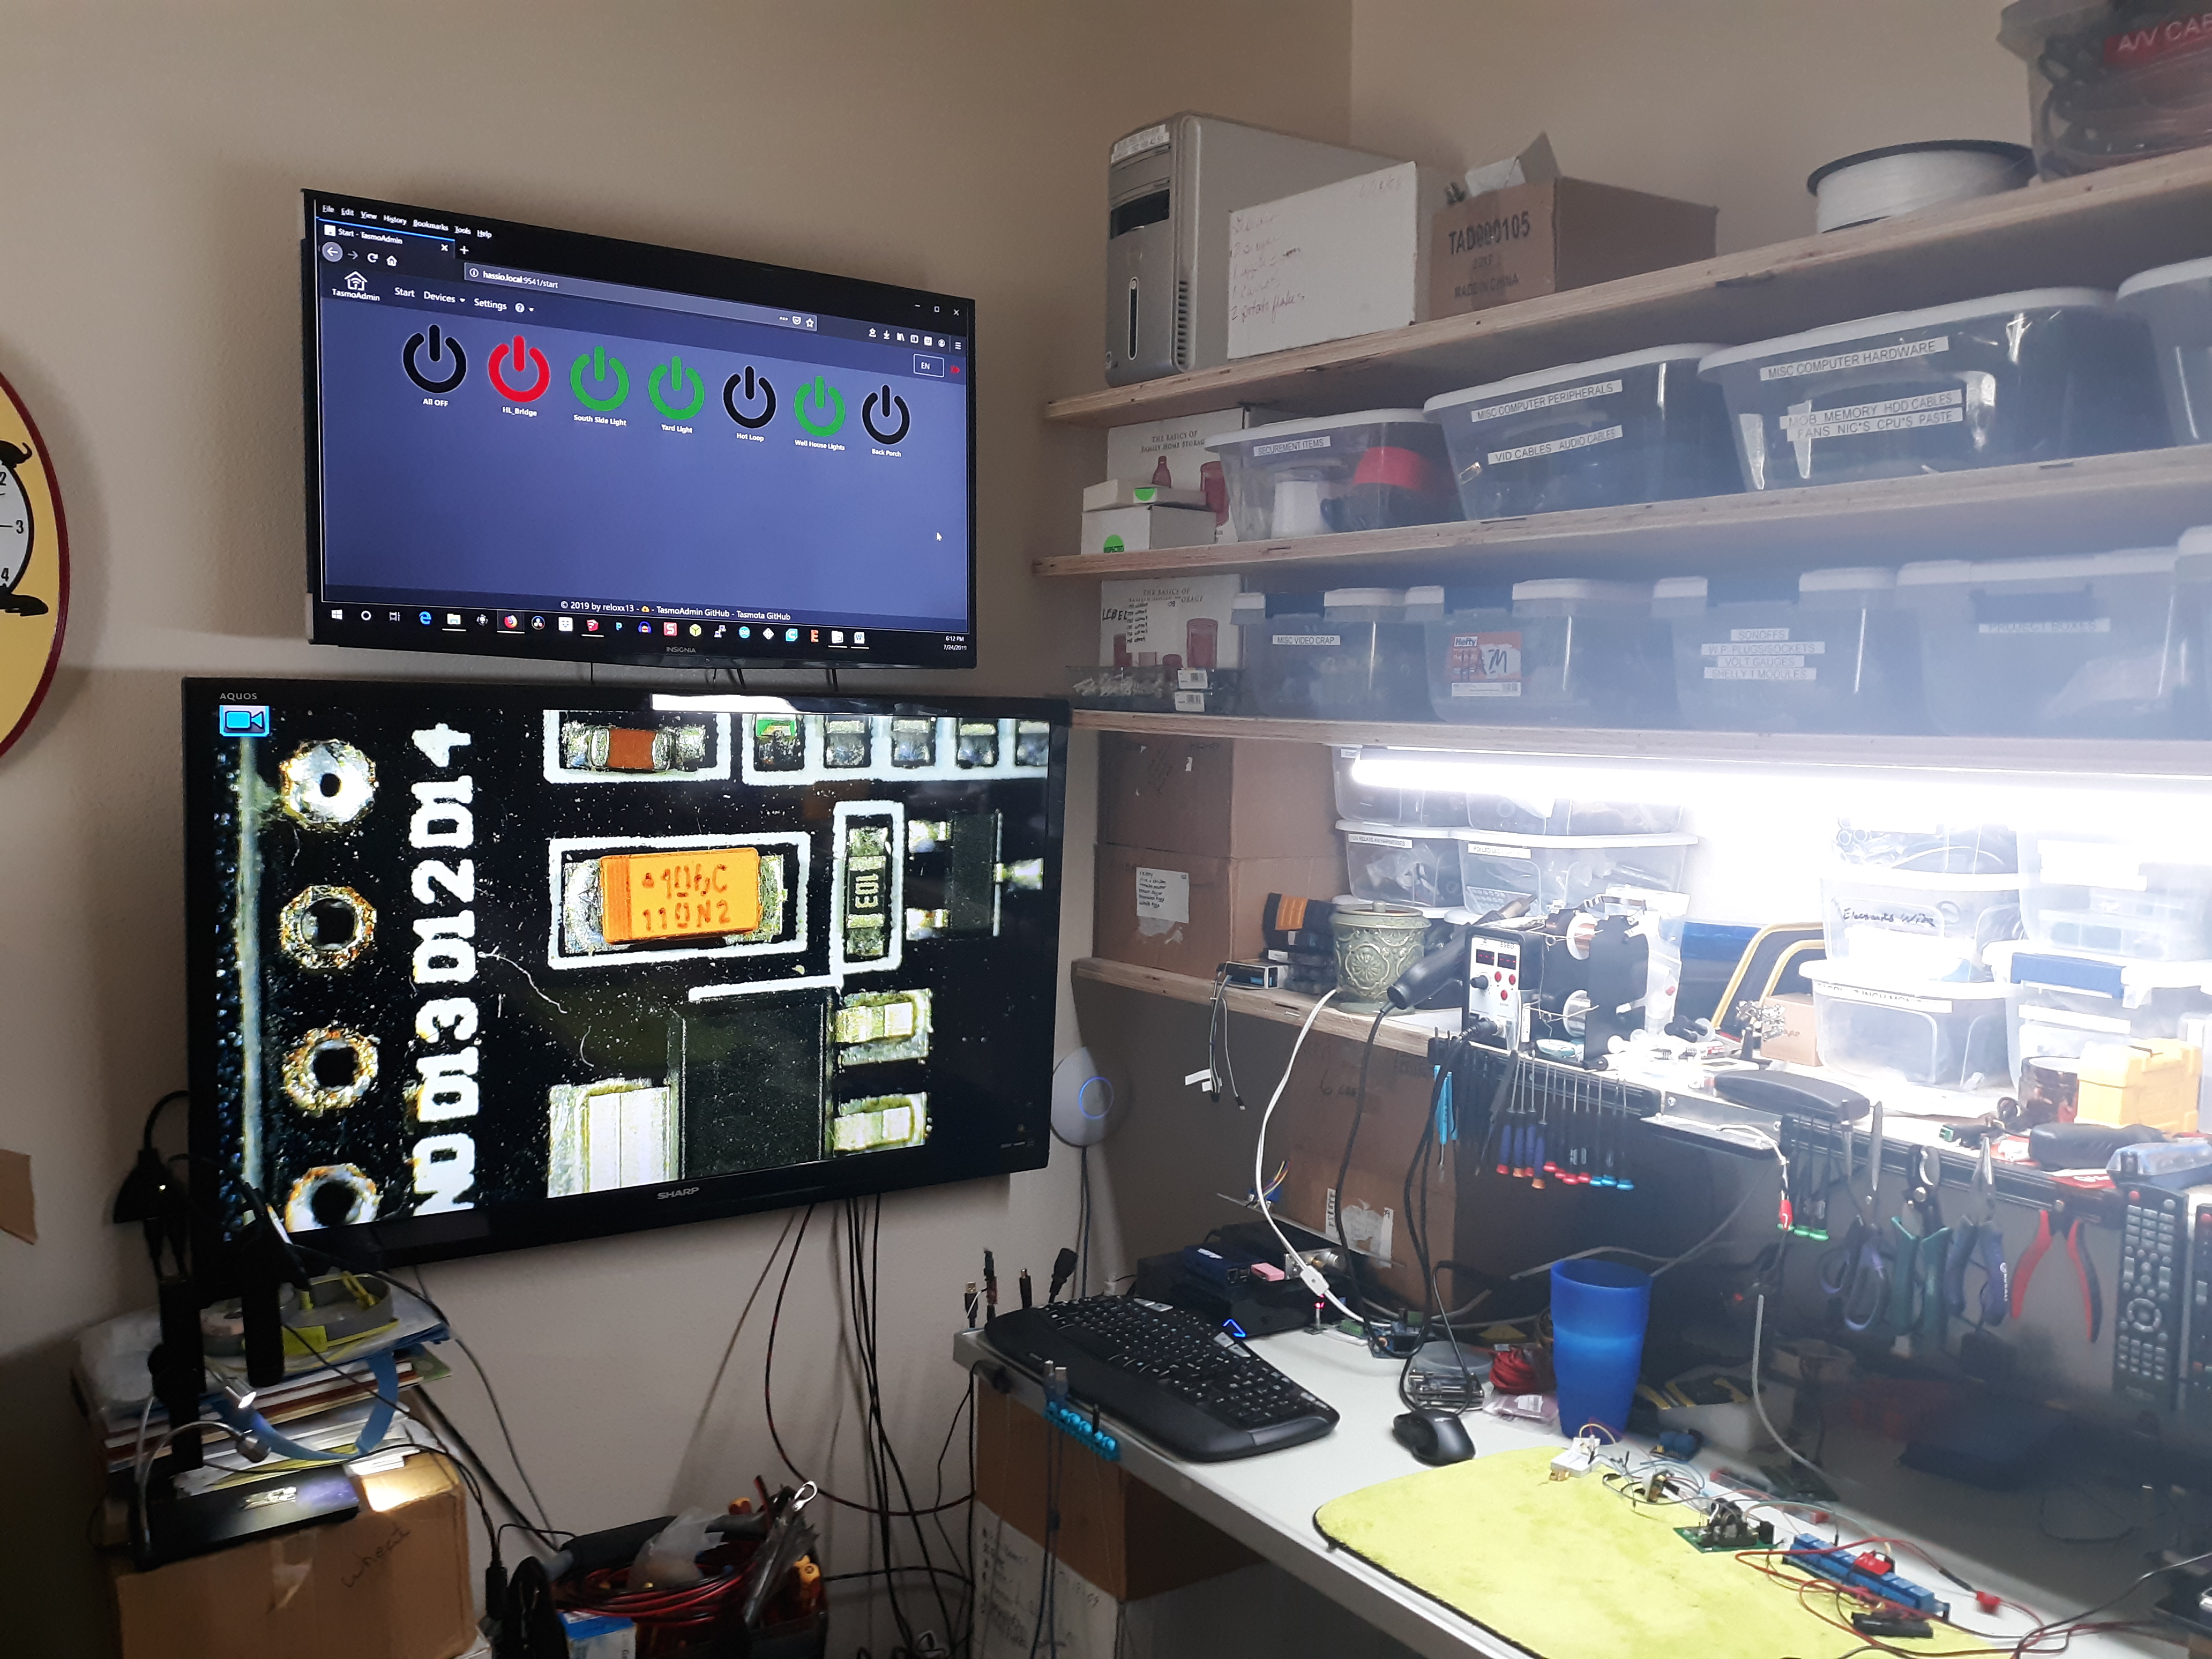
I finally got the opportunity to get my big TV back from… storage? Well, it was being taken care of by my daughter so we didn’t have to risk it in storage during our move process. She unfortunately had to go back to her 24" tv from a 52" one but she had it for much longer than I had anticipated. I spent a few hours trying to find the bench under all of it’s unfinished projects before taking the pics but know that it was a mess of large proportions.
The point was to have something to view the lab scope on while my blind self tries to not butter all the components together in one fell swoop. Or at least it makes it so I can confirm I did it so I have no question why the board works worse than it started Just because you can see it doesn’t mean you can do anything with it. lol Its big enough thought that it is almost like immersive 3d. The top one is 42" and was below.
Nice setup, Wow!!! they are both big screens !!!..i got a 27 inch Beng which im using to view my camera,s and thought it was huge LOL !!!..I would need lab scope and thats for thru hole stuff lol…the smd stuff is too small for my old eyes…
That cheap microscope makes SMD work so much nicer. The component is ridiculously small but on screen it is about 30cm! Trying to resolder stuff that small looks like you are poking at it with a telephone pole
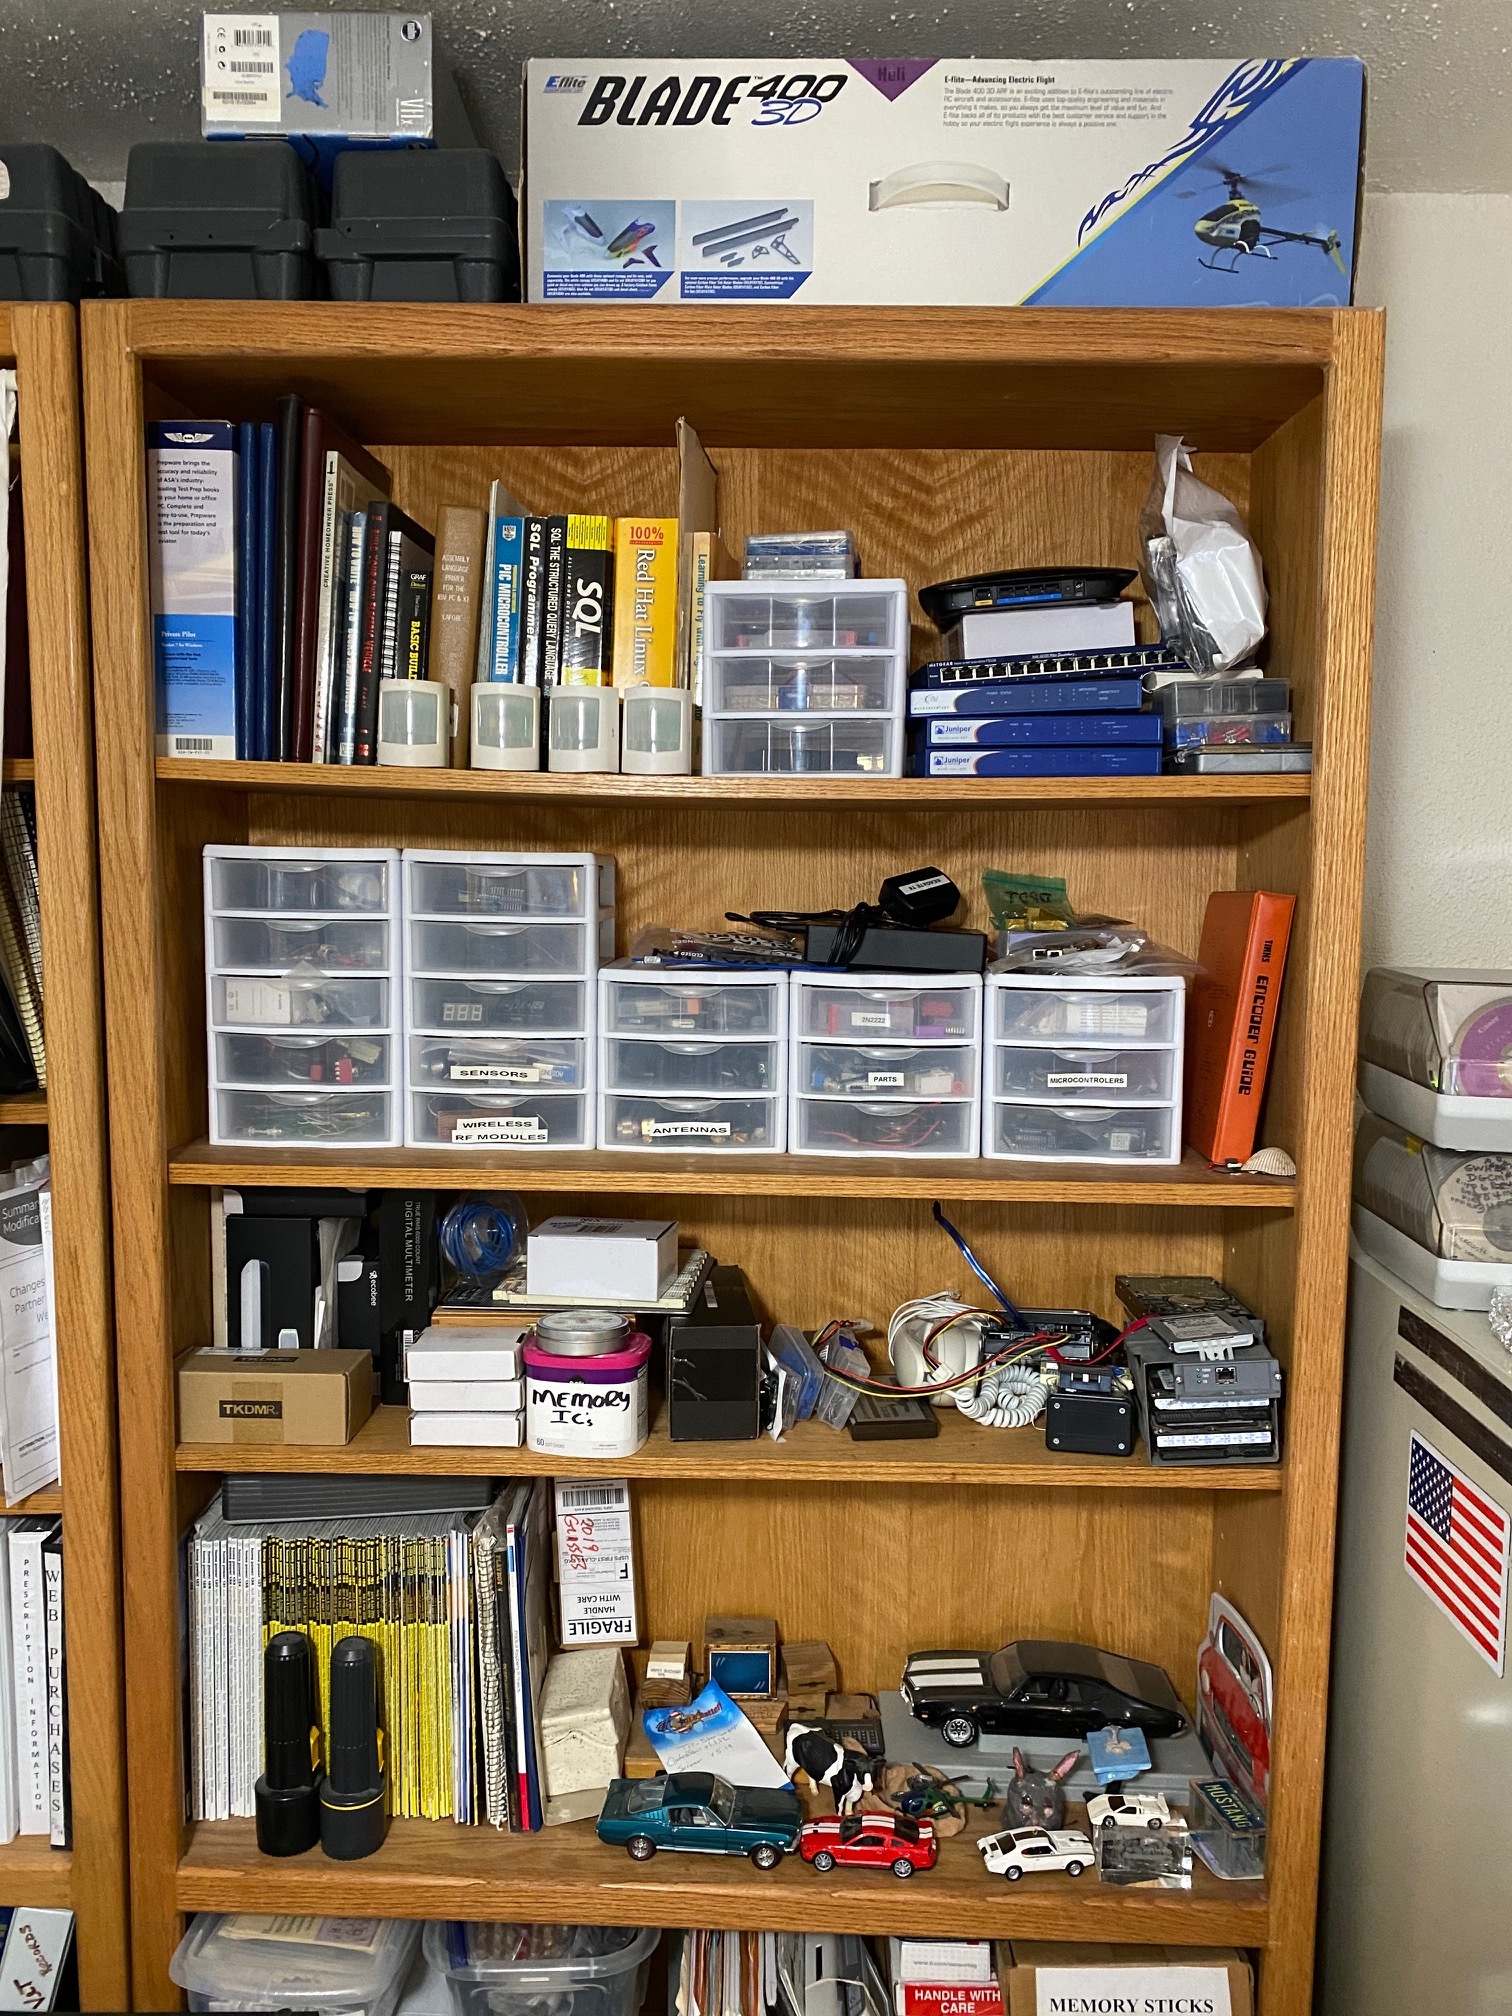
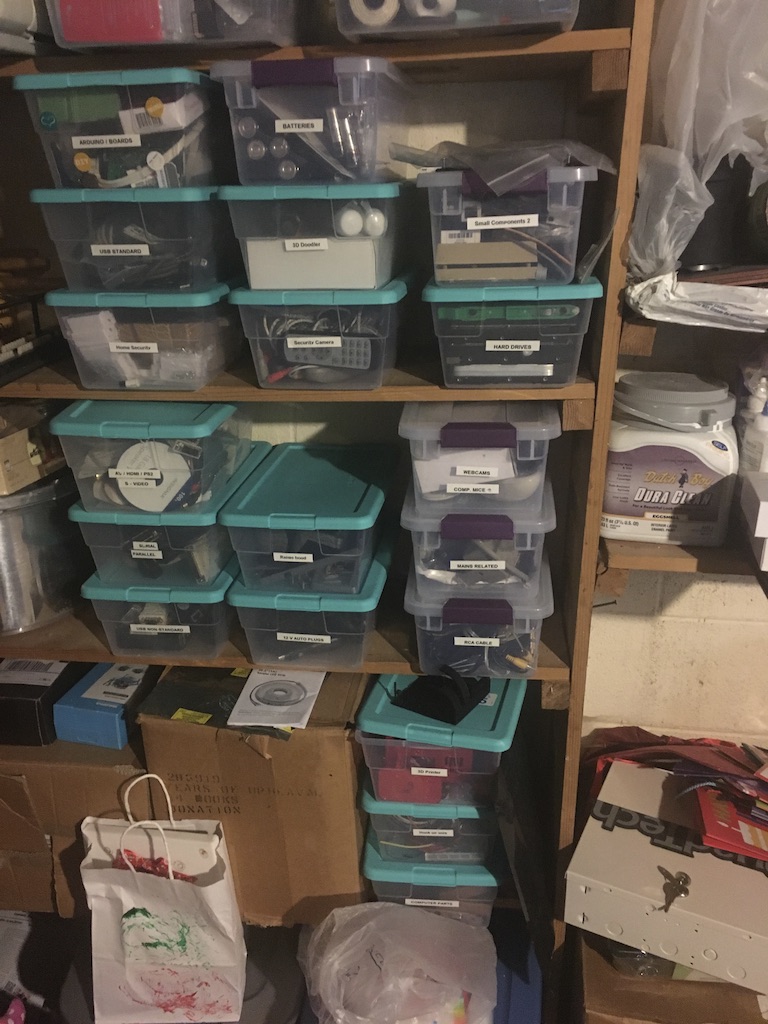
The wife thinks that my electronics workshop needs to be more organized. I tell her if something gets moved, I will have no clue as to where it is… so everything stays as is. I also tell her what that great man Einstein said “If a cluttered desk is a sign of a cluttered mind, of what, then, is an empty desk a sign?”. Sorry I can not repeat what she said.
Here is my workbench and one of my storage area. I could not upload my electronics supply shelves as I can only upload 1 photo at the moment… maybe another post.
NICE! I have that same printer and multimeter! lol My first picture was from the day I set up the desk. It has never looked that good. It’s currently DEEEEP in stuff for current projects and prototyping. But dangit, I know where… most all the components are in that mess!


 Just because you can see it doesn’t mean you can do anything with it. lol Its big enough thought that it is almost like immersive 3d. The top one is 42" and was below.