I got it assembled. Felt a lot like IKEA flatpack setup but I am fluent in ‘making crap work’ so it wasn’t too bad of a setup. I did the bed level thingy and you are right, she’s a complainer when the leveling magnet doohickey is still there when you try to do other stuff I also believe I went the same direction you did on trying out the first print. I followed their instructions to just go onto the SD card and grab a test project… which doesn’t even show up unless you take the SD card and slice one of them in Cura first. That had me by the short hairs for a good hour. I tried running a print and adjusting the height a dozen or more times and couldn’t get it right. I had to clean it up and set it aside for a bit out of frustration. I have too many projects going on to track with this one at the moment. It acts like it won’t put out enough material… like the feed rate is too slow on the filament. I tried cranking the heat up from 200 to 210 with little to no effect. I am sure it is something simple like a setting I am unaware of. It will do a print. It just does it with little wads of material instead a smooth stream of plastic.
That sounds frustrating. You could test whether the filament is flowing properly by pushing it through with your fingers from the end of the Bowden tube. Move the head so that it’s hanging in space somewhere in the middle of the machine, set the extruder temperature to something appropriate depending on the filament type, then release the filament from the feed motor, pinch it between your fingers, and push. It should come out the nozzle in a smooth stream while you’re pushing it.
I’ve done that many times with my friend Nick’s Kossel Delta when I’m changing filaments, to clear out the old colour from the nozzle. If it doesn’t flow, there may be some problem with the extruder such as the nozzle not heating up properly.
I can easily push the filament through the nozzle by hand so I don’t believe I have a blockage or temp issue. It acts like the motor isn’t turning fast enough for the needed feed.
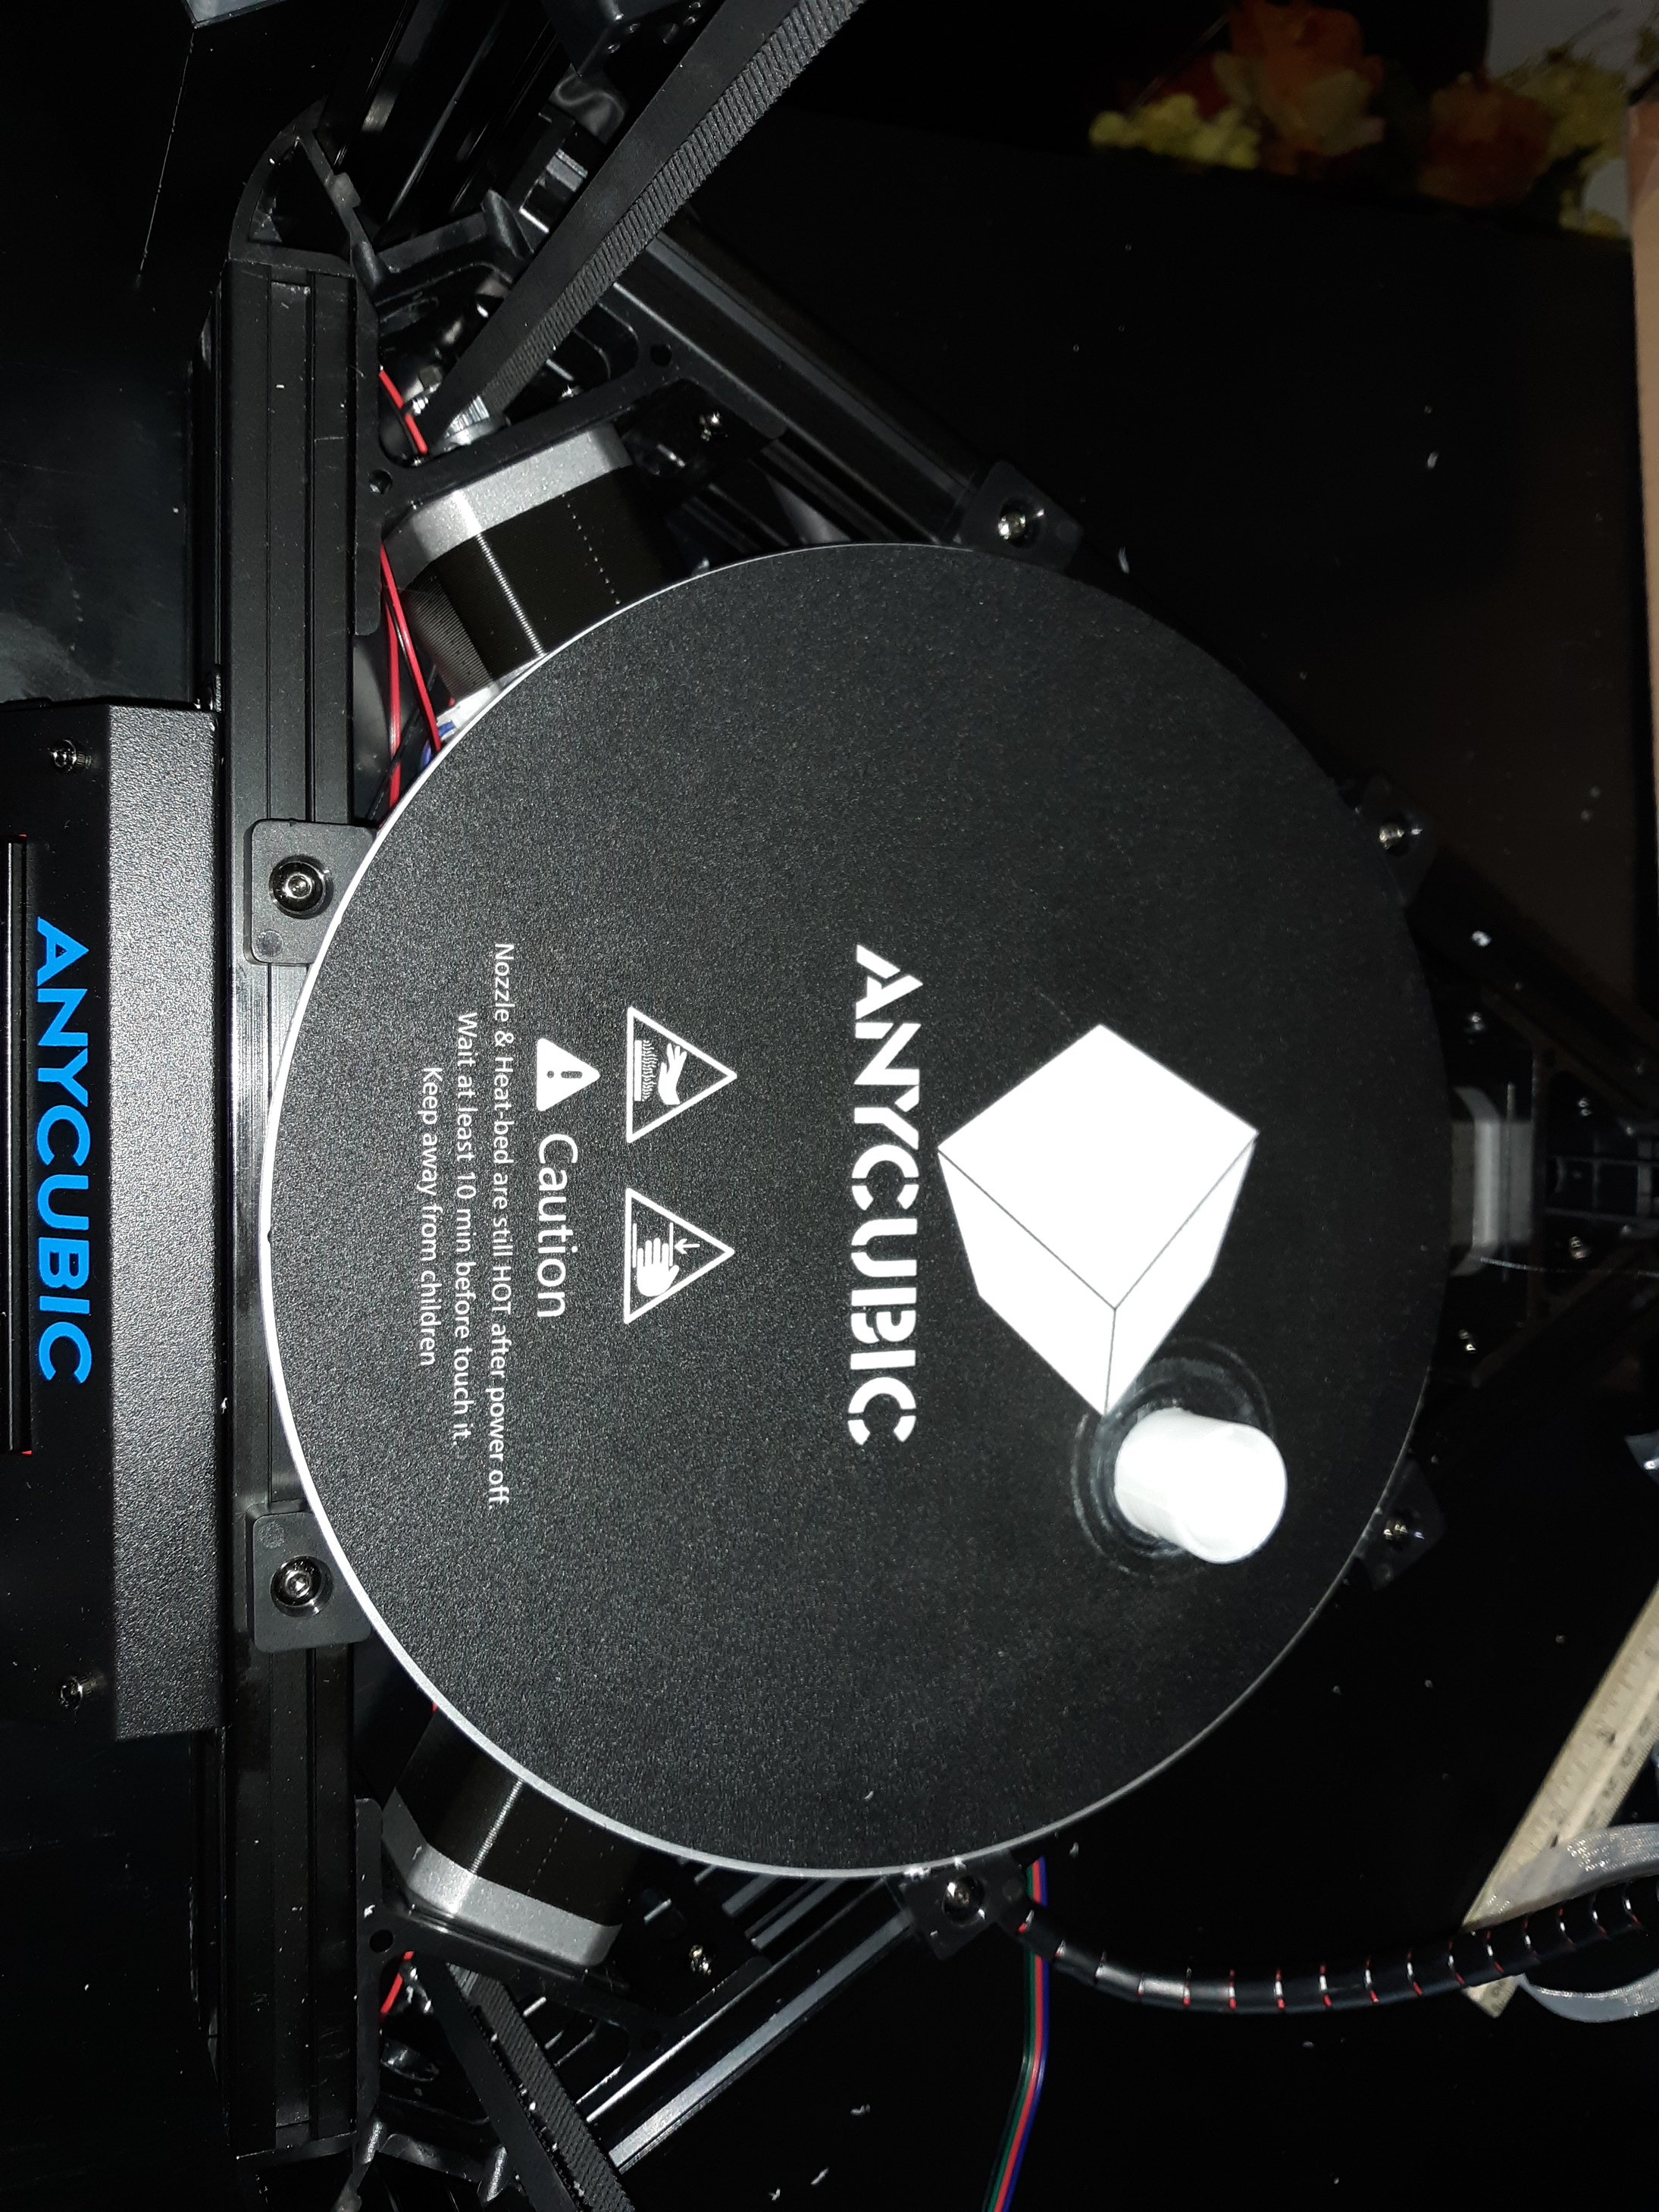
I think I got it scared now. I was playing around with it and determined a couple things. First of aall, the nozzle temp was too low. I did not change anything in Cura so my initial temp settings on the printer did nothing of value. It was running too cool and creating cottage cheese. I cranked the temp up to 212 for giggles in Cura and tthen started printing a mini mug from the printer test prints and realized then that I needed to adjust the Z setting down a couple notches. Seems to be doing a decent job now so with some tweaking, I ought to get some decent prints here soon. I have noticed though that I am having a horrible time with sticking on the stock Anycubic mat. Like… stuck like concrete. Even of the print was solid, I’d have to chisel it off. I have it set to 70. Suggestions there? Am thinking of getting a round mirror and removing the base pad. The pad has a texture and I think that is where the problem lies.
Are you using SD card to print or are you connected to your printer or a RPi? I was thinking setting up an OctoPi since I have a spare 3B lying around but I am not sure that I need that level of control. Slice, stab and go on a sneakernet isn’t really that big of a deal.
Yeah I have the same problem with the print bed, but I guess its better sticking than not at all lol, I used a glue stick on the bed and not to sure if it helped my prints or hindered them, the z axis was not set correctly when i did that so not sure how it would be without it.
I use the SD card for prints as I trust it more than my laptop that is in the workshop (it dies occasionally), I am not sure how Cura sends the data so I don’t want it dying mid print. I was thinking to use OctoPi too but talked myself out of it as my requirements are pretty mild, I don’t really need to do anything fancy, its mainly enclosures for various things.
I am thinking of taking one of the kids old lenovo tablets and making an home hub to sit on the kitchen counter top, I will just print a enclosure in two halves that will provide the stand/tilt and house a powerpack too so it lasts a bit longer before charging (there is not power point in the counter top).
I think that should put it though its paces.
The usual problem with 3D printers is the object NOT sticking to the print bed well enough. People go to all sorts of lengths to increase adhesion. The textured sticker for the Kossel seems to be particularly sticky, but you can get the prints off OK with a bit of practice. I use a knife blade out of one of those retractable knives (with the sections that you snap off) and put it almost parallel to the bed, slightly angled down, and wriggle the edge of the blade under the edge of the object. Work your way around, gently release the edges of the object, and it should peel off the bed OK. Don’t force it or rush it.
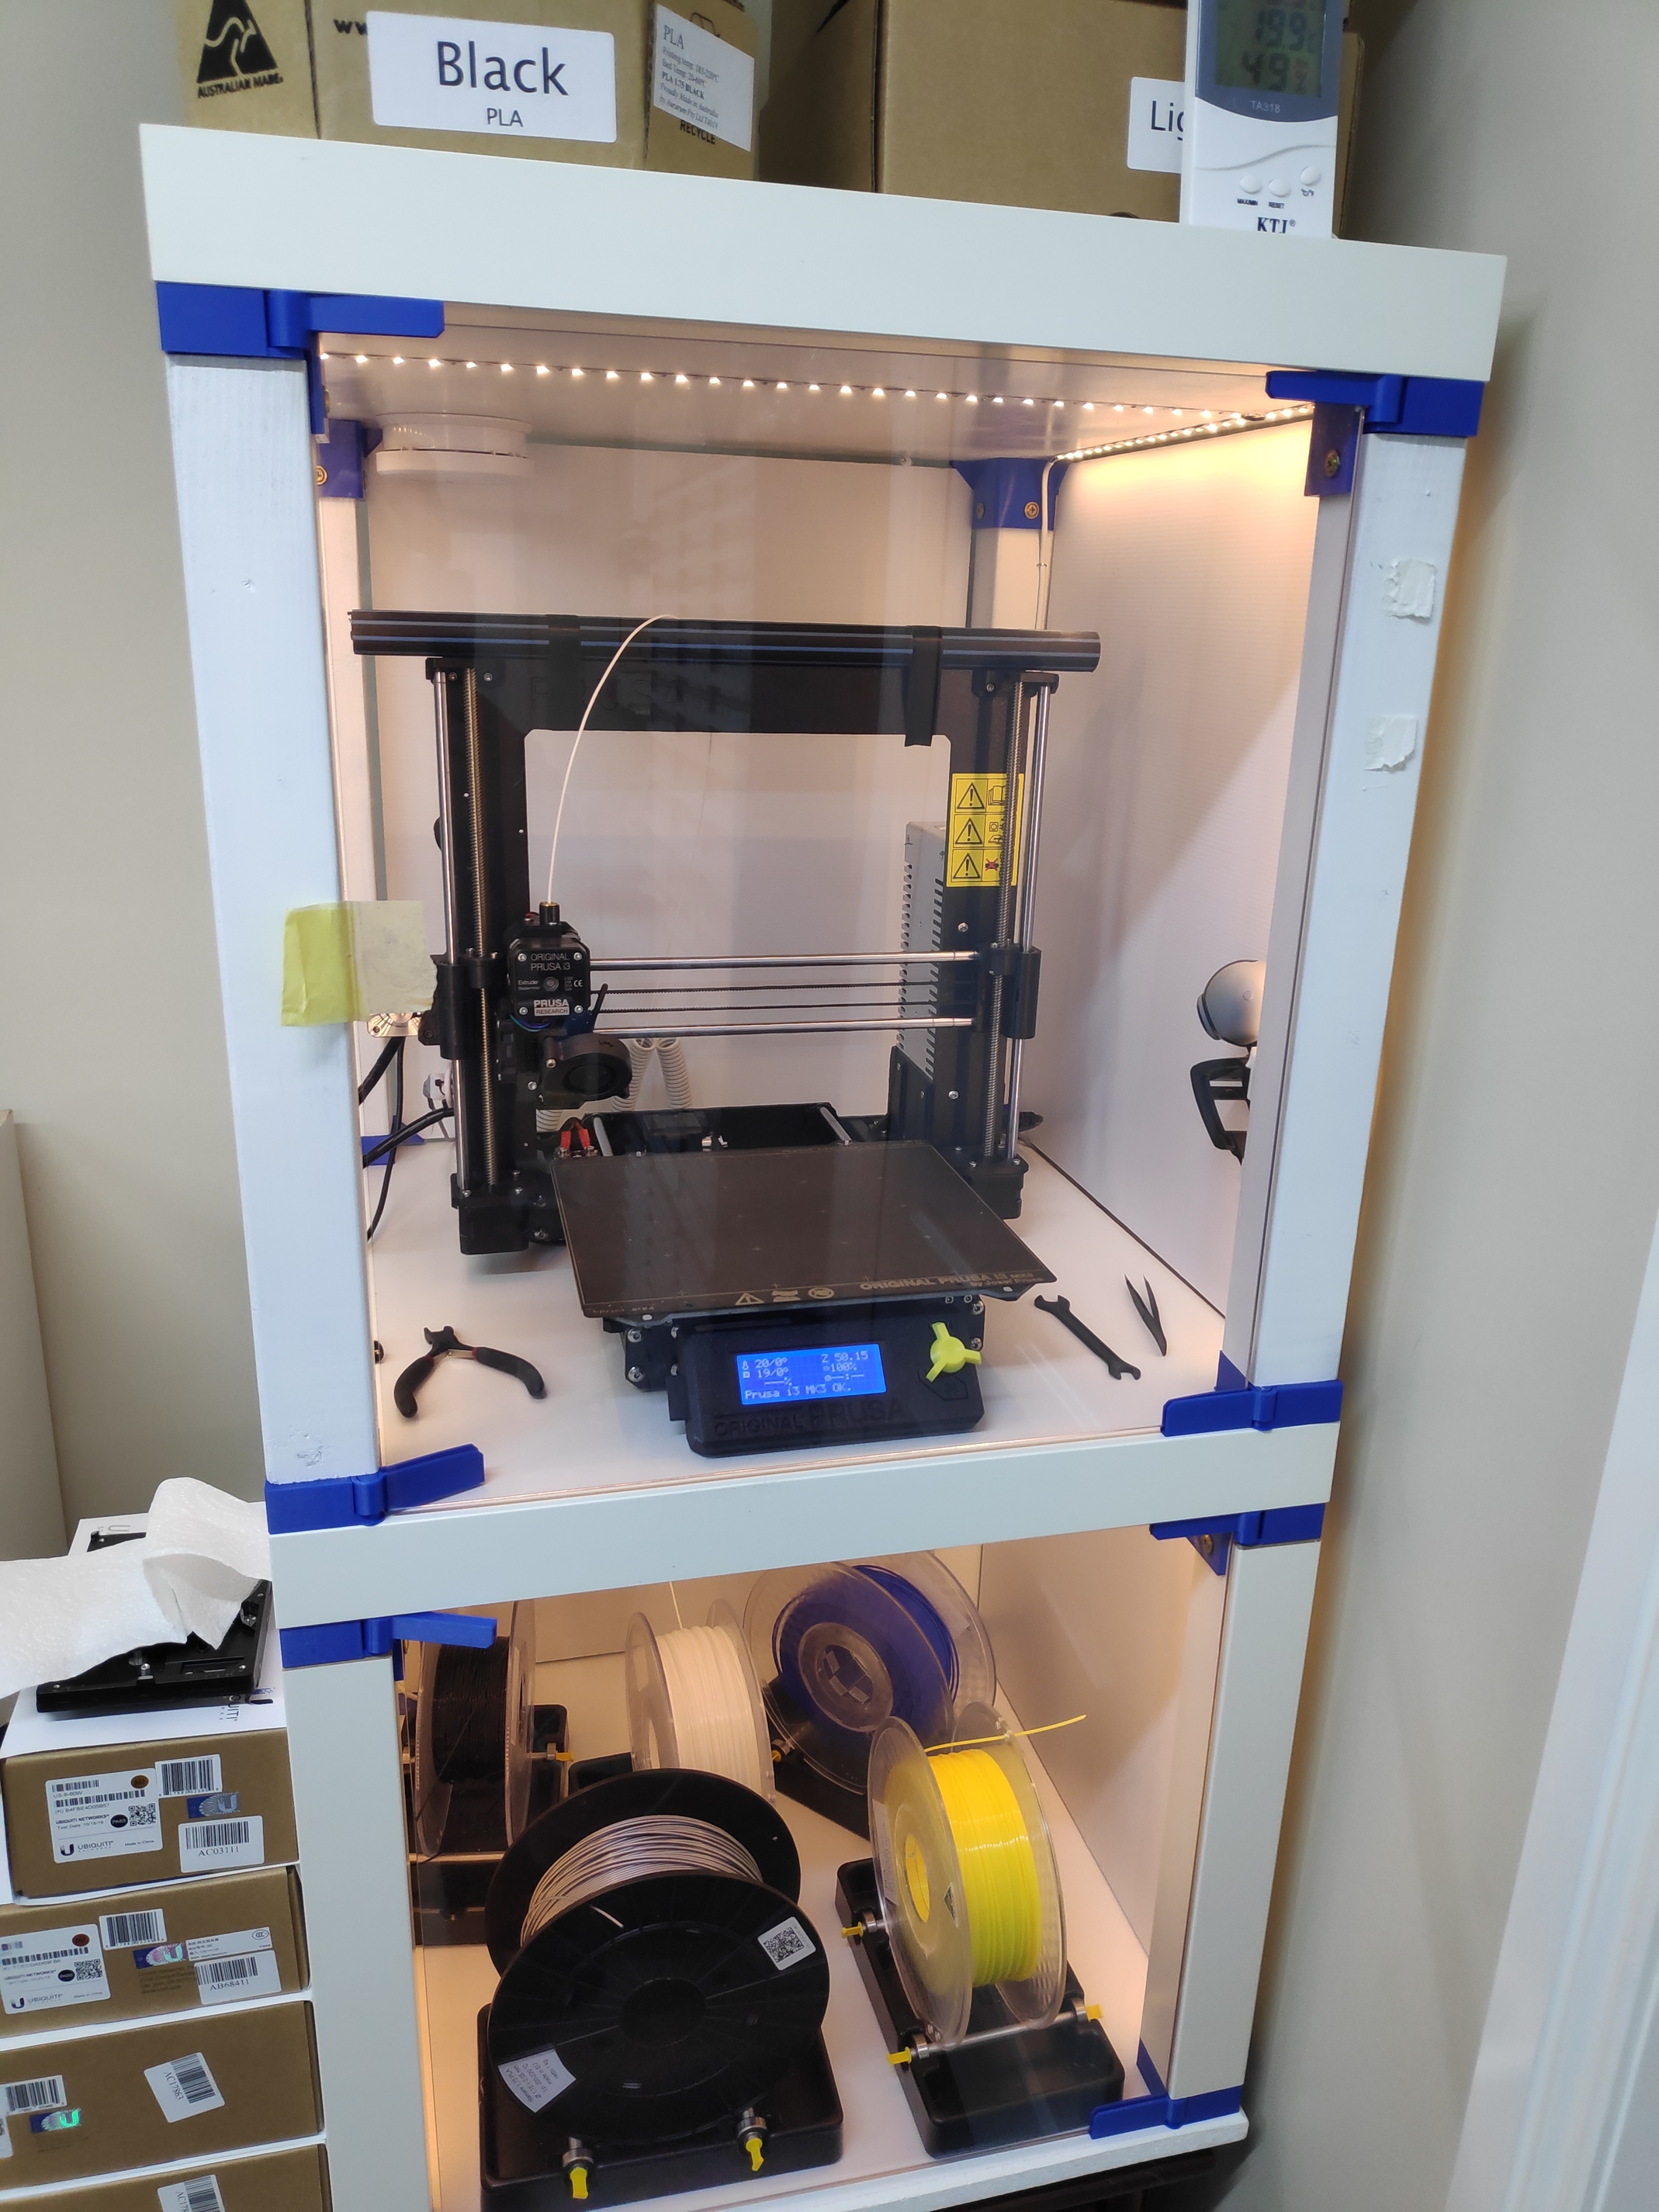
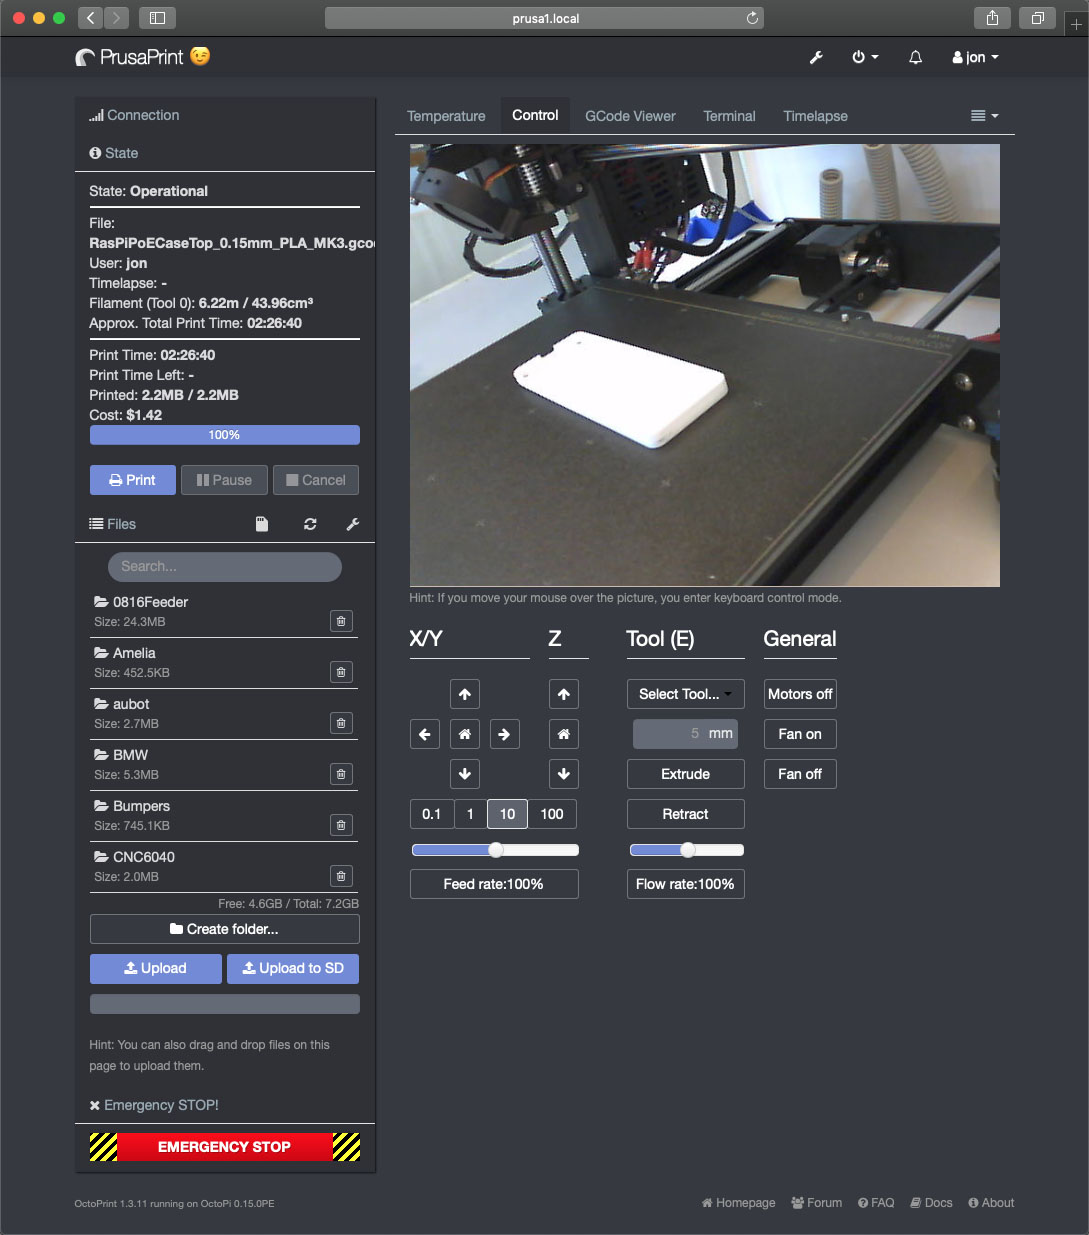
I love OctoPi because I can be sitting in the lounge with my laptop and fire off a print in my lab. I have a webcam mounted on the frame of my enclosure so I can see the print from inside the OctoPi interface, and check that nothing has gone wrong.
I should clarify: I use the knife blade technique on a Kossel, but these pics are of my Prusa which uses a flexible steel build plate, so it’s a totally different method. With the Prusa you lift the build plate (it’s attached with magnets) and flex it slightly, and the print just pops off.
I have a few issues with it really. The one is sticking… and I just took a chunk out of my pad trying to remove a tiny little demo mug. The second is maybe not a problem but my lack of knowledge on the setup and that is that the print is set to the same place, off center. Is there a way to change print positioning in Cura? That position isn’t going to work for obvious reasons.
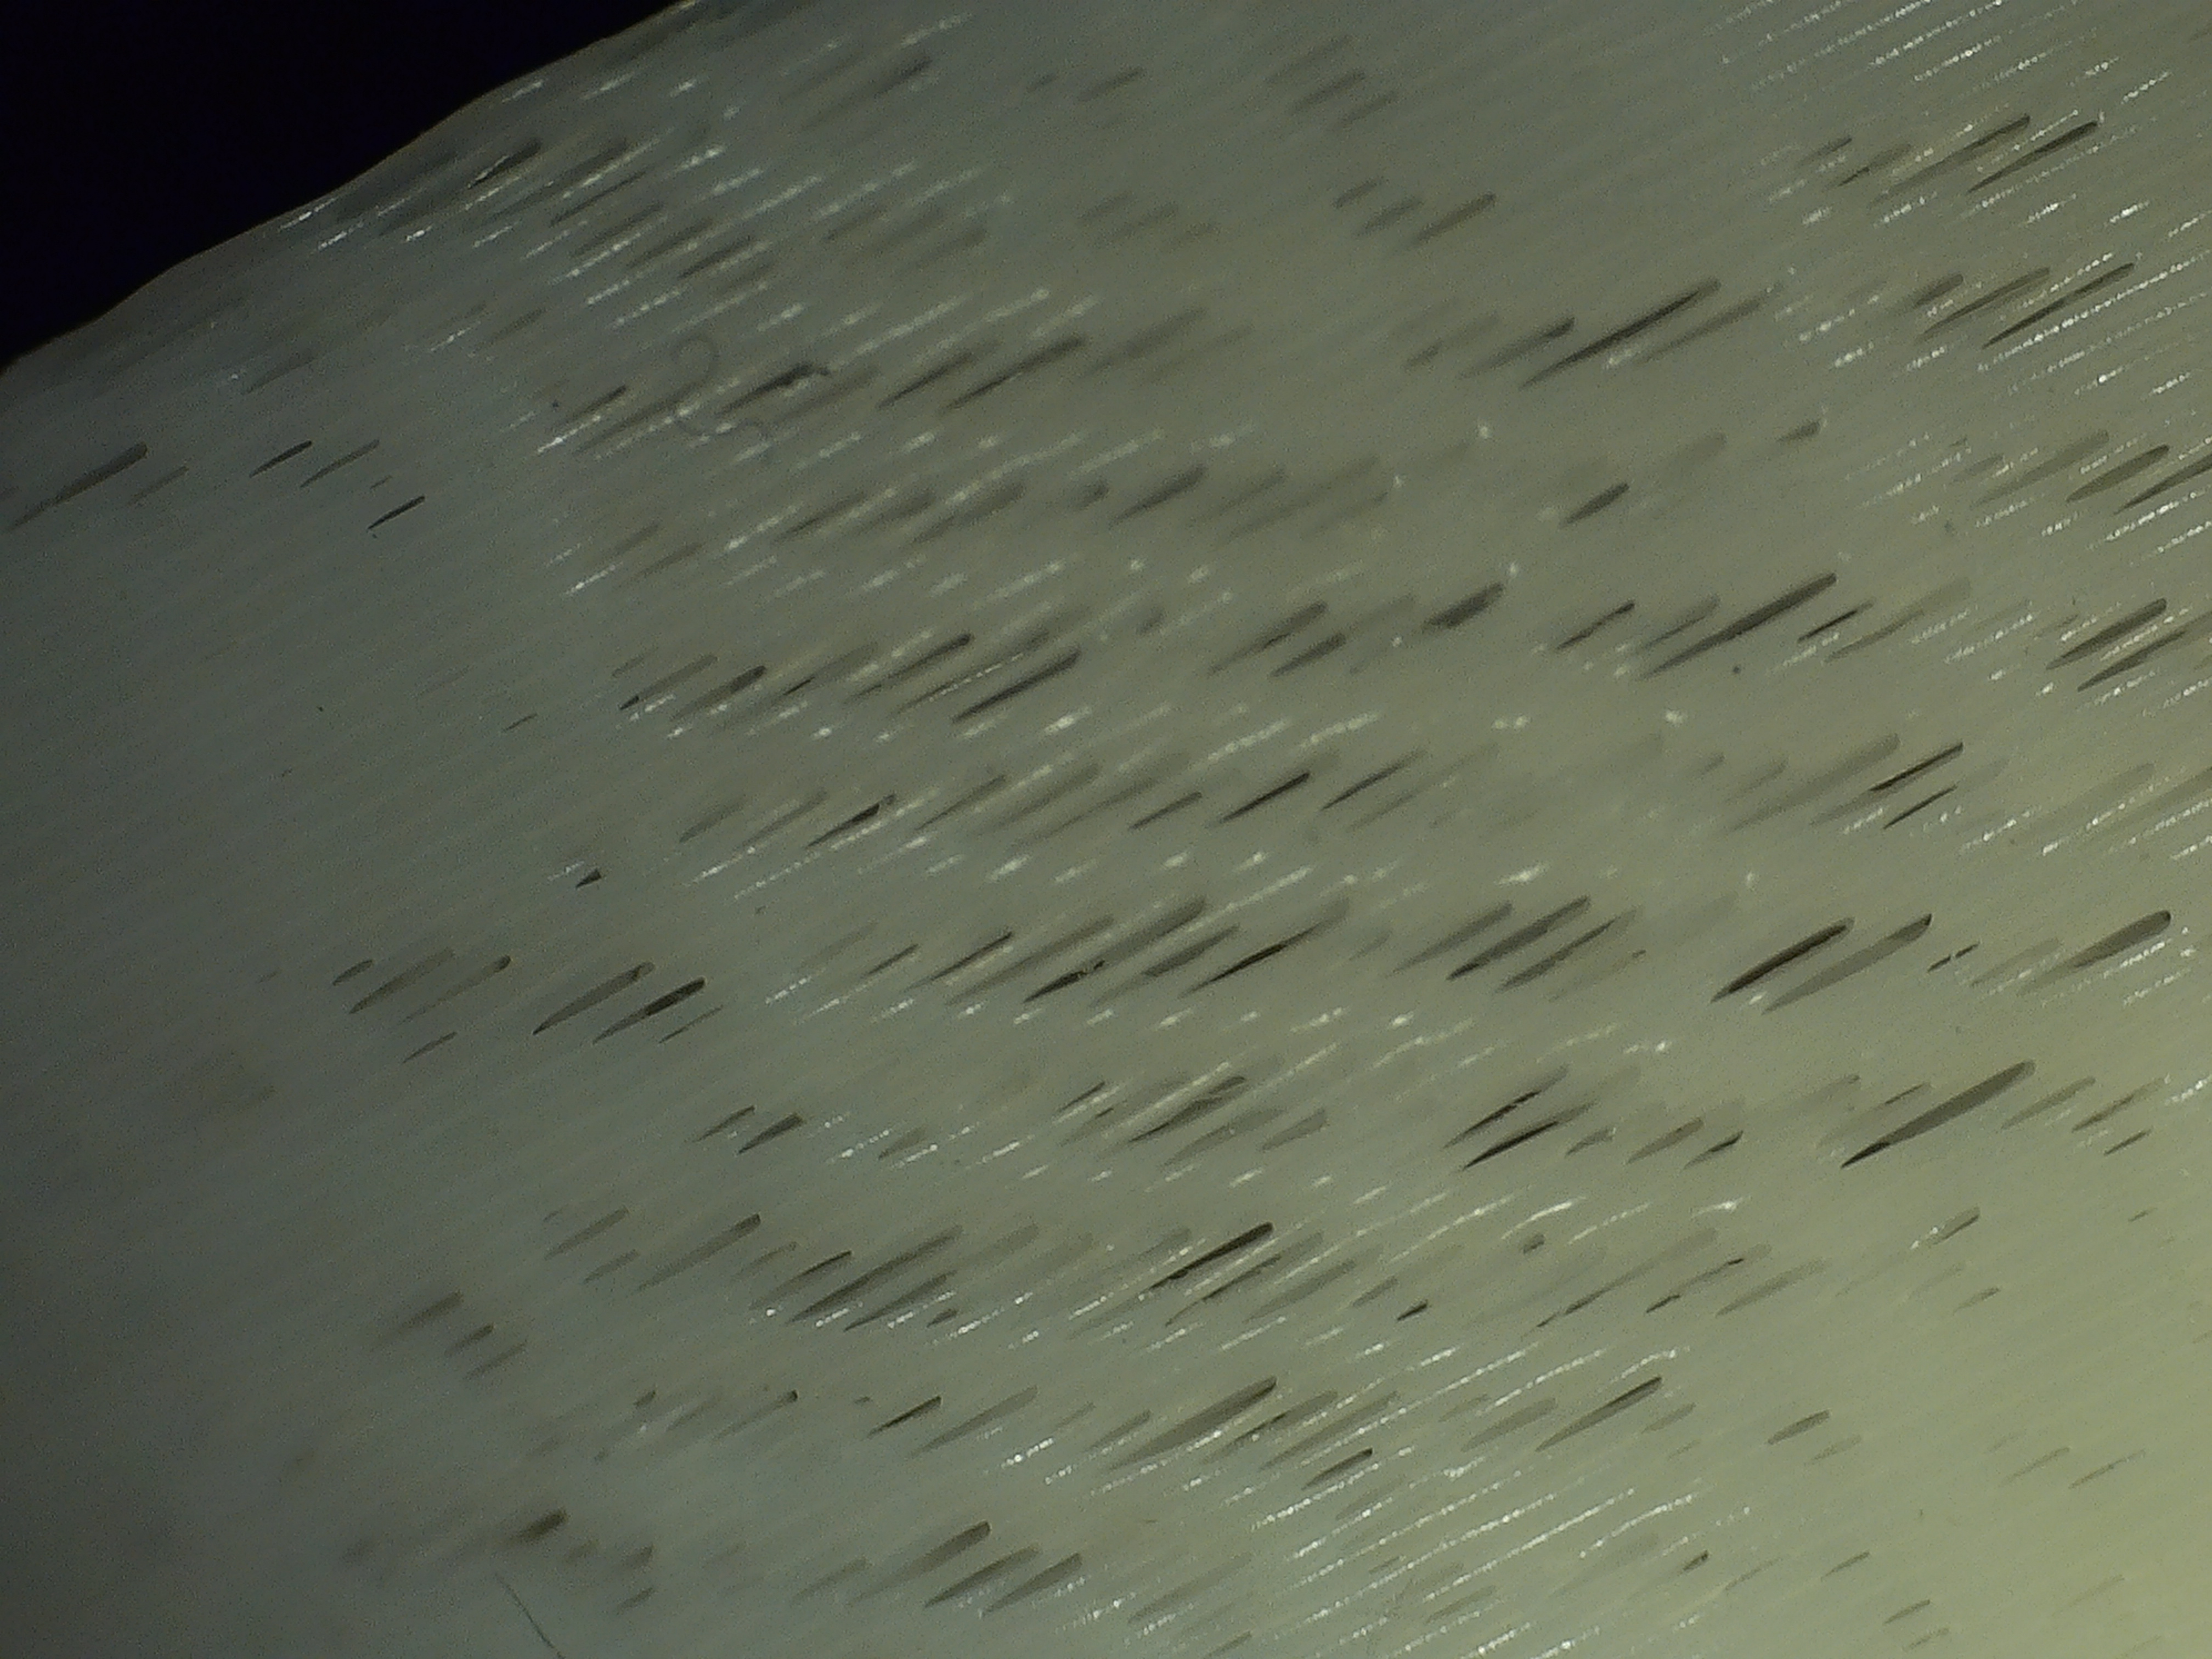
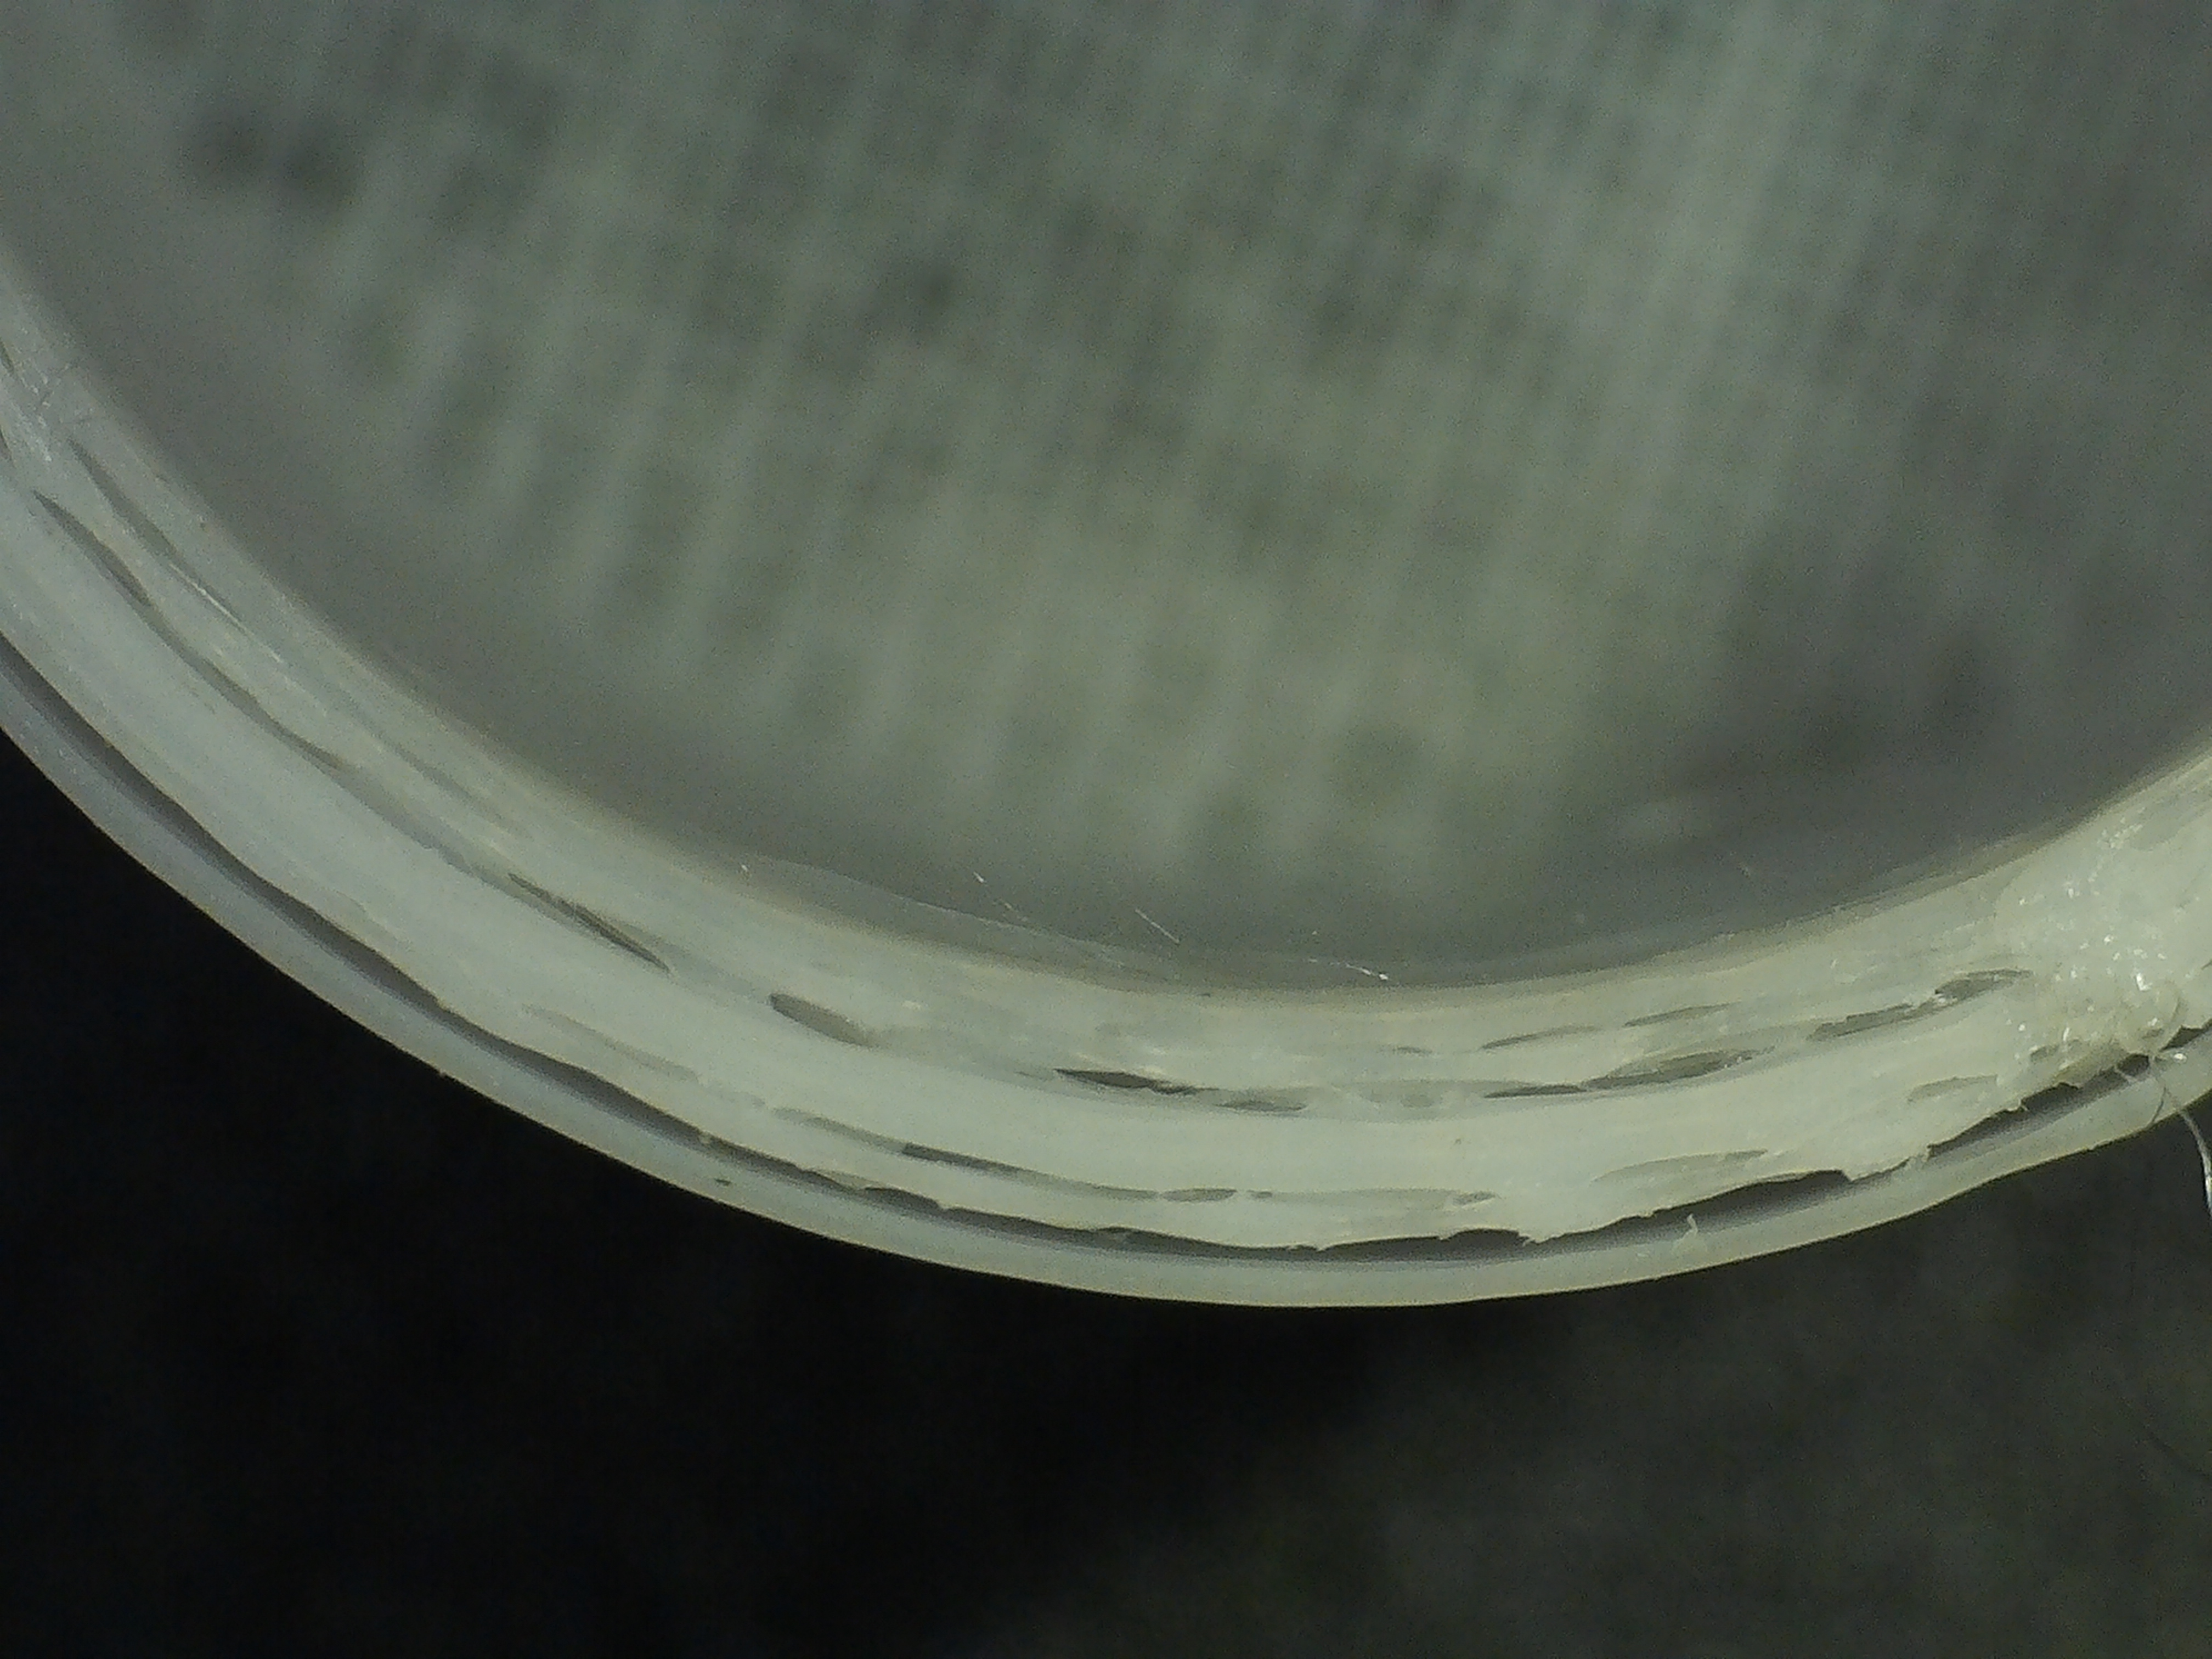
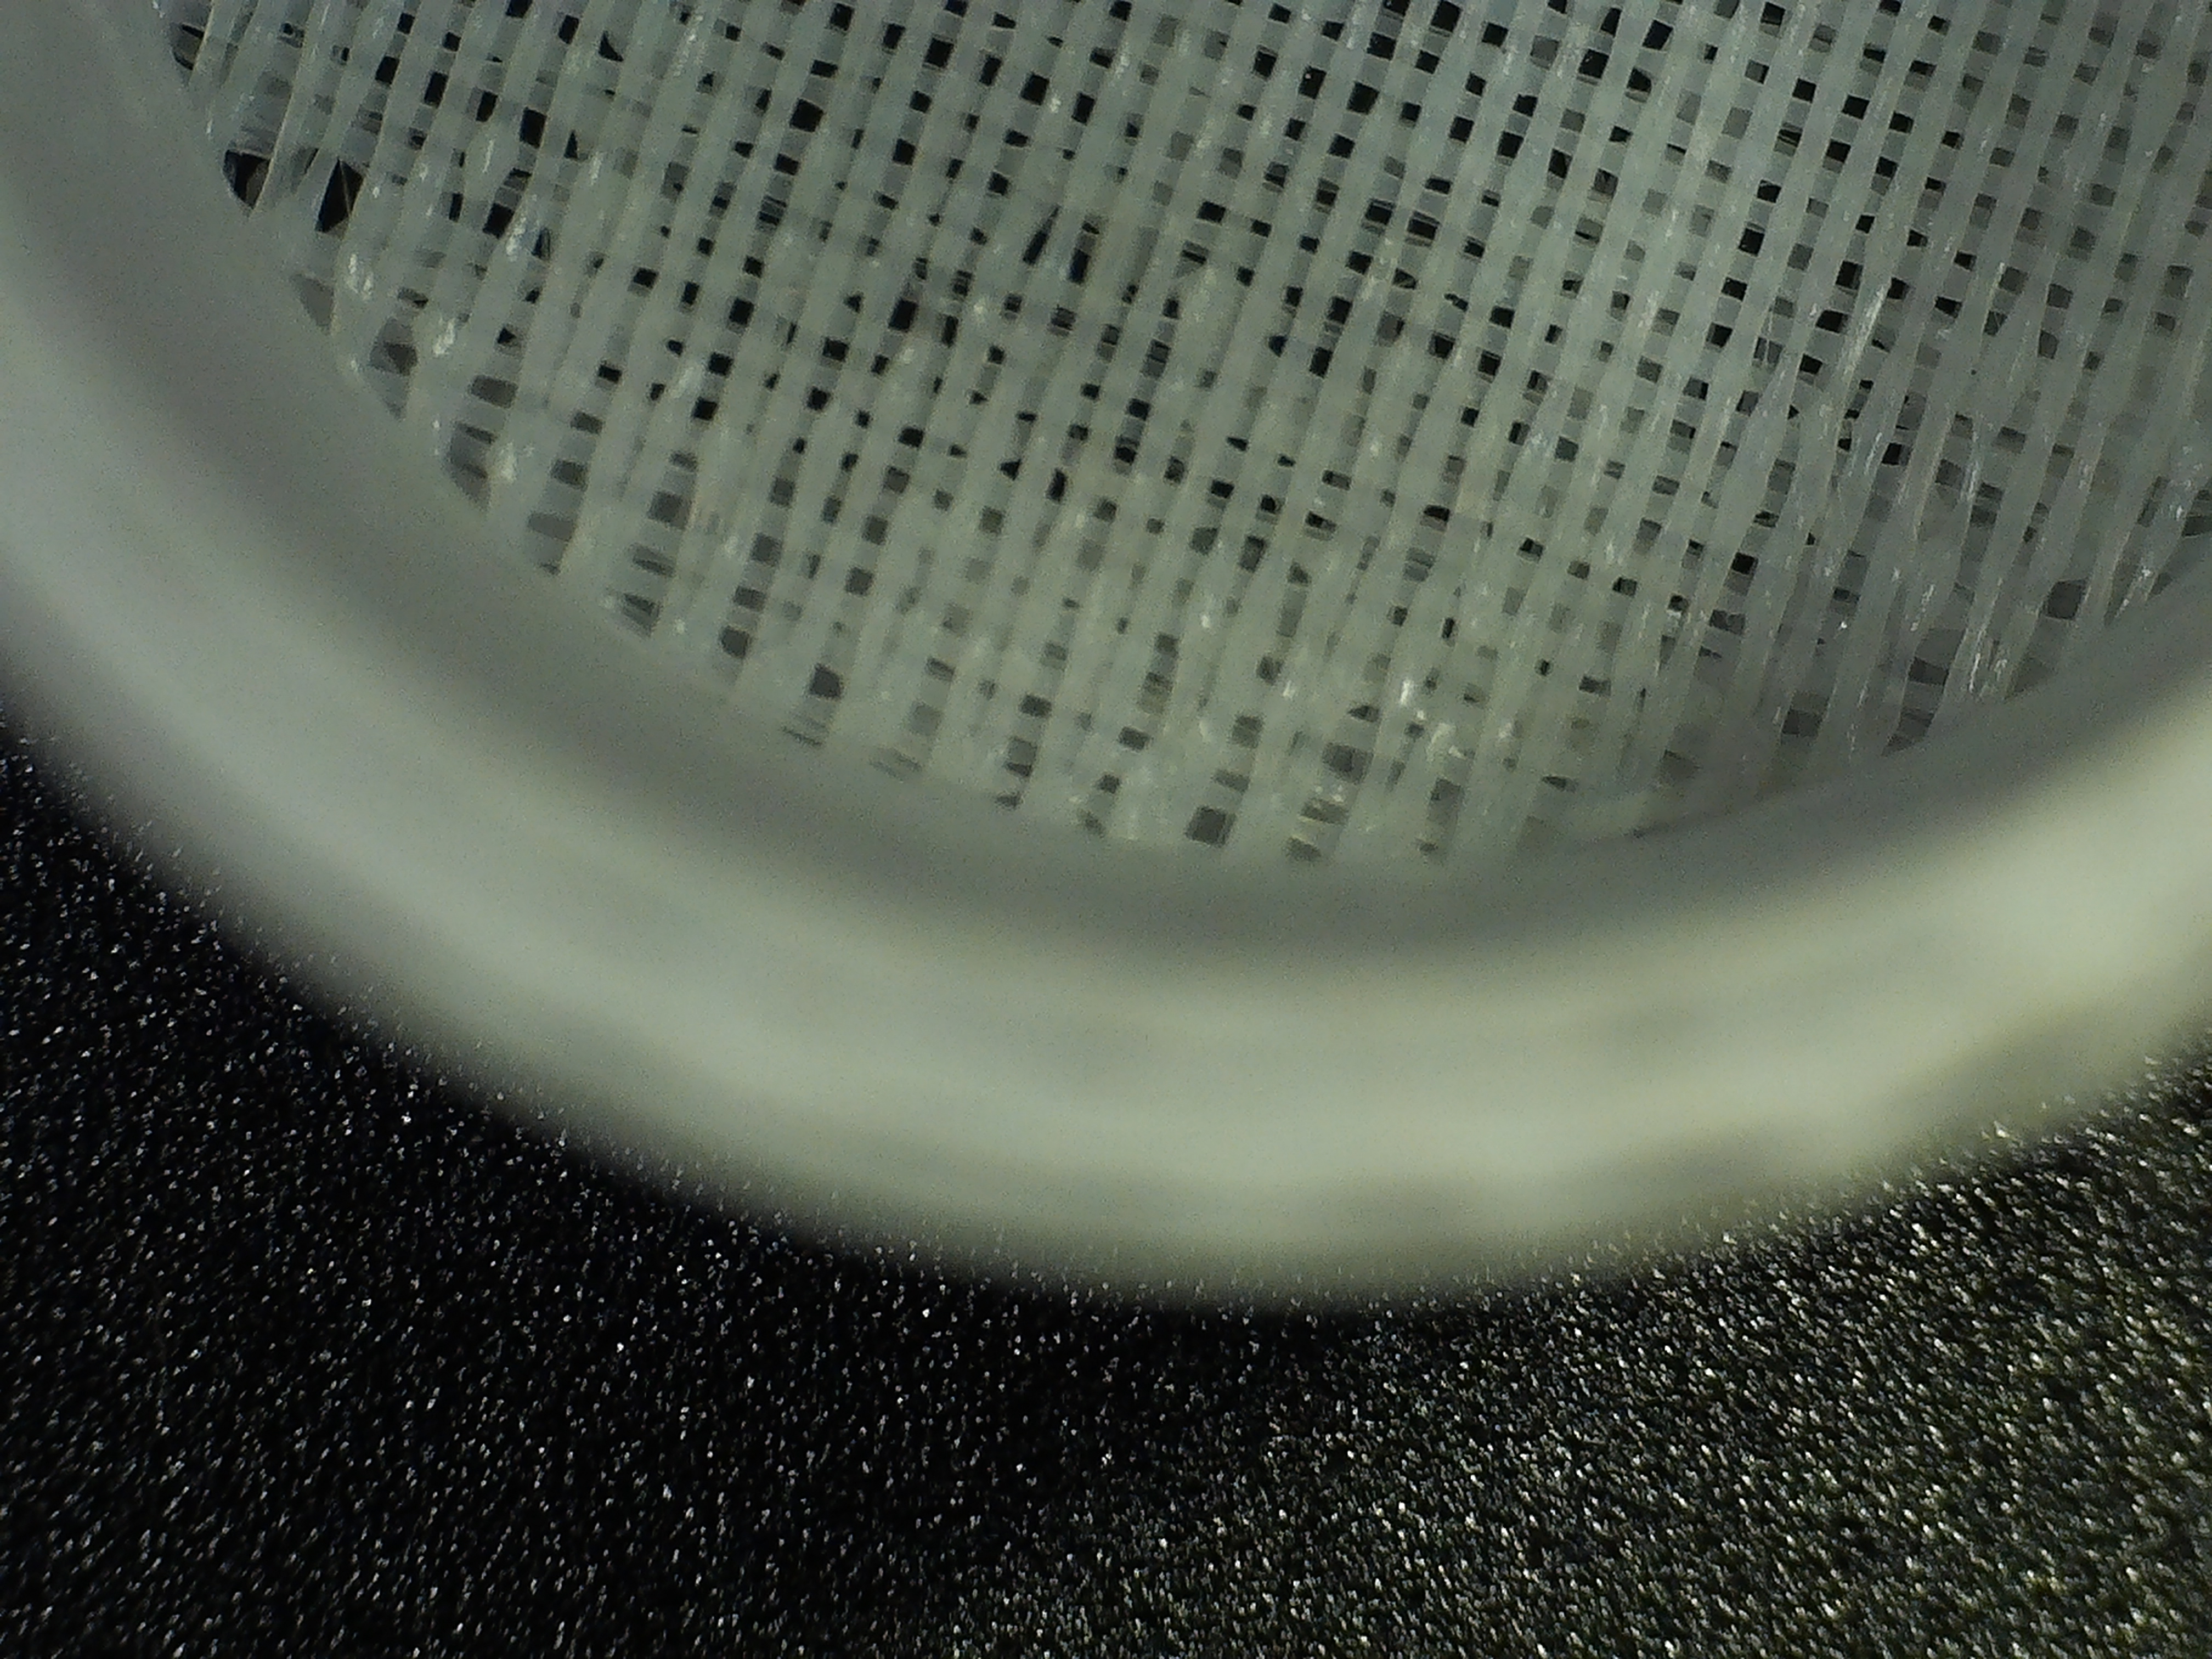
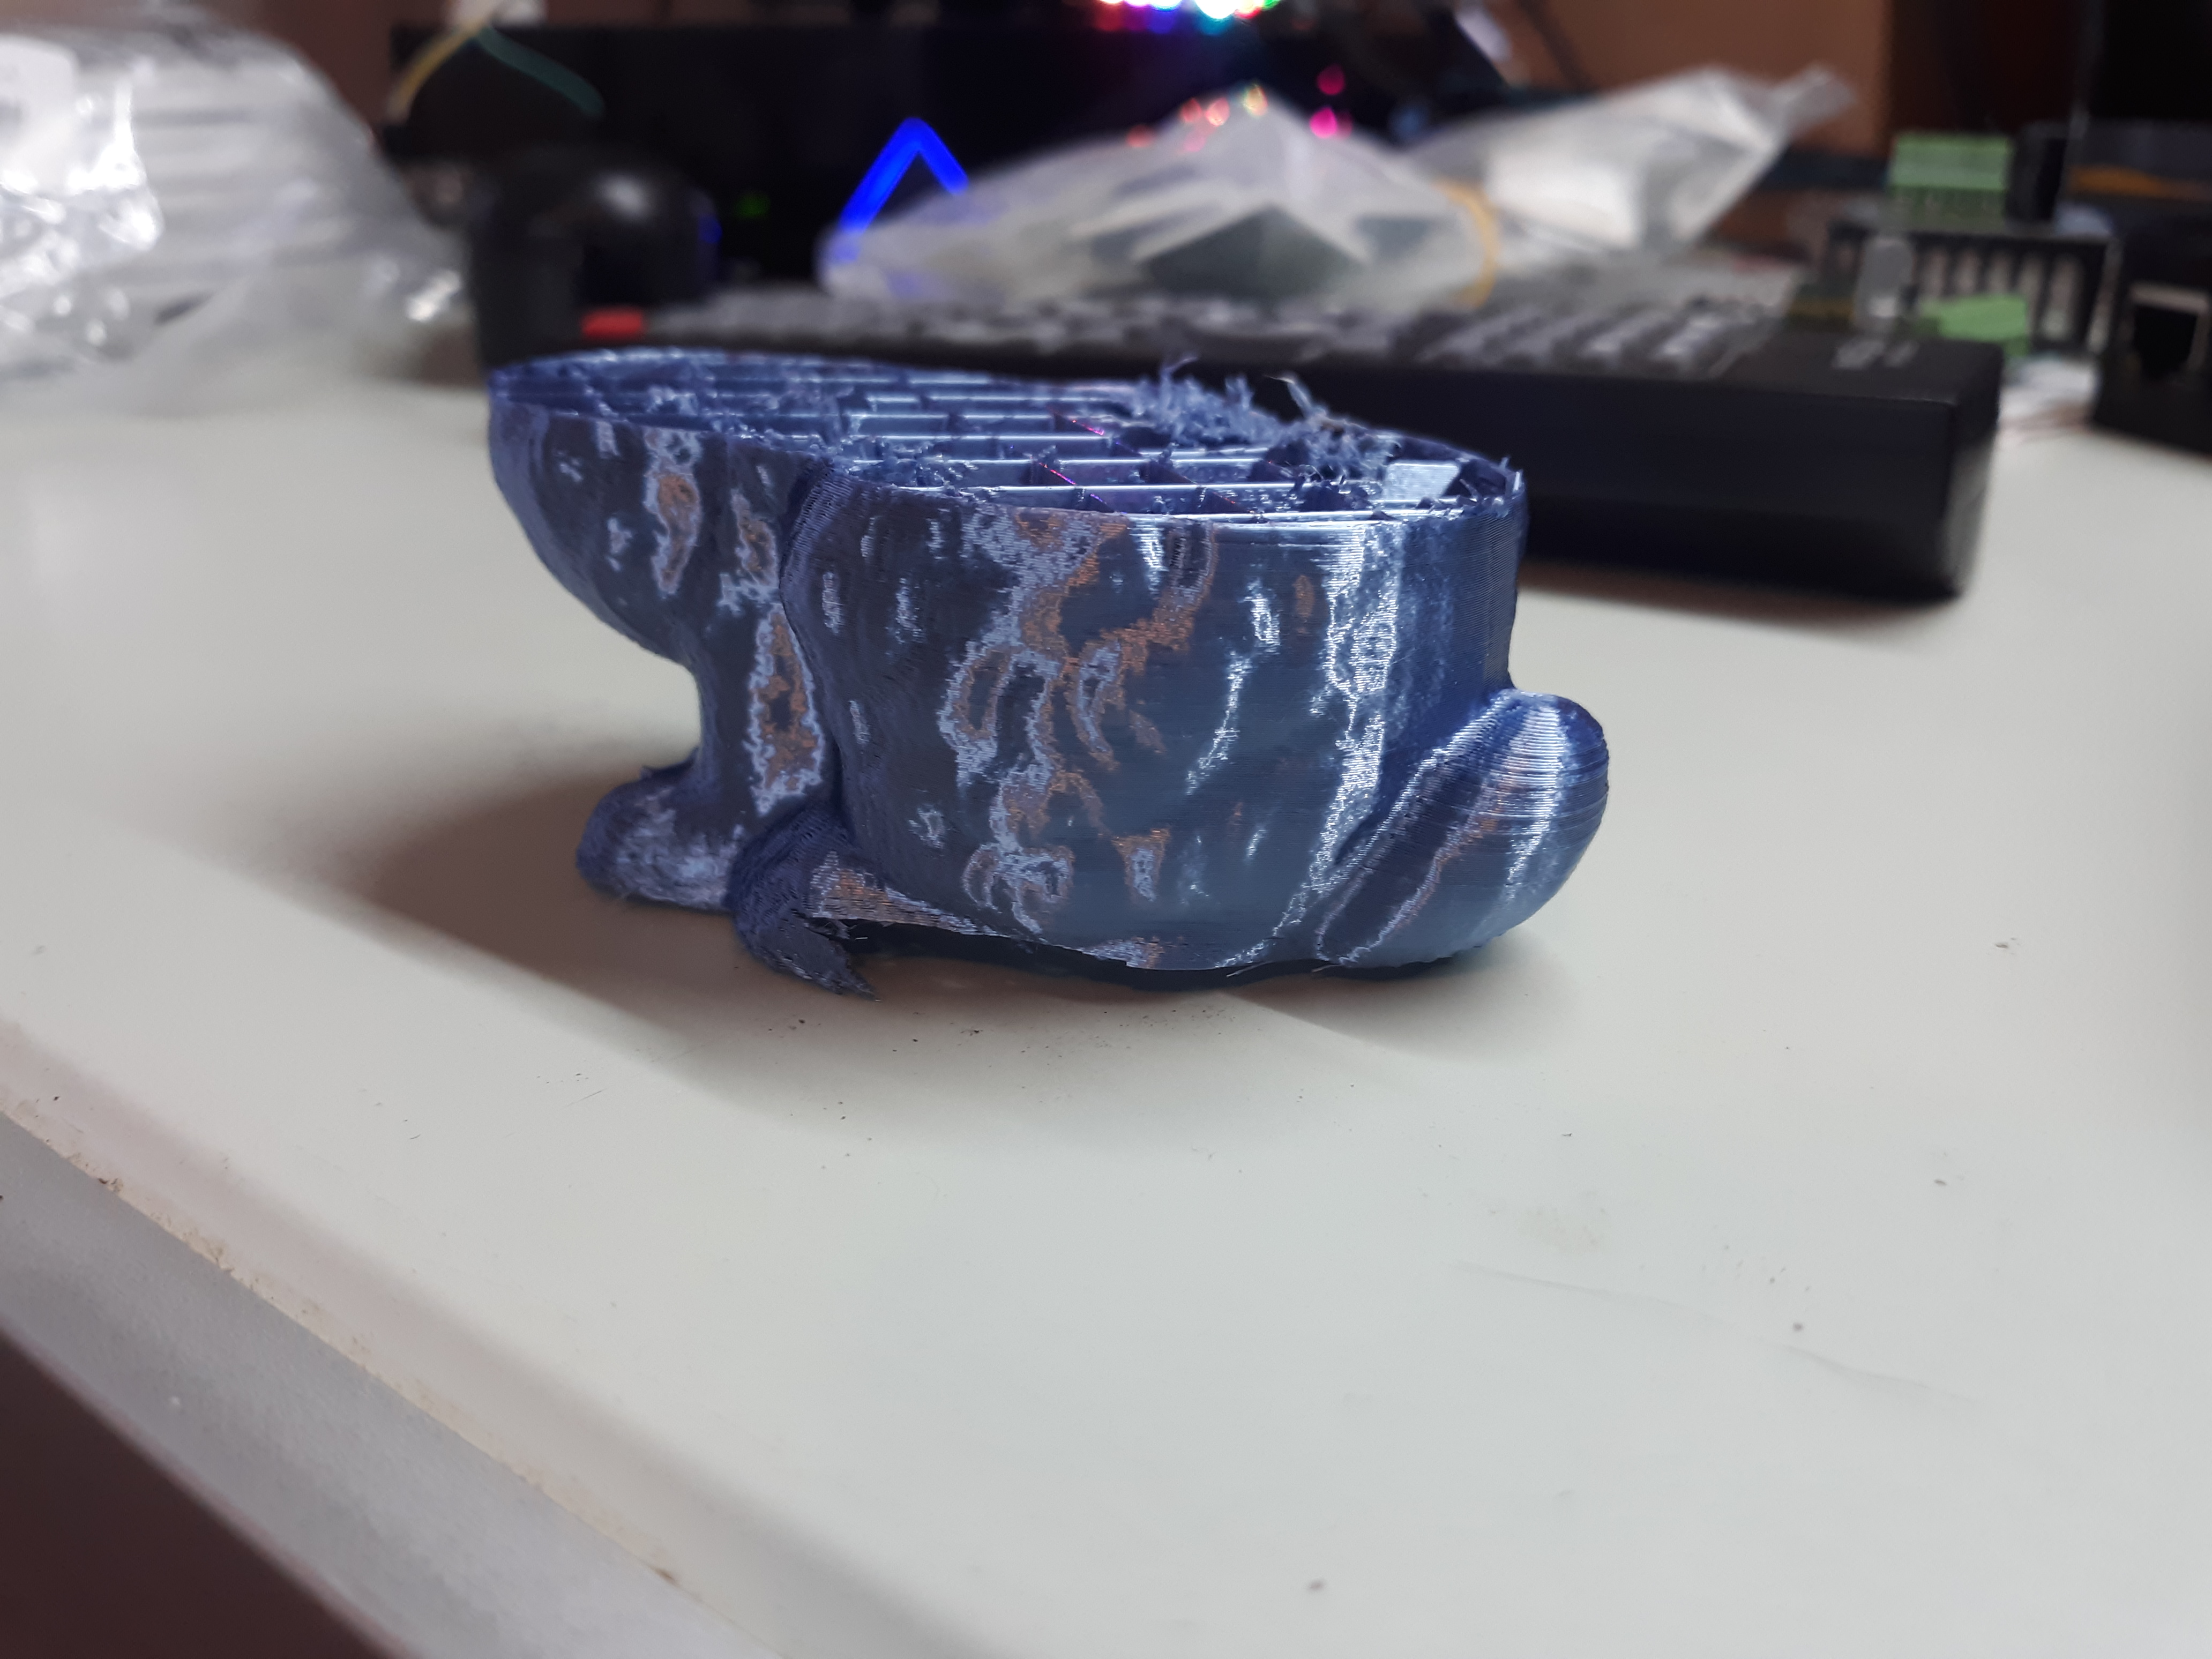
Then, I am certain I am still having issues with print quality and I have not been able to adjust things to see what changes because I can’t get things removed and the problem is compounding sticking wise. The finished print looks like fabric and is flimsy and wouldn’t hold out air, let alone water.
I am going to try again with a different roll of filament and see if maybe it is a filament issue, maybe flow, maybe feed speed…??? Kind of frustrating
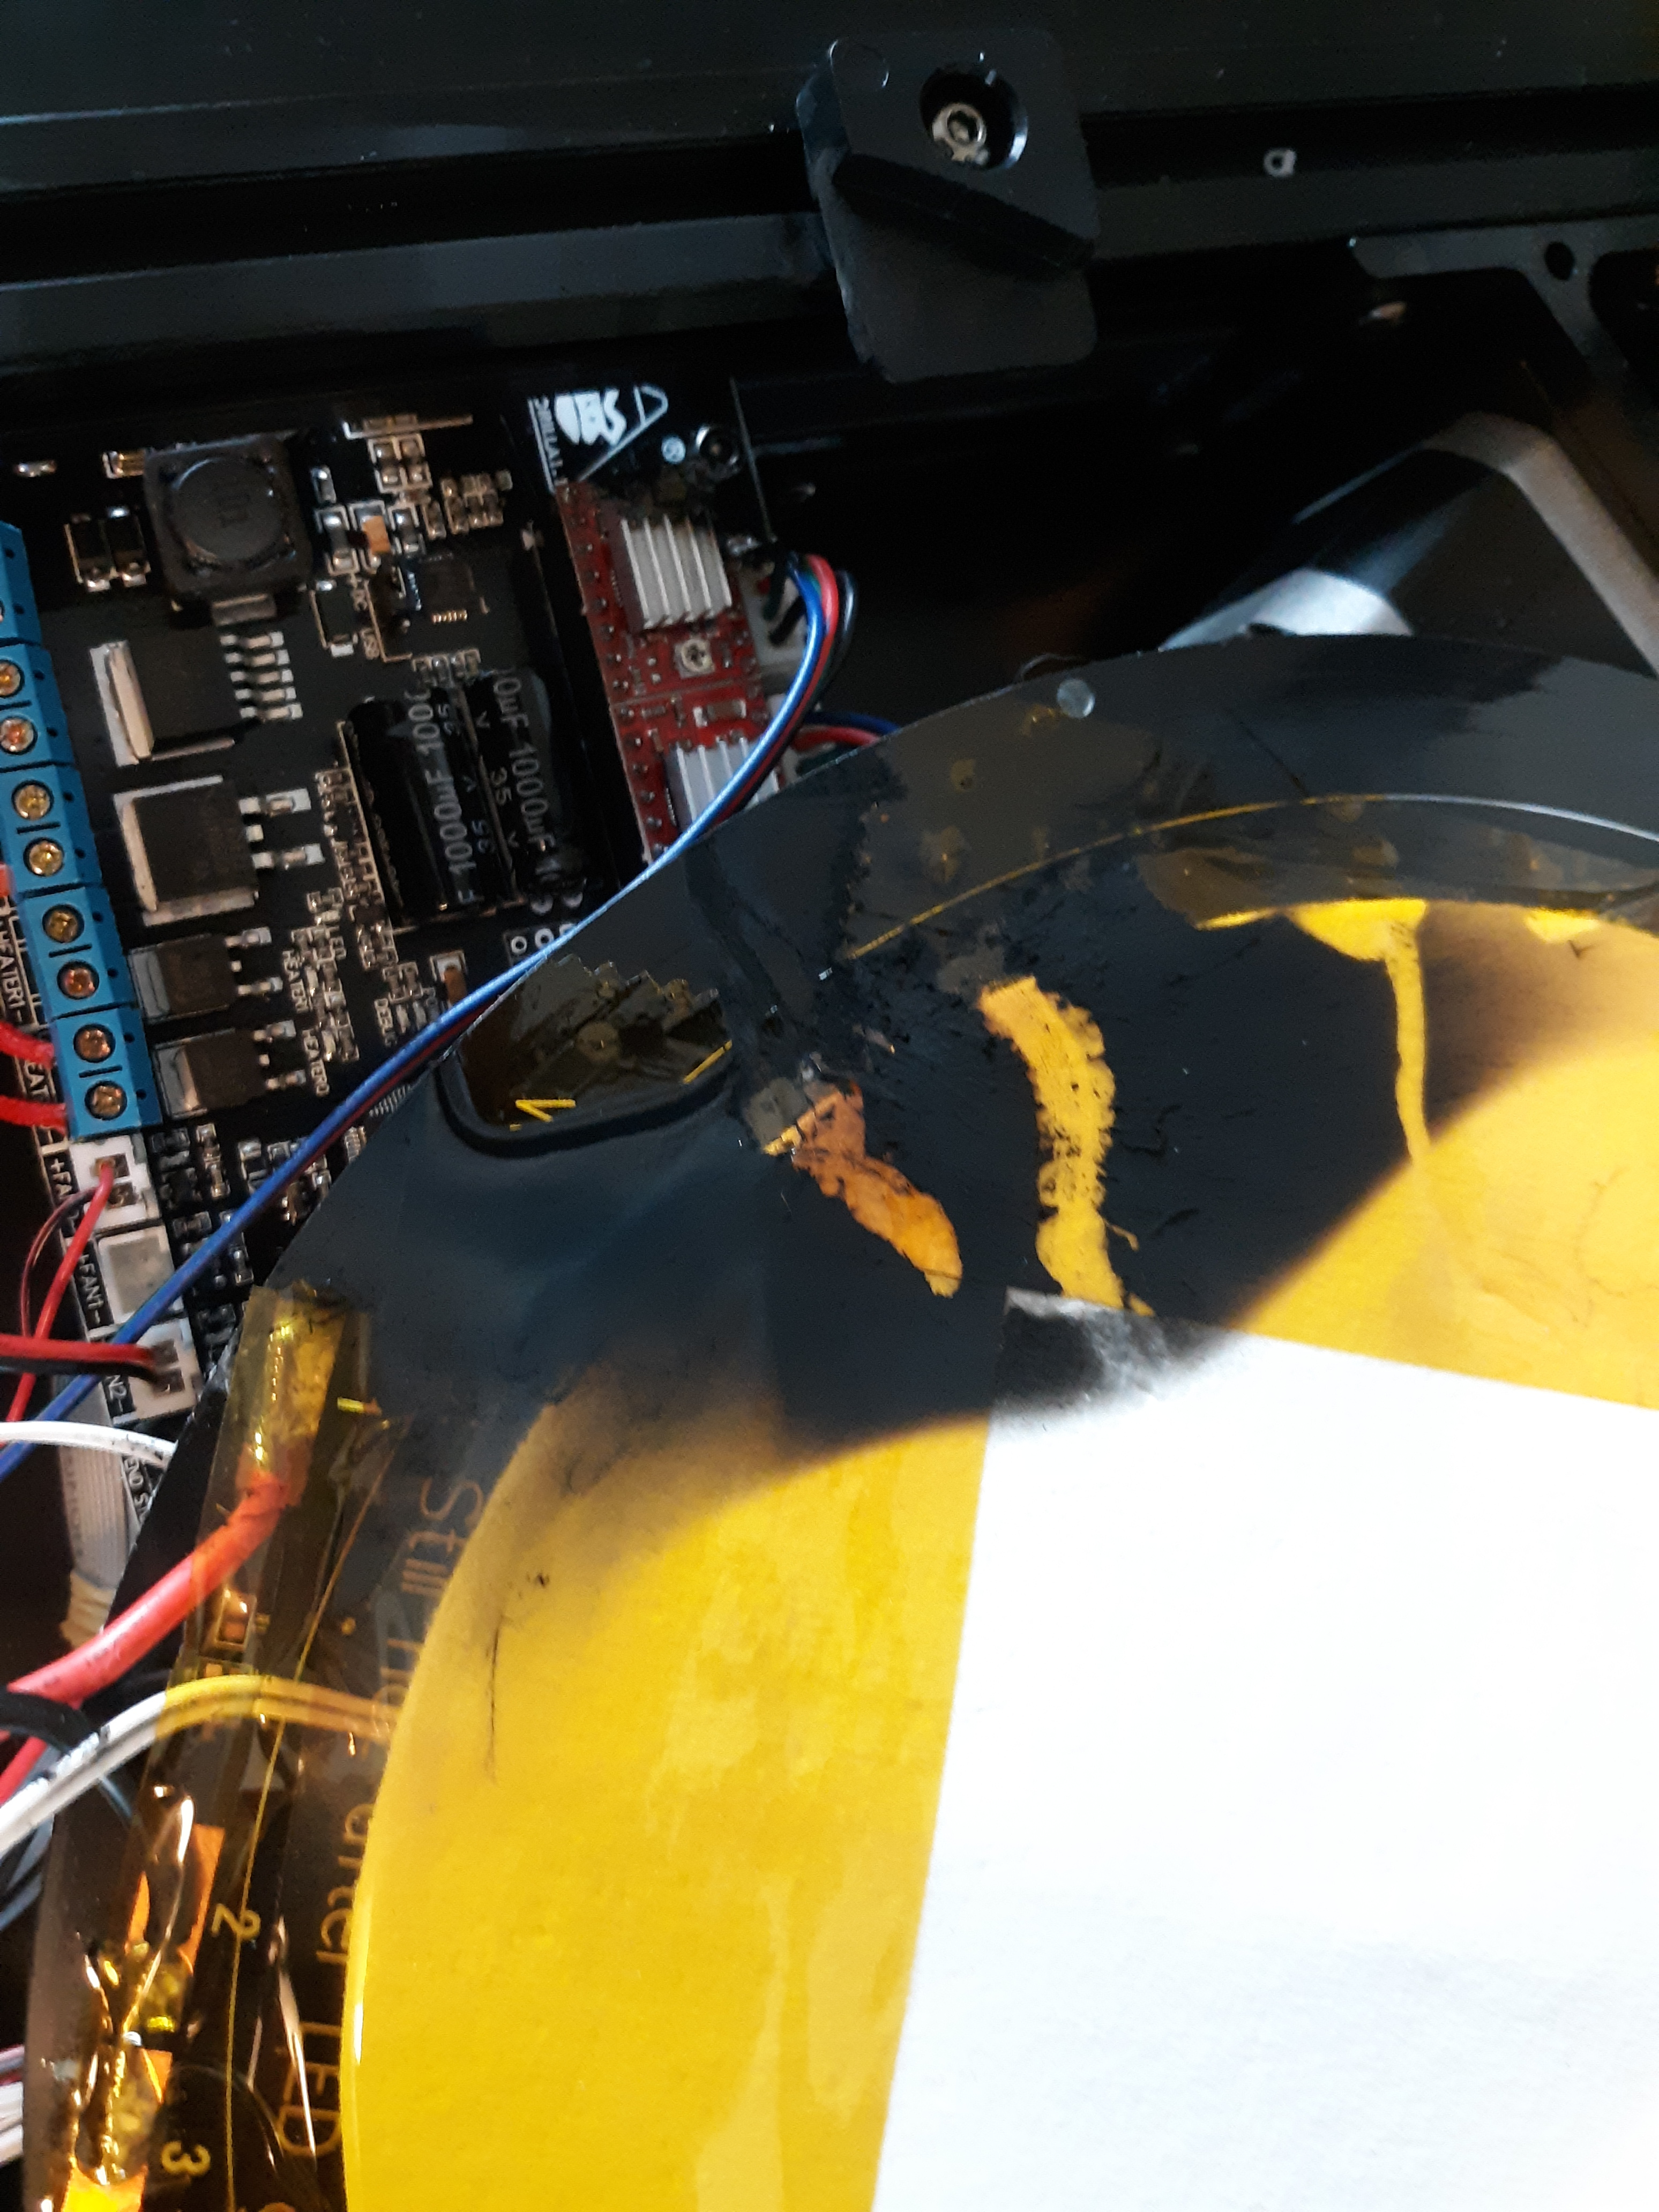
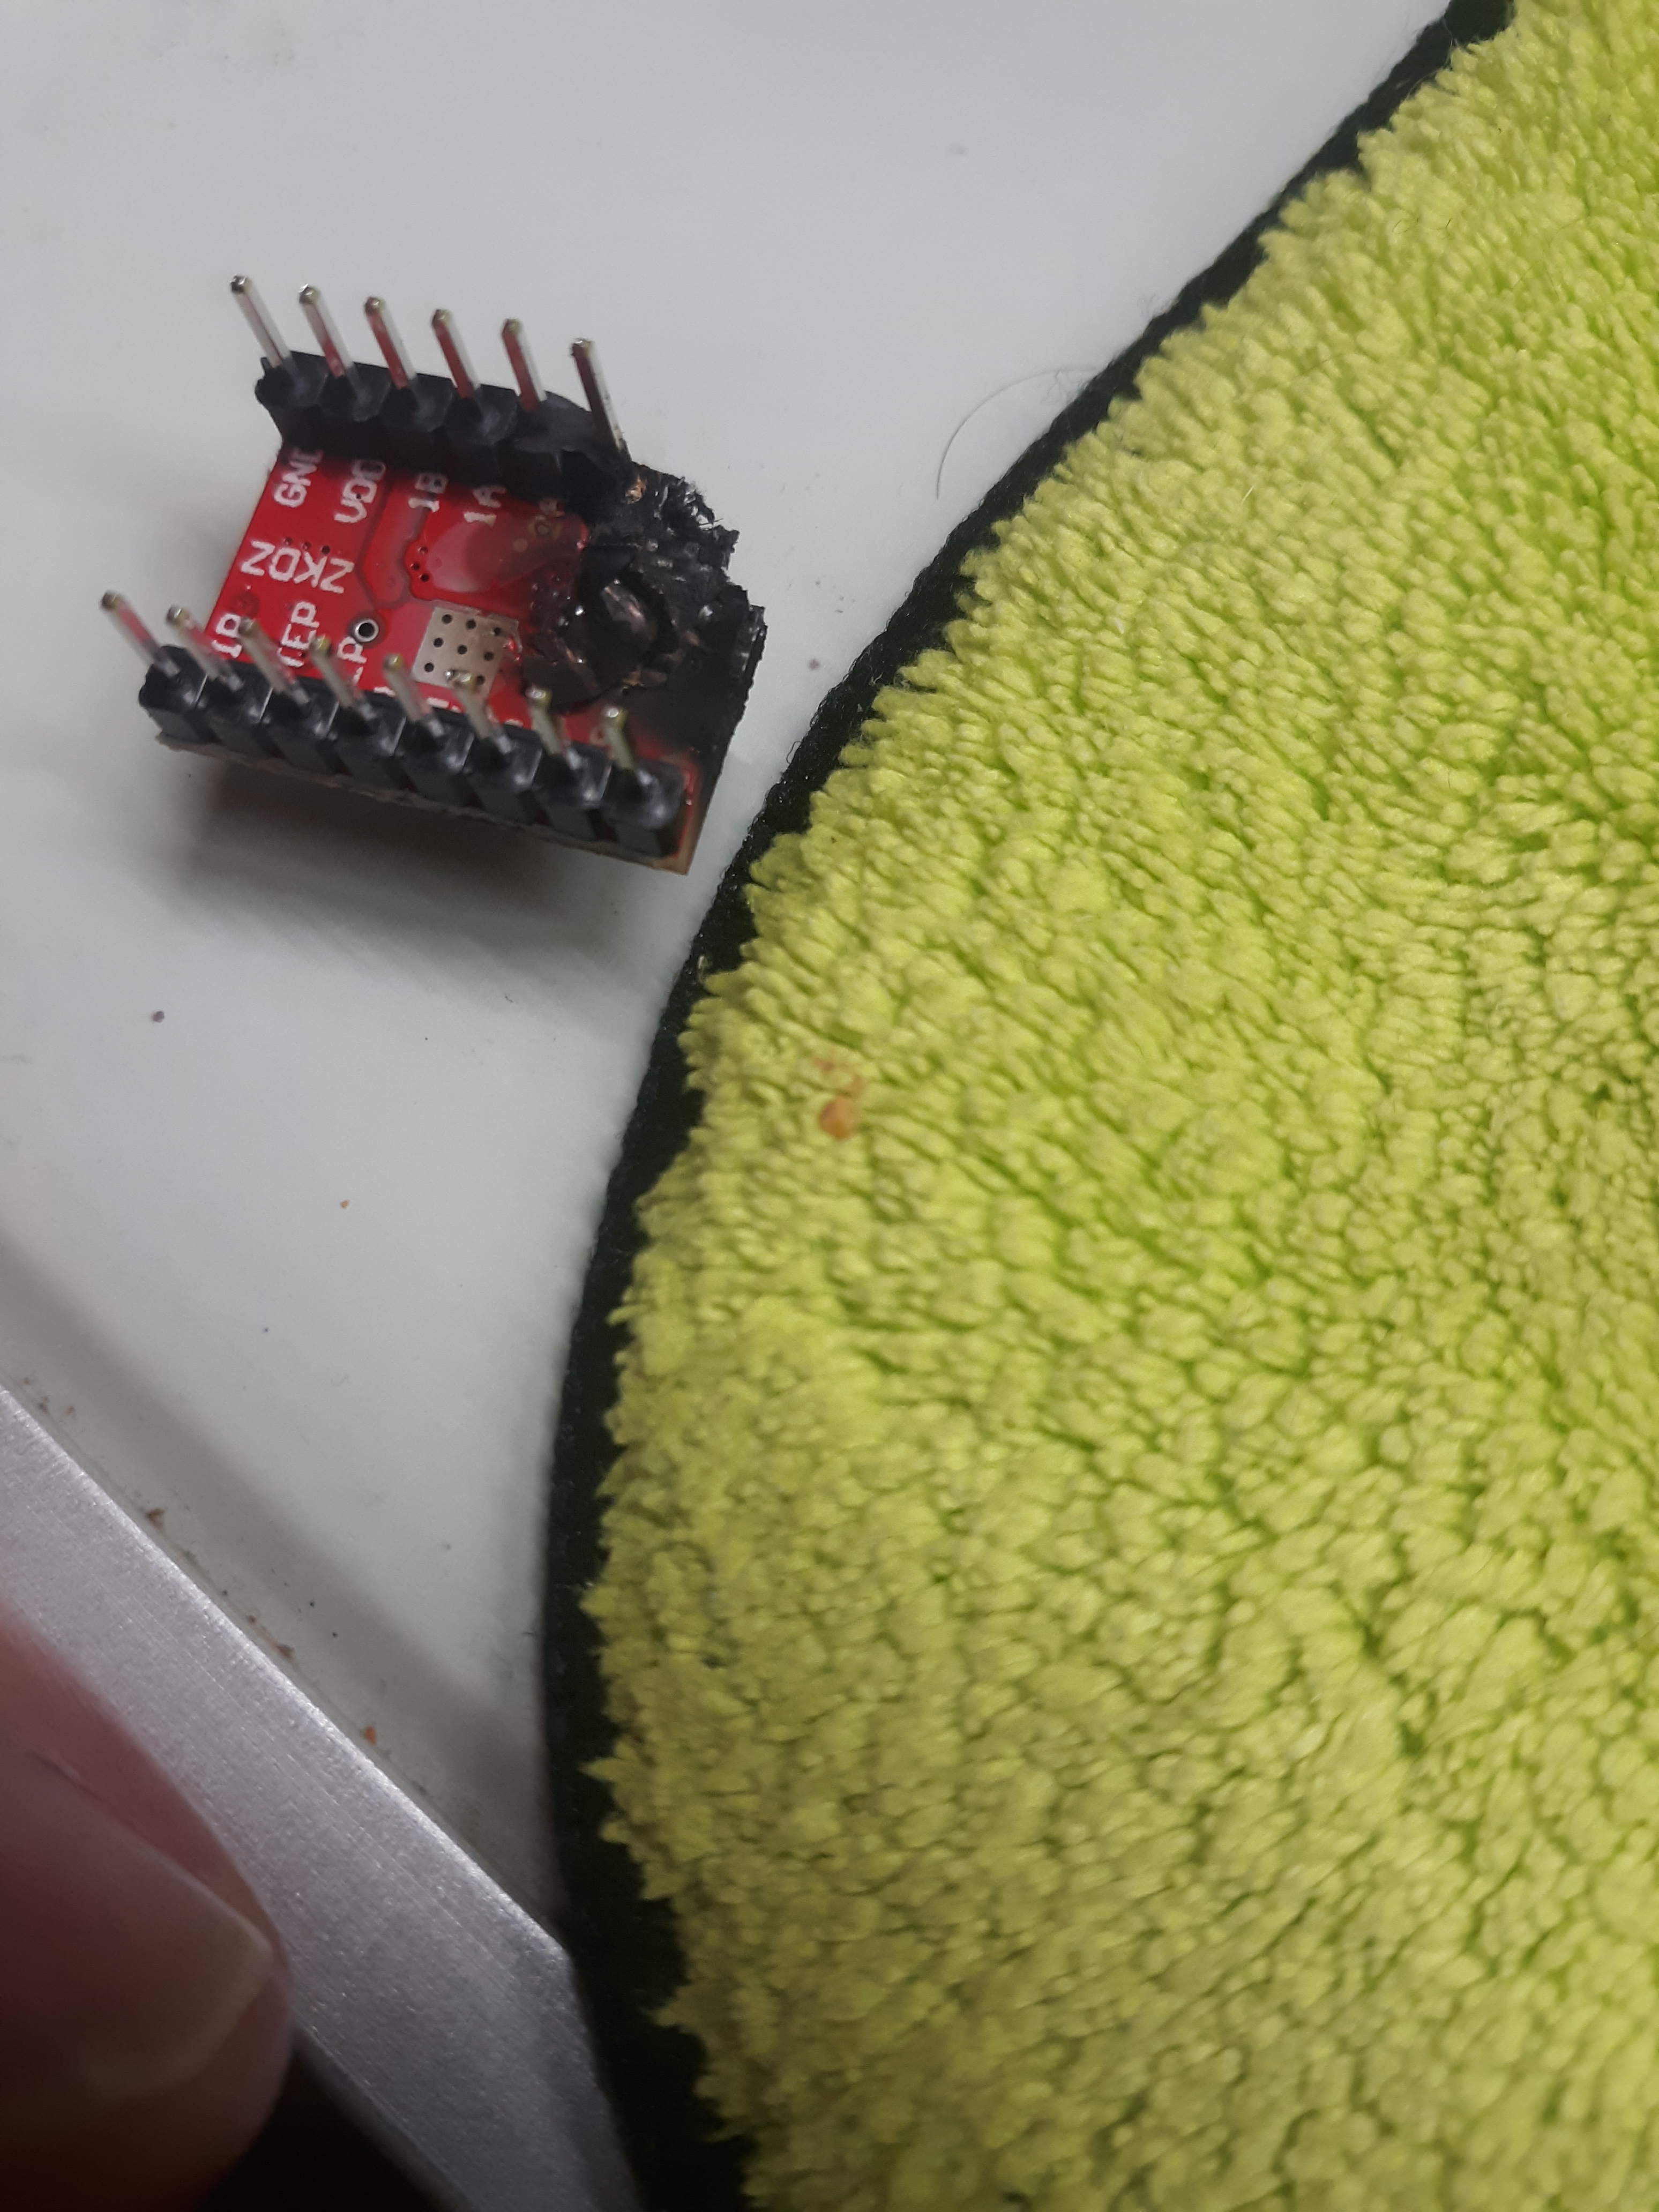
Okay…that was an adventure of a not so good kind. I got some free time to mess with the printer and the good news is that I resolved a number of issues. I figured out that the offset issue was due to me not having the correct printer type set up so it thought the table was square. I had a few of the motion settings jacked up so the filament speed was too slow and it couldn’t put down enough material to get the fill right. All of that was my bad. So I decided I had enough faith in my adjustments and it was doing a good job (though still sticking like a barnacle on a ships hull) so I sliced up a print of a bunny that came off the sd card and started it running. It was doing great and with a couple more tiny tweaks, I sat in my chair and worked on other things while it whizzed away. Then came the smoke. Lots of smoke.
I would say… there were flames. Sheesk. So now I have a ticket in with the place I bought it from and we shall see how that turns out. I’ll keep you posted.
And I have half a friggen bunny. What am I supposed to do with half a friggen bunny?
Well, I am extremely impressed with the manufacturer. I bought my printer from 3D printer Bay online and I sent them a ticket for support and they already responded in less than 24 hours offering to send me the driver, a new heated bed and a stepper motor to replace the damaged parts. That is very cool. Good customer service in this day and age is difficult but these guys pulled it off without a hitch.
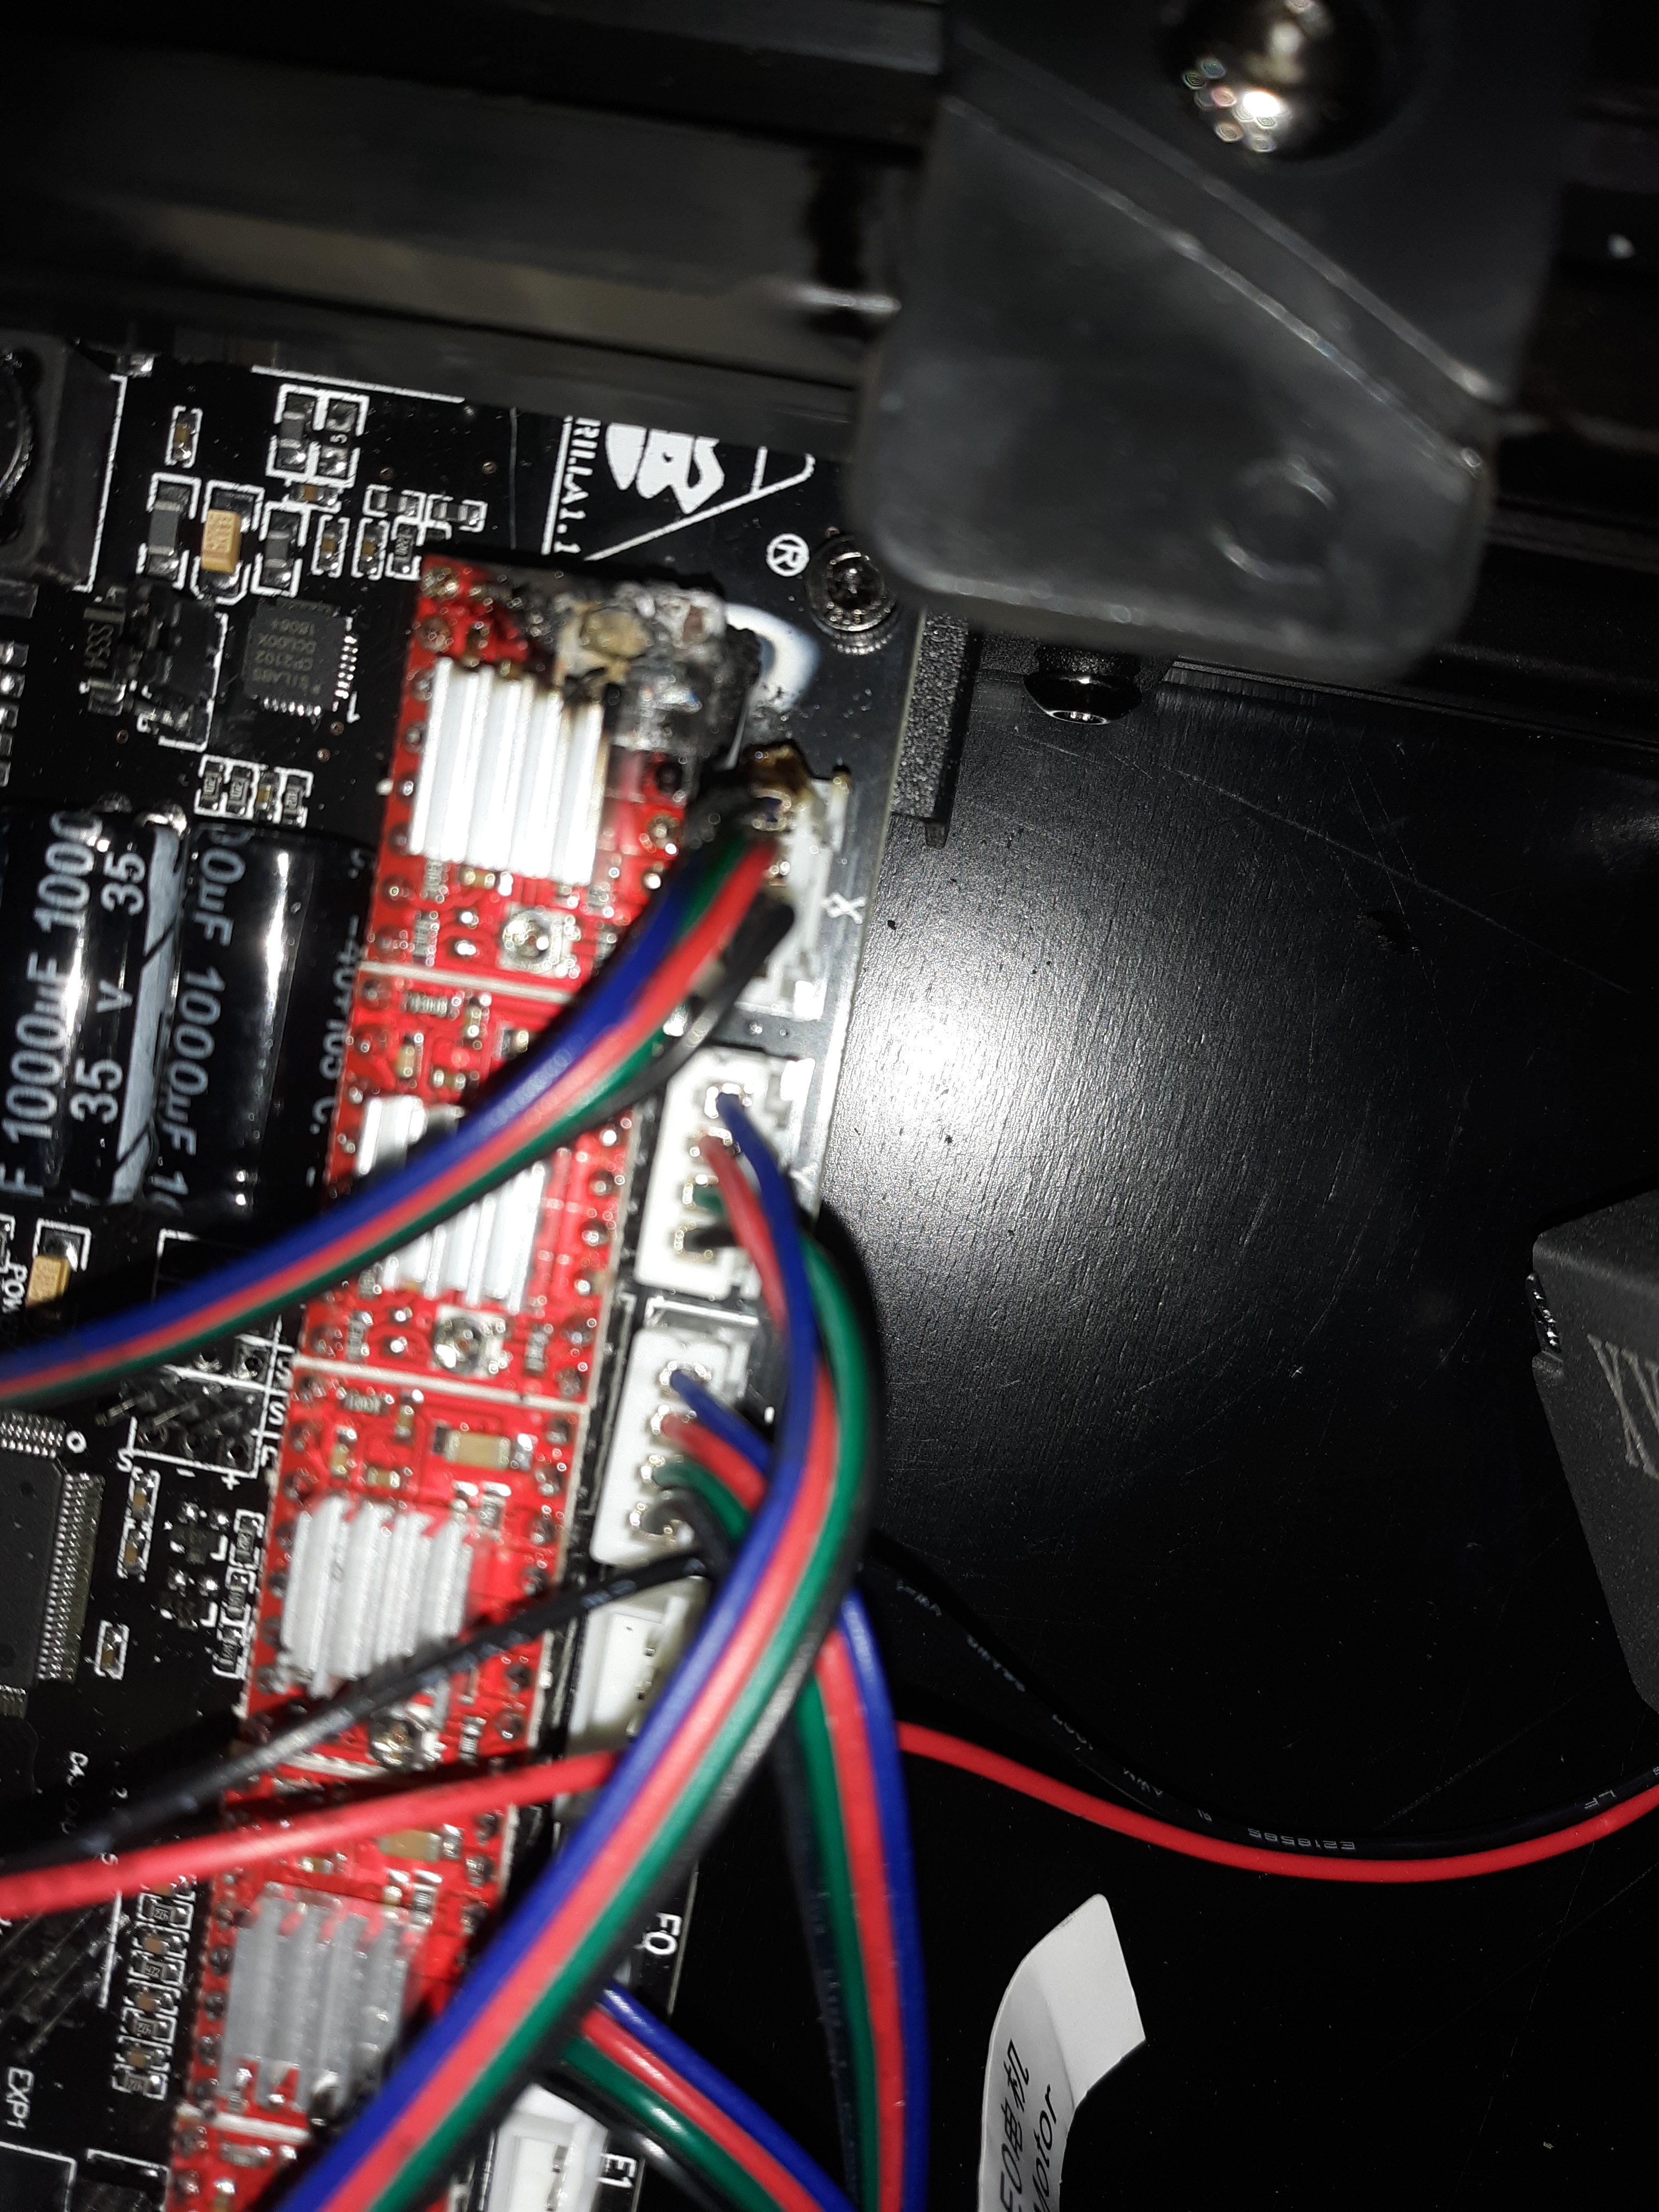
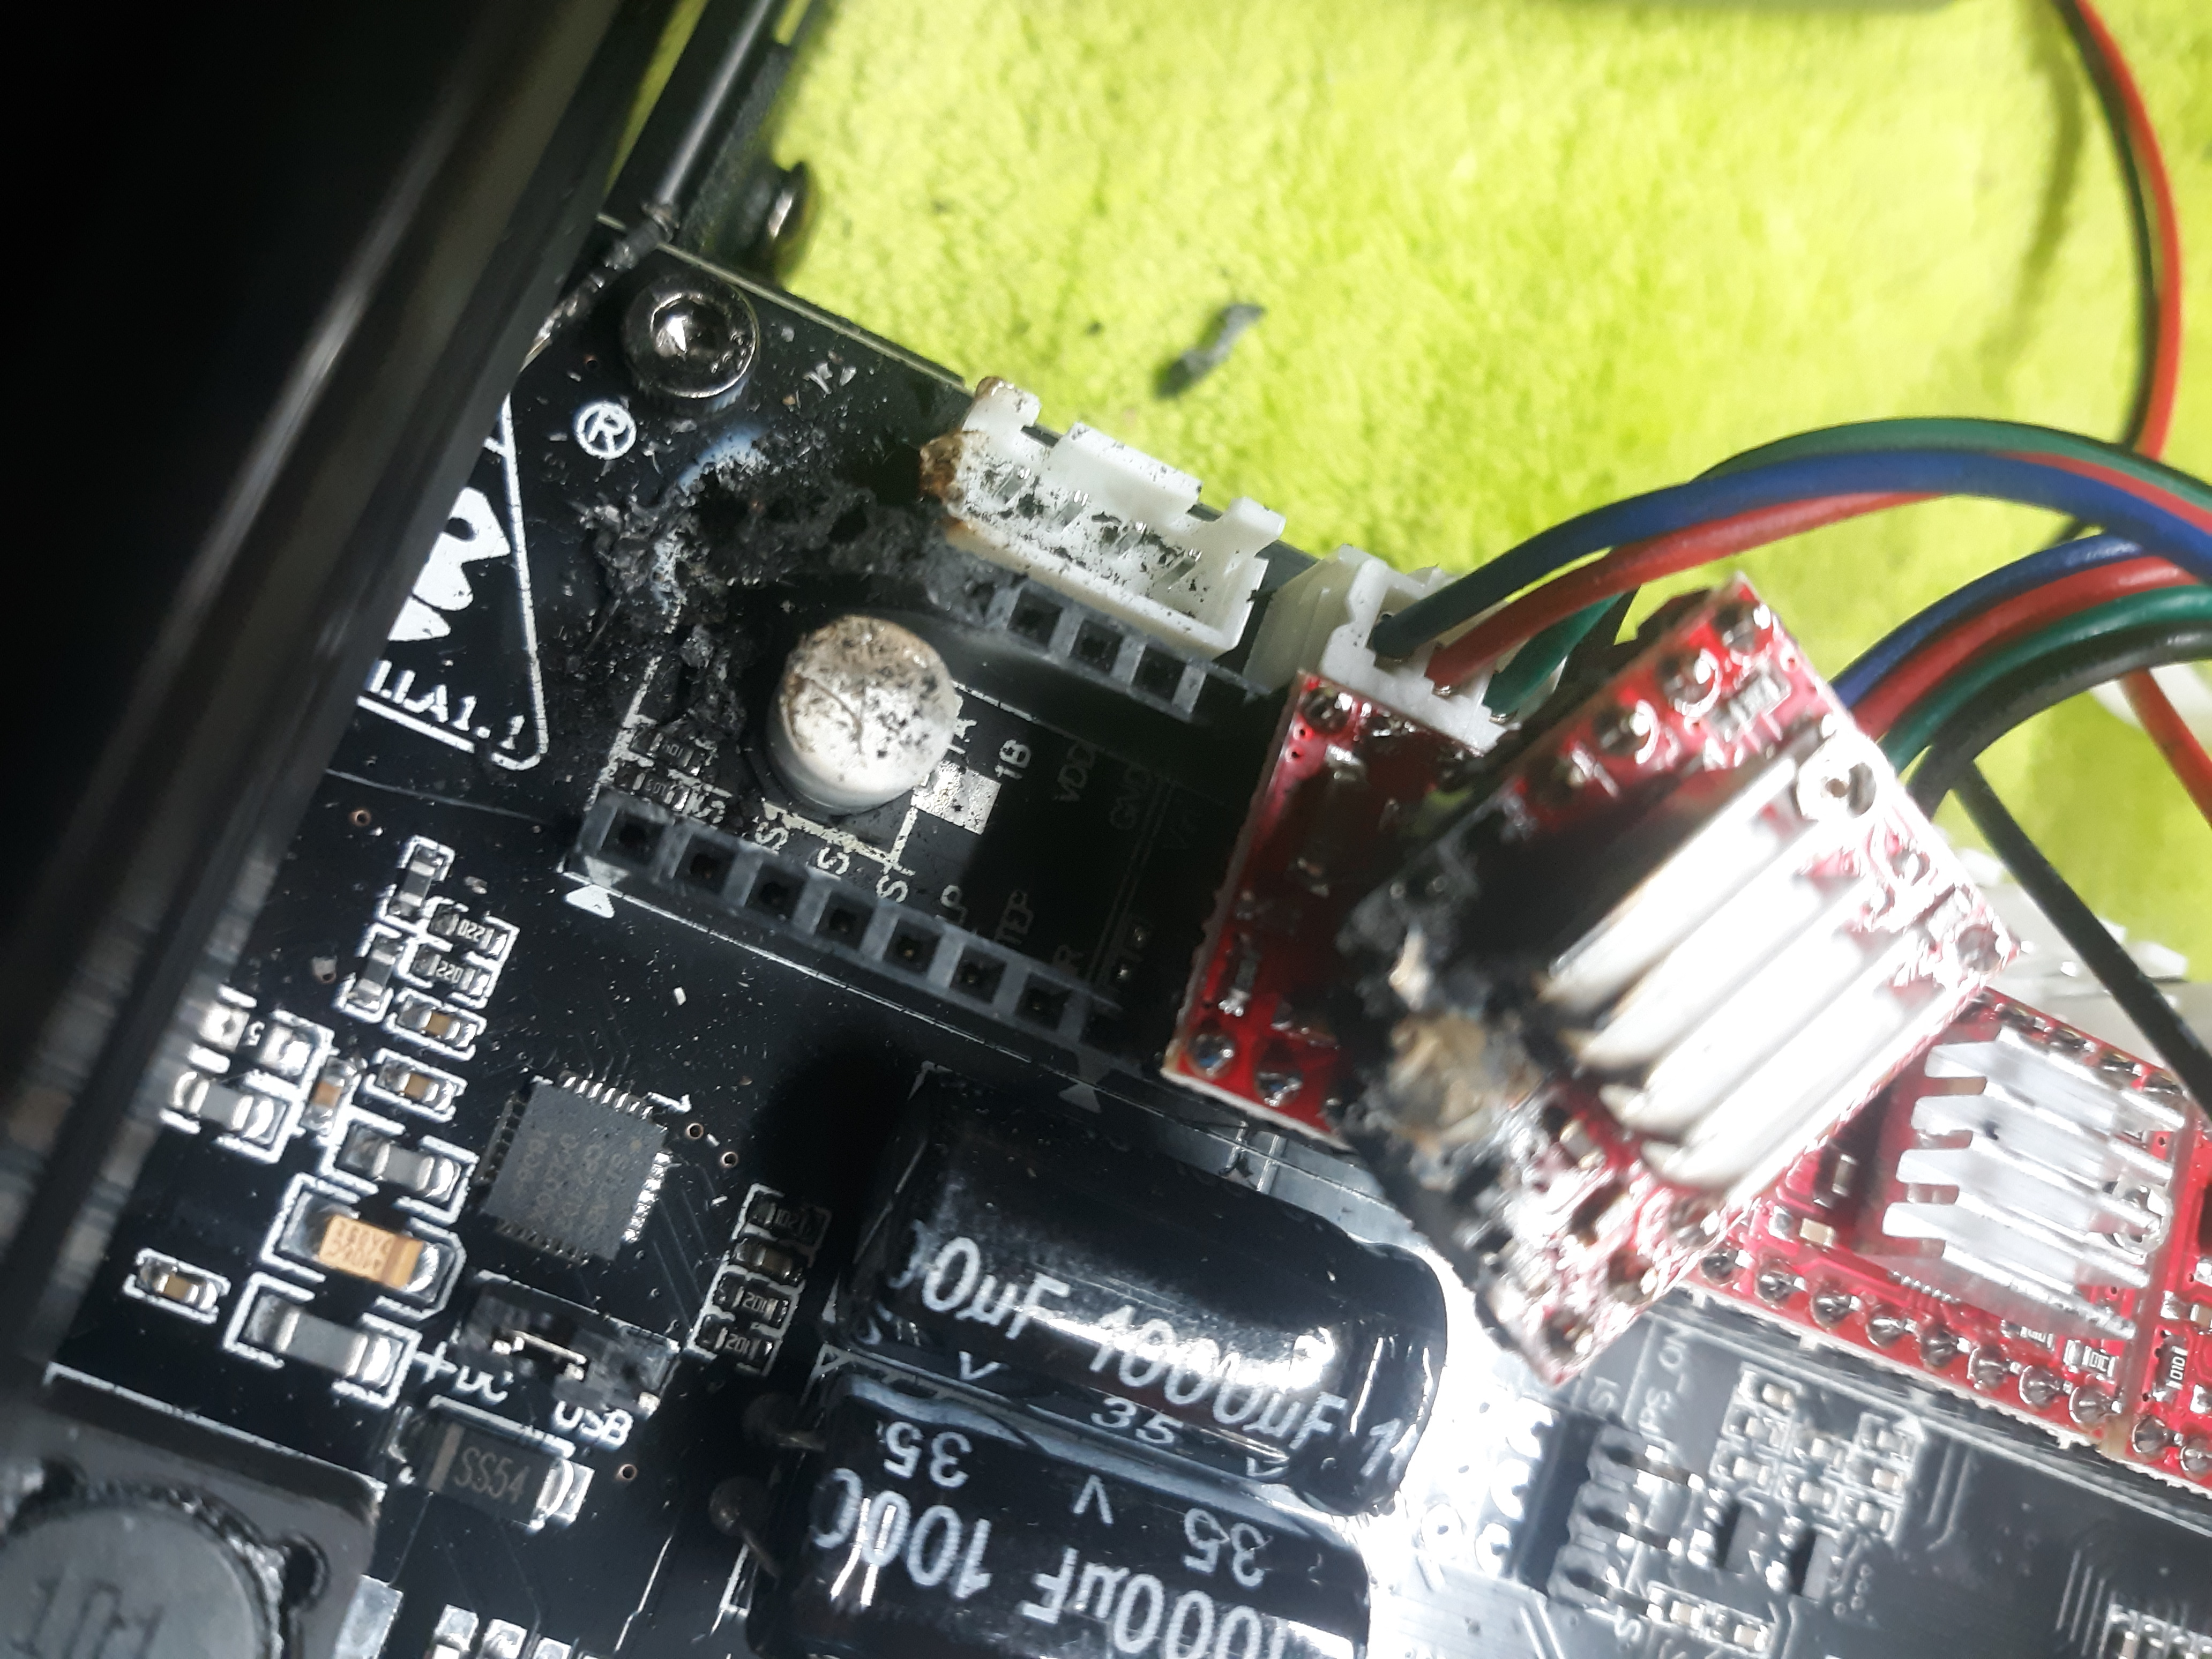
It actually caught fire and burned the header it was plugged into. Glad it self destructed and stopped burning cuz it would have been a heck of a fire. The printer was sitting on a wood table.
I am now mounting a temperature and smoke sensor to my bench top esp that sits above my printer.
I often leave it for a few hours on longer prints to do its thing
Wonder what caused the short? wonder if it was a badly soldered component.
Yes, a close call! I have a smoke detector inside my printer enclosure, just in case.
Do you think this is related to the print quality problems? Maybe the driver was bad right from the start, which is why the printer wasn’t extruding properly.
I don’t know if it had anything to do with the print quality but if I had to throw a wild guess, no. I changed a bunch of settings for feed speed and print speed and what not and the print was looking great. Nice and smooth and consistent. Then the driver board took a vacation. I am seriously thinking about building an enclosure now. Put the camera and the smoke detector in there. I put OctoPrint on a Pi and mounted that up on the power supply. Waiting for a buck converter to wire in to power the Pi and that will give me the hardware to add the camera and some IO’s to install some temp sensors and a communication path to MQTT for alerts should there be an issue. It has me a bit spooked.
(RANT TRIGGER ALERT) Well… I figured this needed an update. The bottom line - Don’t waste your money on a Kossel printer. You are buying an erector set with directions from Ikea and the support comes from… less than Ikea. I got it together and had a horrid time trying to get a somewhat decent print out of it. I read a shit-ton of forum posts on it and they all said the same things - The printer is fine if you change out most of the parts and put Marlin firmware on it because the firmware that Kossell uses stock, is waaaay behind the curve and buggy at best. As you have read, I finally got this turd to start printing a somewhat decent, though still not right print when it caught fire. Real promotional bell ringer there. I figured, well, give them a shot to rectify it. They did send me a new board and the driver chips and a new heated bed plate which was fine but OF COURSE, the board is raw and unflashed. I got no info on how to flash it so back to the net to slog through another shit-ton of forum posts and as before… change the board, change the hot end, flash to Marlin 2.0. I did not change the board and I did not change the bed.
I did however try to install Marlin 2.0. Watched a few YouTube videos on it as well. They all make it look super easy… click a file link, download, extract, drop in some specifically modified .H files for the Delta Plus and whack it in with the Arduino IDE. (I really wish there was a middle finger emoji). They say to use Aduino IDE 1.8.9 which I am currently running but it fails to compile. Seems to be lots of that issue going on. You also need to kind of know what the original configuration for your machine WAS so you can make sure you can set it back up that way and there is no way to do that unless you know what all was in there before. And I have no clue.
So… I paid a chunk of change for something that sin’t even big enough to hang laundry on. At least the treadmill is good for that. Just about ready to take the PS off and toss the rest in the trash. Should have spent the money on a Prusa. F@#% it… I will just buy enclosures.
That really sucks, must be a hit/miss with them. Mine does ok and after tons of fiddling in Cura I managed to get no gaps in the print (every time you do a curve it would reduce print width and you would end up with vertical gaps).
All and all I think I got lucky but things I have noticed is the vertical structure needs better bracing top and bottom to be more ridged, if you are filling a wall and it goes back and forth over 2-3 layer width it over reaches.
I think if I had to print anything pretty that I couldn’t sand back easy and primer I would need to get a better quality printer.
Crap that you had a bad experience though, I seen mixed views when I was looking to buy it and knew it could be a stab in the dark, hopefully mine keeps on keeping on, but you never know with cheap Chinese goods.
I used the same methodology for deciding whether I wanted one or not as well. I did some research and the prevailing thoughts were that it was a starter printer… good enough for basic, simple, noob projects but not good enough to do real good production level stuff. I didn’t need production level so i went with a starter machine. But it support is total crap and that i didn’t know. I figured there was a big enough following in the 3d printer world that I could afford to take the relative risk. What I didn’t know is that to make this printer do much more than make slobbery plastic messes (not to mention catch fire… mine isn’t the first to do so… thanks alot Trigorilla), you have to change the hot end, replace the board with a more robust one, put a different bed on it and brace the crap out of the rails because they are wiggly. The money involved in that is a replacement printer. At least the same cost as what was already spent. And you still have a “serviceable” but not great printer. I will either buy an Ender 3 or just save the money and buy a Prusa. OR just wait 5 more years and buy a resin printer as the cost will come down significantly since that tech is getting way better. I don’t know. Terribly frustrating though. I am not going to give up on it but it has gone way down the list of anything I give a crap about. It’s nobody’s fault but mine for buying a “starter” printer. Fisher Price
 I also believe I went the same direction you did on trying out the first print. I followed their instructions to just go onto the SD card and grab a test project… which doesn’t even show up unless you take the SD card and slice one of them in Cura first. That had me by the short hairs for a good hour. I tried running a print and adjusting the height a dozen or more times and couldn’t get it right. I had to clean it up and set it aside for a bit out of frustration. I have too many projects going on to track with this one at the moment. It acts like it won’t put out enough material… like the feed rate is too slow on the filament. I tried cranking the heat up from 200 to 210 with little to no effect. I am sure it is something simple like a setting I am unaware of. It will do a print. It just does it with little wads of material instead a smooth stream of plastic.